DOC ID - 1896
• Rev 01 • DRAFT 00.08
6 / 10
b.
Mounting hole
: Mark the locations of the 4 holes in the wall mount
bracket on the wall, be sure to keep the bracket level when marking
the locations. Using a power drill with 5mm bit, drill a hole at each
location. Insert one of the included wall anchors into each of the 4
holes. Match the wall mount bracket to the anchor locations and screw
in one of the provided screws into each of the 4 hole locations.
4.
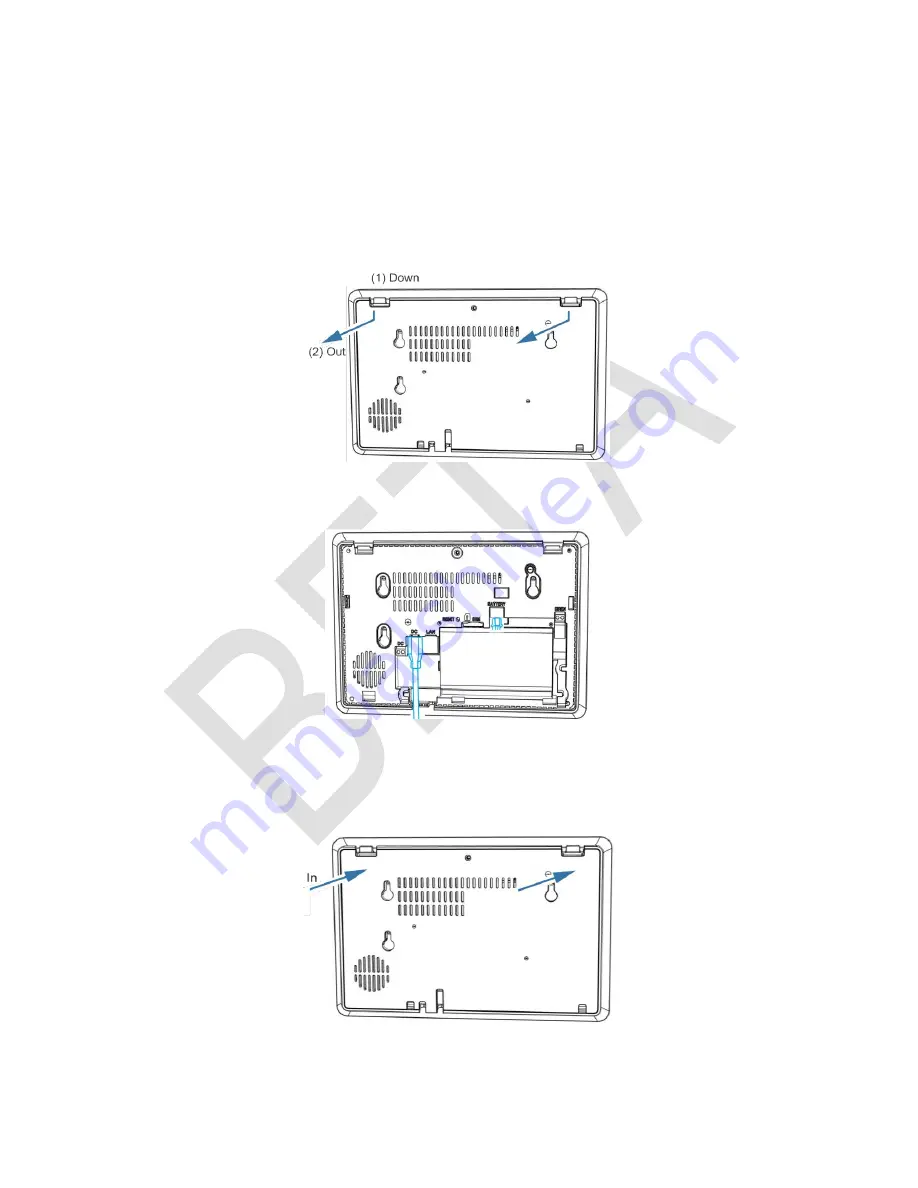
Remove the panel’s back plate by pressing down on the 2 tabs and pulling
the back plate outward, exposing the battery.
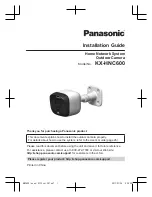
5. Verify that the battery is plugged in, and then attach the power supply to the
panel.
6.
Attach the panel’s back cover, gently pressing it into place. Verify that the
tabs are both fully pressed in place.
7. Press the sides of the back plate against the back of the panel, making sure
there is no gap between the back plate and the panel.


