1
2
Chapter 2
Getting Started
10
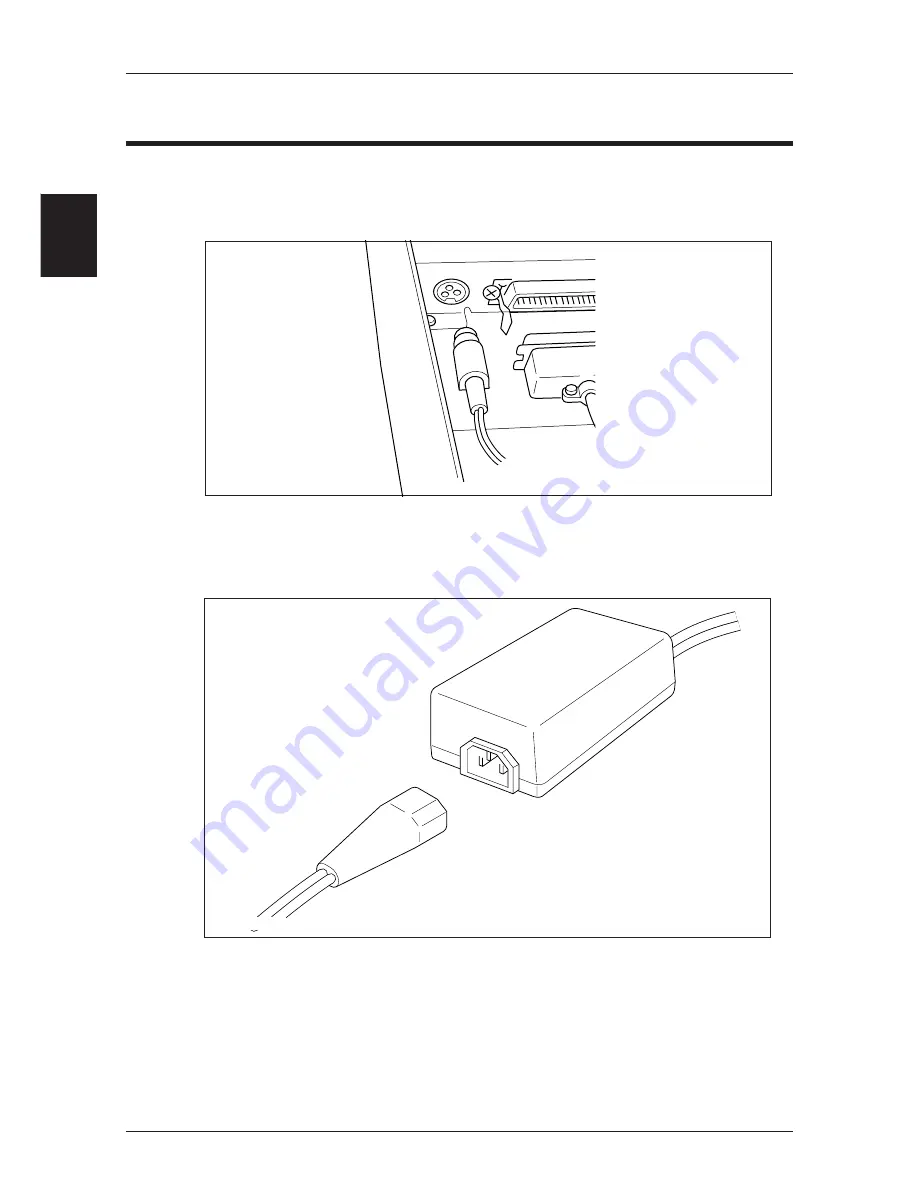
Connecting the Power Supply
1. Connect the connector at the end of the AC adapter cable
to the power supply connector.
Align the top and bottom of the cable and connector to connect them.
When the AC adapter's plug is disconnected from the printer, grasp the plug with
your fingers to pull it out.
2. Connect the AC power cord and the AC adapter.
3. Connect the power cord to the receptacle.
Connect the AC adapter with the printer's power supply switched off.
Содержание CBM-262 Type II
Страница 1: ...User sManual LINE THERMAL PRINTER CBM 262 MODEL ...
Страница 31: ...4 21 Chapter 4 Using the Printer Settings Using the Operating Buttons Setting the DIP Switches ...
Страница 41: ...6 31 Chapter 6 Interfaces Serial Interface Parallel Interface Drawer Kick Connector ...
Страница 53: ...6 43 Drive Circuit 1 2 3 4 5 6 1 5A 24V Drawer Kick Connector ...
Страница 54: ...6 Chapter 6 Interfaces 44 ...
Страница 55: ...7 45 Chapter 7 Print Control Codes List of Control Codes Input Data Format ...
Страница 116: ...7 Chapter 7 Print Control Codes 106 ...
Страница 117: ...8 107 Chapter 8 Character Code Tables Code Page Japanese Code Table International Character Code Table ...
Страница 118: ...8 Chapter 8 Character Code Tables 108 Code Page ...
Страница 119: ...8 109 Code Page ...
Страница 120: ...8 Chapter 8 Character Code Tables 110 ...
Страница 121: ...8 111 Japanese Code Table Japanese Code Table ...
Страница 122: ...8 Chapter 8 Character Code Tables 112 International Character Code Table Note n indicates the ESC R parameter ...
Страница 123: ...9 113 Chapter 9 Appendices Journal Protection Key Maintenance Cautions Specifications External View ...
Страница 130: ...9 Chapter 9 Appendix 120 External View 12 359 162 ...


