Connecting the WAP4410N Access Point
Placement Options
WAP4410N Wireless-N Access Point with Power Over Internet
10
4
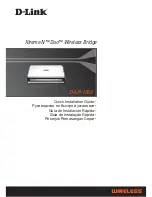
STEP 3
Place the wall-mount slots over the screws and slide the WAP4410N Access Point
down until the screws fit snugly into the wall-mount slots.
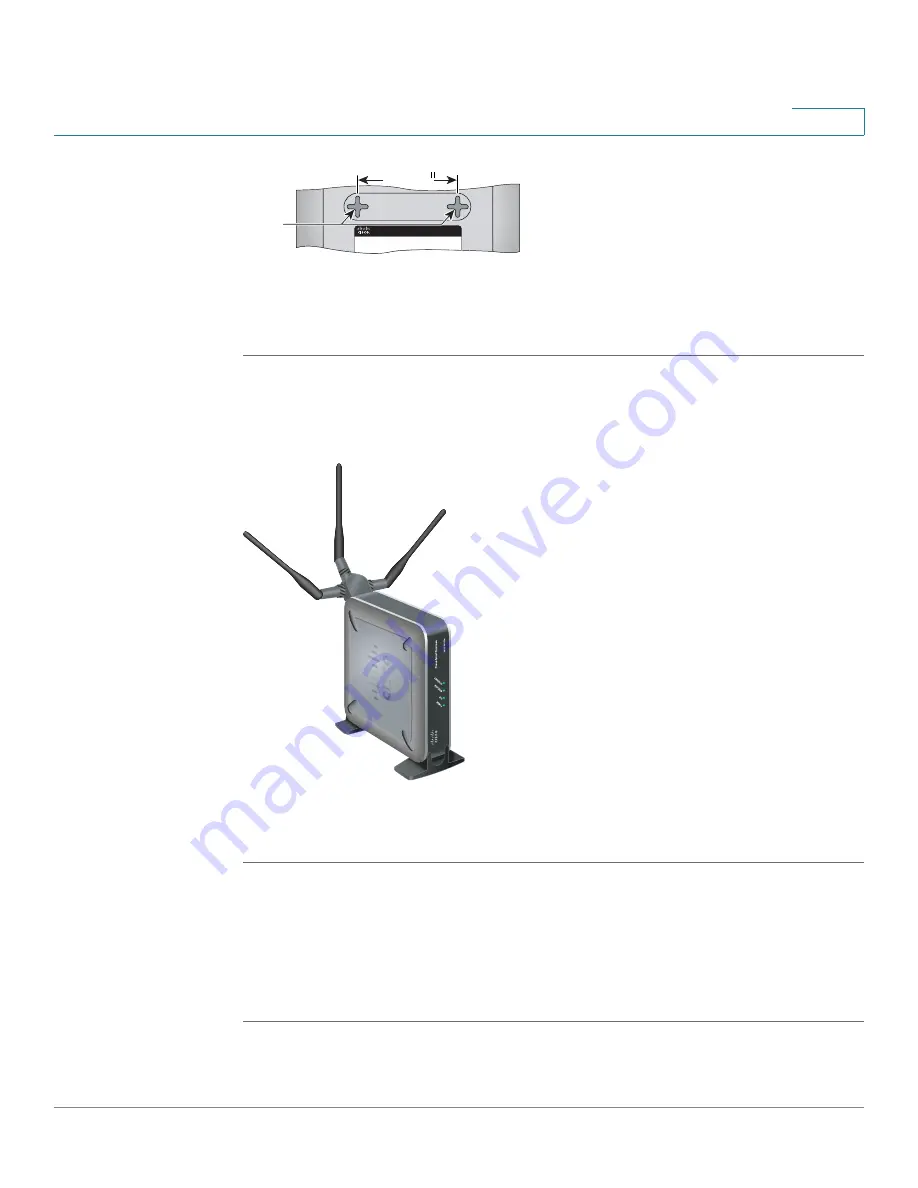
Stand Option
To place the access point vertically in a stand, follow these steps.
STEP 1
Locate the left side panel of the WAP4410N Access Point.
STEP 2
With the two large prongs of one of the stands facing outward, insert the short
prongs into the little slots in the WAP4410N Access Point, and push the stand
upward until the stand snaps into place.
Repeat this step with the other stand.
251580
Wall
mount
slots
2-15/16
235601