


You need the following items that you provide:
• Wire-striping tool
• Crimping tool
• Grounding cable
• Two star lock washers for the 10-32 x 0.375-inch screws used to secure the ground lug
• You need the following items from the accessory kit:
• Grounding lug #6 AWG, 90 degree, #10 post
• Two 10-32 x 0.375-inch screws used to secure the grounding lug
Safety Warnings
Take note of the following warnings:
Statement 1024—
Ground Conductor
This equipment must be grounded. To reduce the risk of electric shock, never defeat the ground conductor
or operate the equipment in the absence of a suitably installed ground conductor. Contact the appropriate
electrical inspection authority or an electrician if you are uncertain that suitable grounding is available.
Warning
Statement 1046—
Installing or Replacing the Unit
To reduce risk of electric shock, when installing or replacing the unit, the ground connection must always
be made first and disconnected last.
Warning
Statement 1025—
Use Copper Conductors Only
To reduce risk of fire, use copper conductors only.
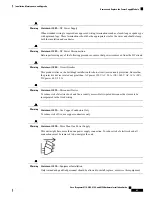
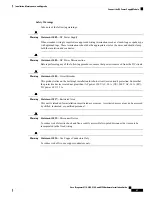
Warning
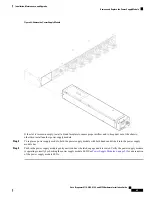
Step 1
Use a wire-stripping tool to remove approximately 0.75 inches (19 mm) of the covering from the end of the grounding
cable.
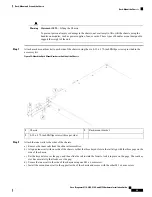
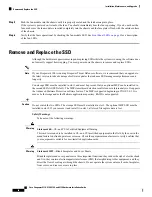
Step 2
Insert the stripped end of the grounding cable into the open end of the grounding lug.
Figure 39: Insert the Cable into the Grounding Lug
Cisco Firepower 4110, 4120, 4140, and 4150 Hardware Installation Guide
53
Rack-Mount and Ground the Chassis
Ground the Chassis