Perform the following steps:
Procedure
Step 1
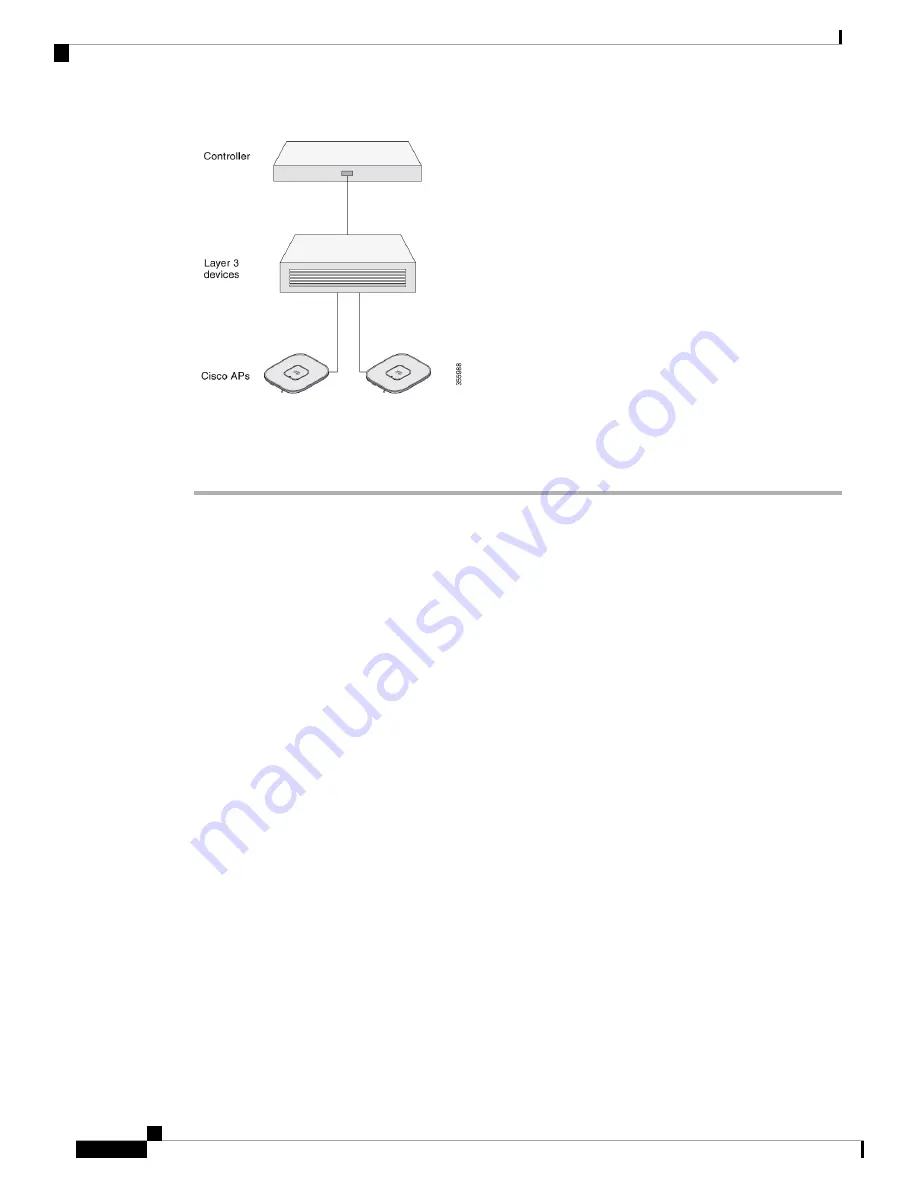
Ensure that the Cisco Controller Distribution System (DS) port is connected to the network. Use the procedure
for CLI or GUI as described in the release appropriate
Cisco Catalyst 9800 Series Wireless Controller Software
• Enable Layer 3 connectivity between APs, Cisco Controller Management, and AP-Manager interface.
• Configure the switch to which your AP has to attach. See the
Cisco Wireless Controller Configuration
for the release you are using, for additional information.
• Configure the Cisco Catalyst 9800 Series Wireless Controller as the primary so that new APs always
join it.
• Ensure that the DHCP is enabled on the network. The AP must receive its IP address through DHCP.
An 802.11ax Cisco AP is assigned an IP address from the DHCP server only if a default router
(gateway) is configured on the DHCP server (enabling the AP to receive its gateway IP address)
and the gateway ARP is resolved.
Note
• CAPWAP UDP ports must not be blocked in the network.
• The AP must be able to find the IP address of the controller. This can be accomplished using DHCP,
DNS, or IP subnet broadcast. This guide describes the DHCP method to convey the controller IP address.
For other methods, see the product documentation. See also the
Configuring DHCP Option 43, on page
for more information.
The AP requires a multi-gigabit Ethernet (5 Gbps) link to prevent the Ethernet port from
becoming a bottleneck for traffic.
Note
Step 2
Apply power to the AP. See
Powering the Access Point, on page 20
.
• As the AP attempts to connect to the controller, the LED cycles through a green, red, and off sequence,
which can take up to 5 minutes.
Cisco Catalyst 9136I Series Access Point Hardware Installation Guide
16
Installation Overview
Performing a PreInstallation Configuration (Optional)