New setting ===> 1024
We have now changed the HTTP port to 1024. You should use a numbering scheme that your
department or organization believes to be the best.
•
Related solutions:
Found on page:
Configuring an IP Address and Netmask
57
Configuring Network Settings on the 1900 and 2820
Series
456
Connecting to the Web Management Console
Now that your port is configured and HTTP is enabled, you can connect to the Web Management Console.
From any browser or address bar, type the address of your switch and the corresponding port number. For this
example, the port number is 1024, and the URL should look something like http://192.1.2.1:1024/.
Note You can connect by hostname and port (e.g. http://cat1900.xyz.com:1024/) if DNS is configured on
your network. However, keep in mind that in times of network troubleshooting, it’s better to use native
IP instead of DNS resolution.
Once you enter your URL, you’ll be prompted for an account and password. When you enter the password
with no account specified, the switch will validate your password and redirect you to the Switch Manager
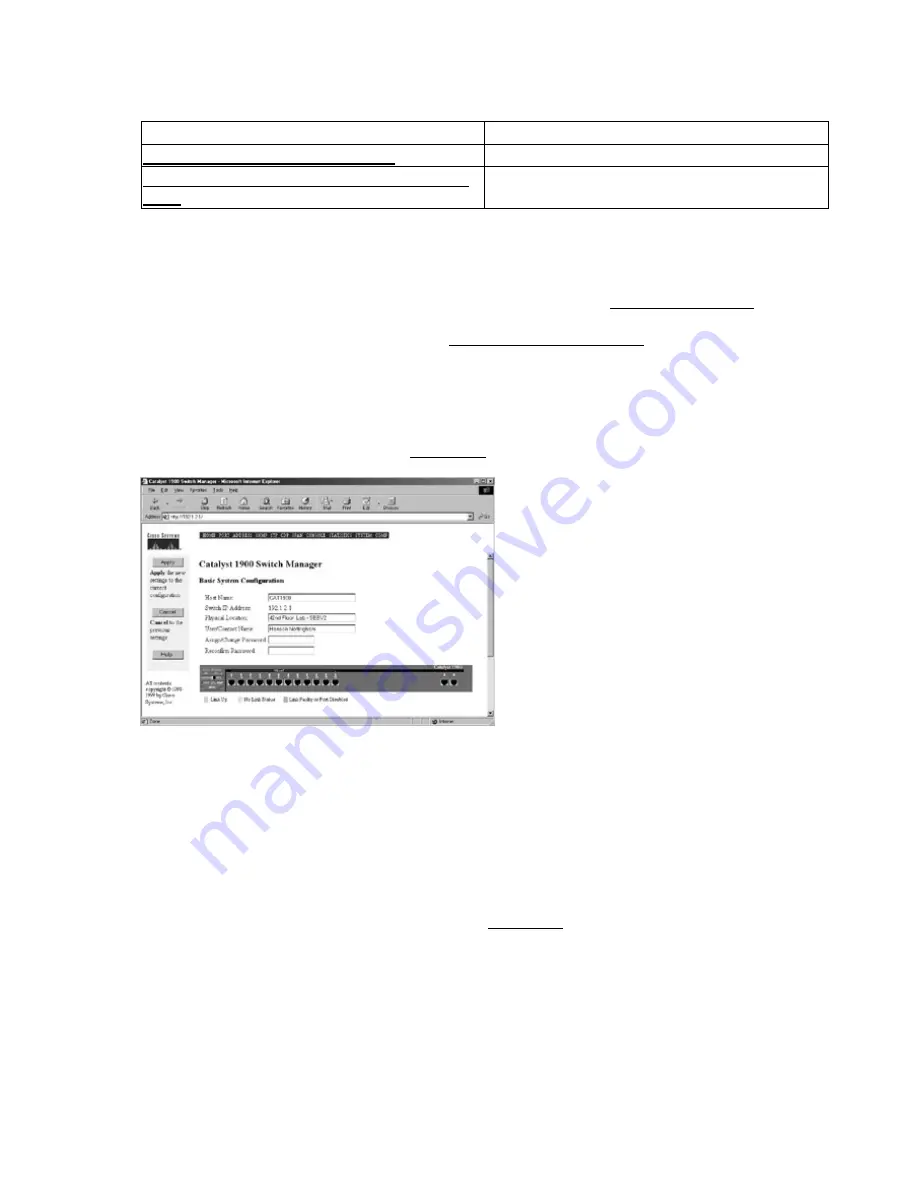
Basic System Configuration Page shown in Figure 14.1.
Figure 14.1: The home page of the Web Management Console.
Take some time to get to know what the Switch Manager has to offer. Beginning from the top, from left to
right, you have the following options:
Note
This list covers only the options located at the top of the frame. The left frame remains the same
throughout the CVSM session.
HOME—The Basic System Configuration page and the page you are currently on.
•
PORT—The Port Management page. This page allows you to configure every aspect of a switch
port—the port’s linkbeat, type of cast (uni− or multi−), congestion control, port name and/or
description, and statistics. The page is shown in Figure 14.2.
•
276


