33
Cisco Configuration Professional Quick Start Guide
78-18480-08
You’re Done! Where to Go from Here
Step 2
To edit a configuration entry, double click the entry. If the screen has an Edit button, choose the entry
that you want to change and click
Edit
. A tabbed dialog is displayed.
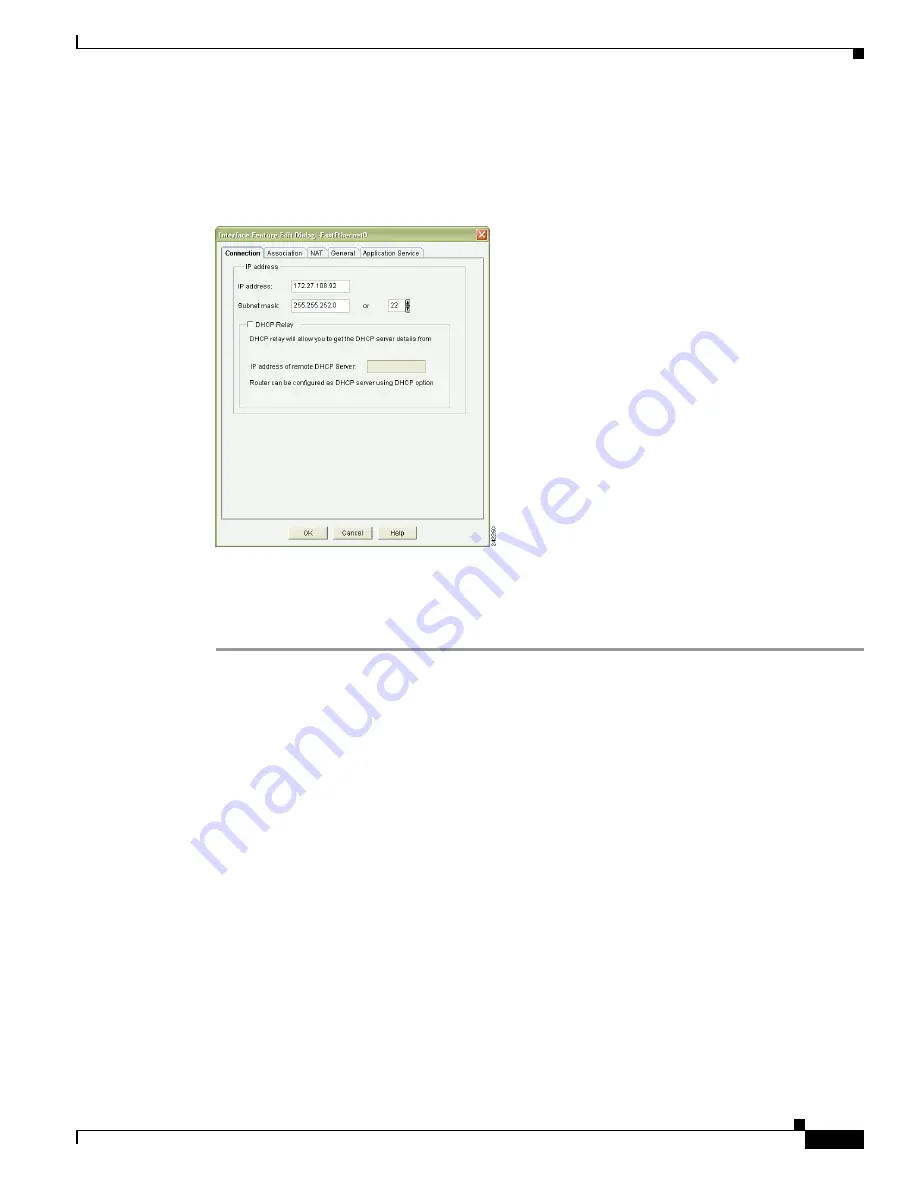
Figure 21
shows Interface and
Connections dialogs for a Fast Ethernet connection.
Figure 21
Connection Dialog
Step 3
Make the necessary settings in the dialog.
Step 4
Click the tab for the next dialog that you need to make changes in, and make those changes.
Step 5
Click
OK
to send the changes to the router, and to close the dialog.
You’re Done! Where to Go from Here
Now that you have used Cisco CP to give your router an initial configuration, you can continue to use
Cisco CP to configure additional features or modify existing feature configurations.
For More Information About Cisco CP and About Your Router
For additional information about Cisco CP features, refer to the Cisco CP online help, and to the
documentation available on Cisco.com.
Additional information about Cisco CP is also available on the web page at this link:
http://www.cisco.com/go/ciscocp
.
This website provides access to detailed information about Cisco CP, including a data sheet, and links
to technical documentation and product updates.
Refer to the quick start guide for your router for other procedures, such as connecting a PC to the router
console port so that you can use the CLI when you need to, and using the router LEDs to verify
installation. The quick start guide may also contain important warranty information.


