5-103
Cisco Wireless LAN Controller Configuration Guide
OL-17037-01
Chapter 5 Configuring Security Solutions
Configuring IDS
Configuring IDS
The Cisco intrusion detection system/intrusion prevention system (CIDS/IPS) instructs controllers to
block certain clients from accessing the wireless network when attacks involving these clients are
detected at Layer 3 through Layer 7. This system offers significant network protection by helping to
detect, classify, and stop threats including worms, spyware/adware, network viruses, and application
abuse. Two methods are available to detect potential attacks:
•
IDS sensors, see below
•
IDS signatures, see
Note
The Cisco wireless intrusion prevention system (wIPS) is also supported on the controller through WCS.
Refer to the
“Configuring wIPS” section on page 5-119
for more information.
Configuring IDS Sensors
You can configure IDS sensors to detect various types of IP-level attacks in your network. When the
sensors identify an attack, they can alert the controller to shun the offending client. When you add a new
IDS sensor, you register the controller with that IDS sensor so that the controller can query the sensor
to get the list of shunned clients. You can configure IDS sensor registration through either the GUI or
the CLI.
Using the GUI to Configure IDS Sensors
Follow these steps to configure IDS sensors using the controller GUI.
Step 1
Click
Security
>
Advanced
>
CIDs
>
Sensors
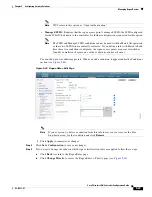
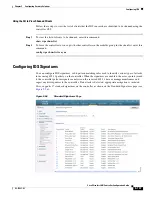
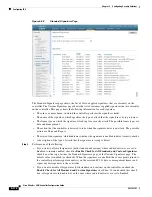
to open the CIDS Sensors List page appears (see
Figure 5-53
CIDS Sensors List Page
This page lists all of the IDS sensors that have been configured for this controller.
Note
If you want to delete an existing sensor, hover your cursor over the blue drop-down arrow for
that sensor and choose
Remove
.
Step 2
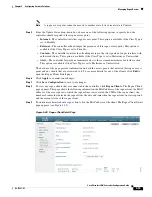
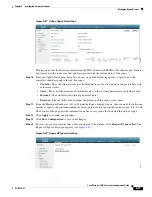
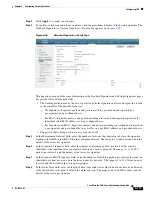
To add an IDS sensor to the list, click
New
. The CIDS Sensor Add page appears (see

