Anti-Lock Braking System (ABS) Setting on CH2
(Throttle & Reverse/Brake)
Slowing or stopping a car in slippery or loose conditions can be quite challenging. Simply locking the wheels, as in
conventional braking, will cause a loss of traction and steering control, resulting in an out-of-control slide. ABS allows
you to slow down faster whilst still being able to steer effectively by ‘pulsing’ the brake function so that the wheels do
not actually lock up.
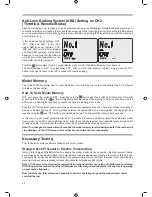
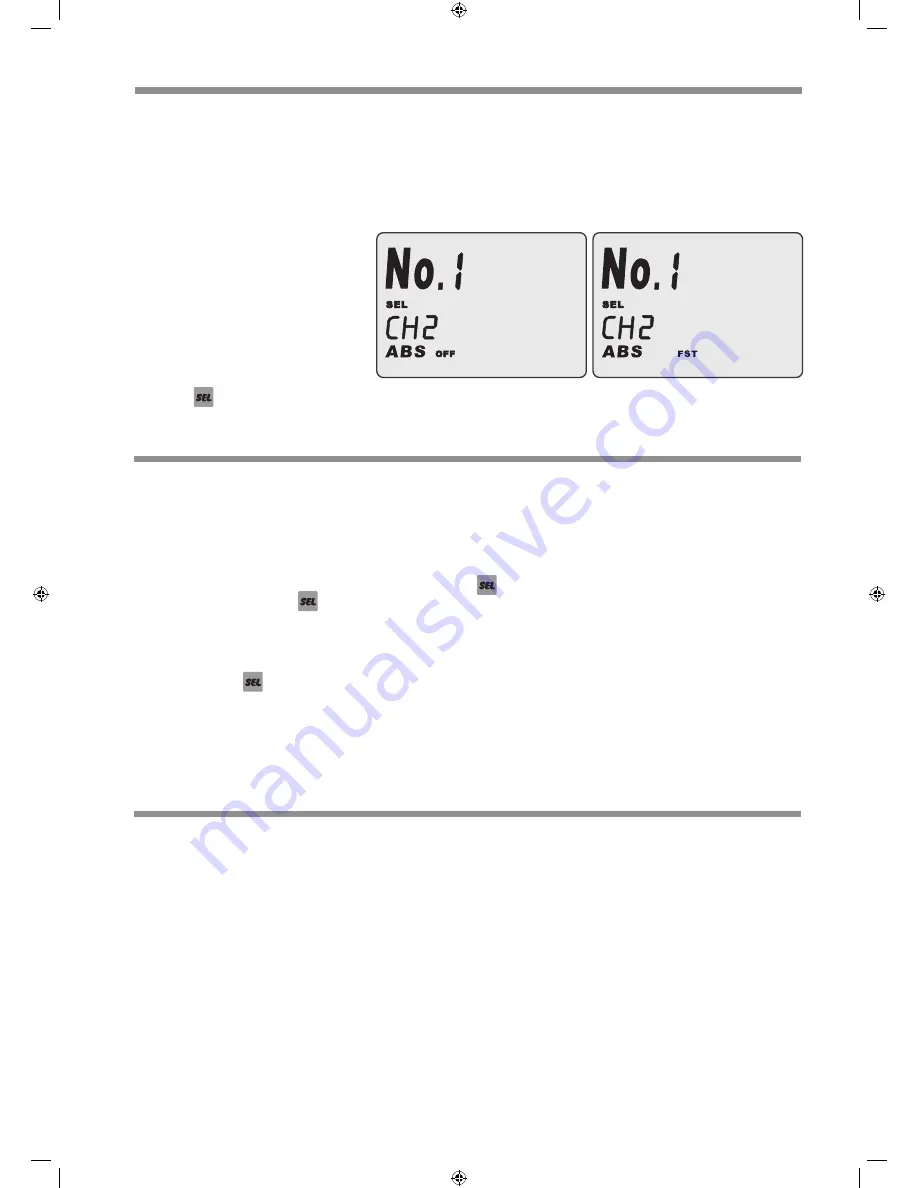
In this mode, you have 4 settings; ‘OFF’,
‘FST’, ‘MID’ and ‘SLW’. In the ‘OFF’
mode, ABS does not function. ‘FST’,
‘MID’ and ‘SLW’ relate to Fast, Medium
and Slow ABS operation and basically
allow you to fine-tune how the ABS will
work on your model dependent on the
track surface you are running on.
Press the
button eleven times in normal display mode to enter the ABS setting menu for channel 2.
The default setting is ‘OFF’. To select either ‘FST’, ‘MID’ or ‘SLW’ (Fast, Medium or Slow), simply move the ‘DT1’
button to the right (or back to the left) to choose the required setting.
Model Memory
The Cirrus 3CFM transmitter has 10 model memories (0~9), allowing you to preset the details of up to 10 different
models on this transmitter.
How To Set A Model Memory
With your transmitter switched ‘OFF’, press and hold the
button and then switch your transmitter ‘ON’ whilst
continuing to hold down the
button. At this point a flashing image of the memory number in use will show on the
LCD screen, indicating that you have accessed the system’s memory menu mode.
Push the ‘DT1’ button left or right to select the model memory number you require. There are 10 model memories or
modes, numbered 0 through 9. Once you have selected the appropriate model memory/mode, you can adjust it as
required using the
and ‘DT1’ buttons as detailed previously. The new selection will set after 8 seconds.
In this way, you can preset parameters for up to 10 models in advance and simply select the appropriate model
memory when you want to use a particular model, rather than having to re-adjust your transmitter every time you want
to switch models. Just remember to make a note of which model represents which memory!
Note: If no changes are made within 20 seconds the model memory function being selected, the number will
stop flashing and the LCD screen will revert back to the normal front screen display.
Necessary Testing
Prior to operation, always perform a range check of your model.
(Range Check Procedure - Electric Powered Car)
Install a fully charged NiCad/Ni-MH battery pack in the model. Switch on the transmitter, then the receiver. Ideally,
have a friend hold the model or place it on a stand where the drive wheels cannot come into contact with the ground.
Leaving the transmitter’s aerial fully retracted, move approximately 10m (30 feet) from the model. Now, check that the
movement of each servo responds to transmitter inputs for both steering and throttle.
Note 1: If the servos do not follow the commands from the transmitter or any type of interference is detected,
DO NOT operate the model. Check that all batteries are fully charged and ensure that nobody else is operating
on your radio’s frequency.
Note 2: Before use, fully extend the transmitter’s aerial or operating range will be reduced and control
could/will be lost.
10


