Connect Devices
D4K2560 Setup Guide
25
020-101171-04 Rev. 1 (01-2015)
Select a video source
After connecting a video source to the projector, you must select it using the touch panel controller
(TPC).
1. On the TPC, select
Input > Channel
.
2. Scroll the list of channels until you find the channel that best matches your configuration.
3. Tap the channel.
An image appears on the screen. If an image does not appear on the screen, repeat steps 1 to
3, selecting a different channel.
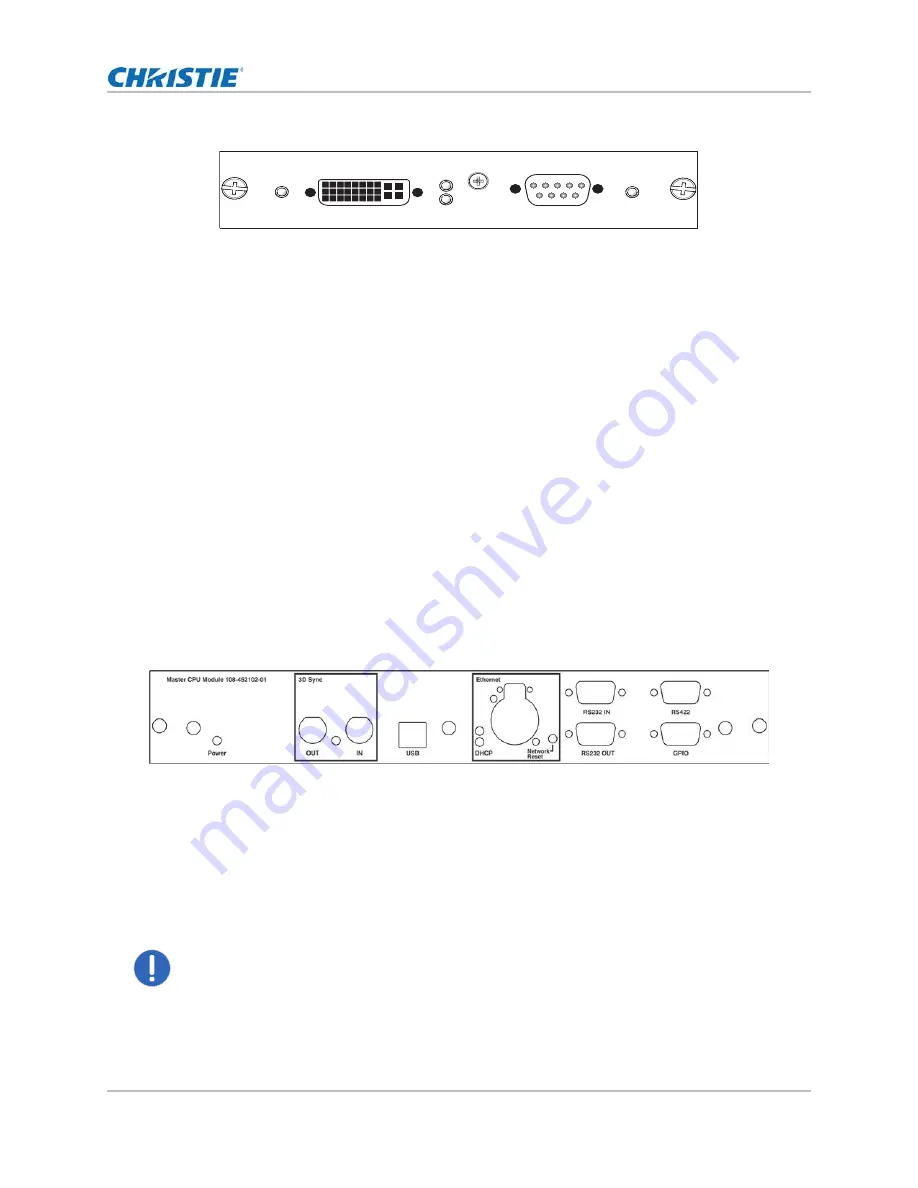
Connect devices to the 3D Sync ports
The 3D Sync Input and Output ports located on the MCPU faceplate provide a convenient method
for interfacing the projector to the 3D stereo projection system. The 3D Sync Input should be
connected to the video source for synchronization of the left eye/right eye frames of Direct input 3D
or for frame doubled content. The 3D Sync Input is not required for Dual-Input 3D. The 3D Sync
Output is available for control of an IR Emitter for active glasses or a polarization device for passive
glasses.
Connect a computer or server
To communicate with a remote computer, server or an existing network, use an RJ-45 cable to
connect the Ethernet hub or switch to the Ethernet port, located on the projector MCPU faceplate.
When using the Christie serial protocol over Ethernet, connect to port 3002.
For applications or equipment using serial communications, use the Christie-proprietary serial
protocol to communicate with the RS422 port or the RS232 ports on the MCPU faceplate.
Notice.
Failure to comply with the following may result in property damage.
The RS232 port located on the MCPU faceplate uses Christie-proprietary protocol and is intended for
Christie accessories or automation controllers only. For more information on the serial commands,
see the
D4K-60 Serial API Commands Technical Reference (P/N: 020-101258-XX)
.
Dual Link DVI Input
PWR
Analog
Digital
2 - VGA
1 - Dual Link DVI-I
Signal
Содержание D4K2560
Страница 1: ...D4K2560 S e t u p G u i d e 020 101171 04...


