Chassis Plans
CPPM-8U201 Technical Reference – ‘A’ & ‘D’ Controller
Page 7
‘A’ and ‘D’ Controller
Description
The ‘A’ controller provides for only aRGB input while the ‘D’ controller provides for both aRGB and Digital DVI-D
input. The OSD menus are different than those for the ‘V’ controller which provides for aRGB, Digital, Composite
and S-Video inputs. Users with the ‘V’ controller should see the next section.
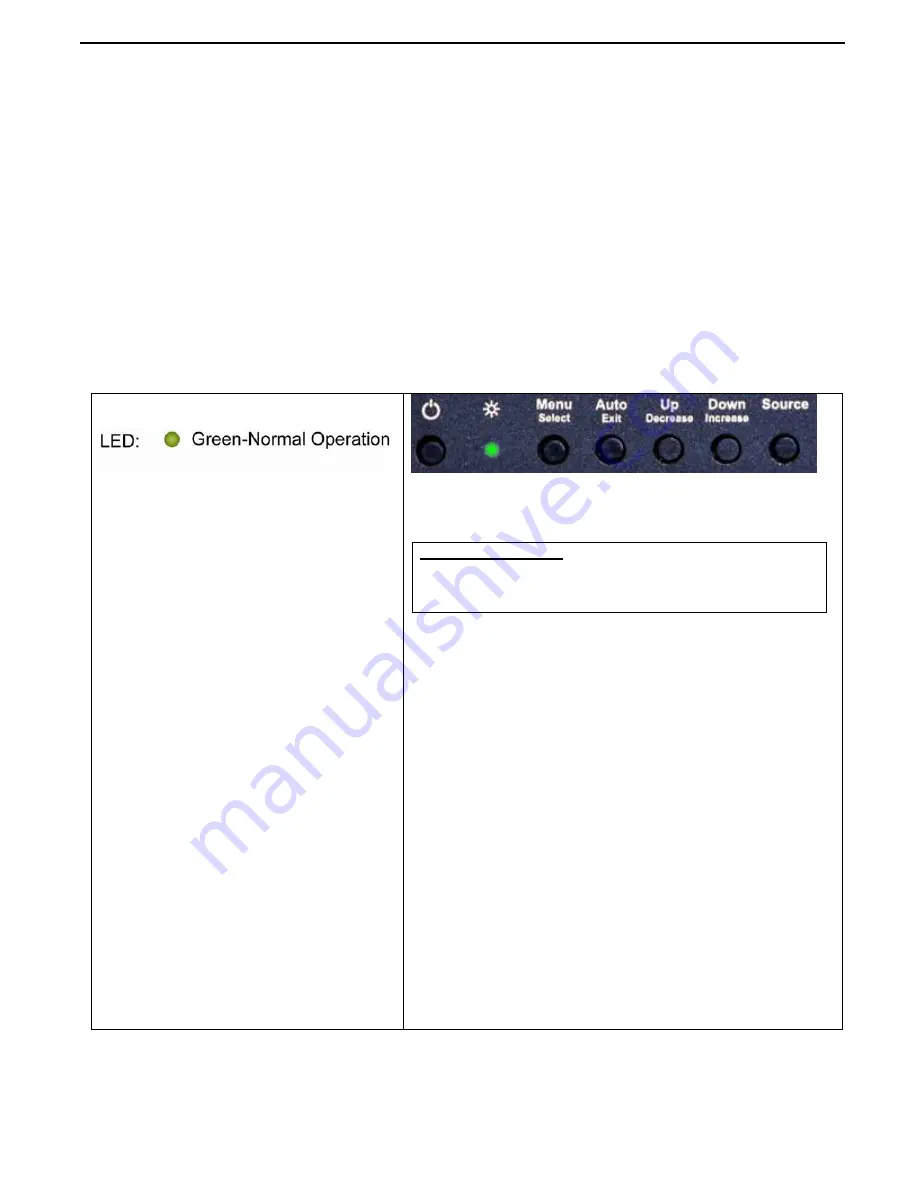
Front Panel Controls
The On Screen Display (OSD) is adjusted as follows:
1. Press
the
Menu
Button located on the front of the monitor.
2. Use the buttons described below to maneuver around the Menu.
3. Select the desired OSD Menu from the Menu Screen Shots below to make the desired adjustment(s).
4. Press
the
Auto/Exit
button to exit out of the OSD Menu when complete or wait for the OSD window to
automatically close as set by the OSD Time Out setting.
Front Panel Controls
•
Power:
Turns the Unit On and Off
Green
Normal
Operation
Red
Power On but no input
signal
Amber
Power On and either
syncing to new input source
or input source is out of
range
Off
No power or display turned
off
•
Menu/Select:
Enters the OSD
menu and sub menus (Press
once to enter main menu,
press again to enter a sub
menu) and accepts a display
parameter change.
•
Auto/Exit:
With no OSD showing,
automatically adjusts the
display parameters for Clock
and Phase in aRGB mode.
When the OSD is displayed,
exits the current menu.
•
Left/Decrease:
Moves a control bar
to the left or the cursor down
when selecting a menu.
•
Right/Increase:
Moves a control
bar to the right or the cursor up
when selecting a menu.
•
Source:
Alternates between the two
video input sources - aRGB
(VGA) and DVI-D.
Quick Menu’s
A Quick Menu pops up by touching a single button.
Display Auto Adjust
Pressing
Auto/Exit
will perform a auto display adjustment
when in aRGB mode. This automatically adjusts the Phase
and Clock for the best displayed image.


