3
2
Assembly Instructions
Operating Instructions
For Easiest Assembly:
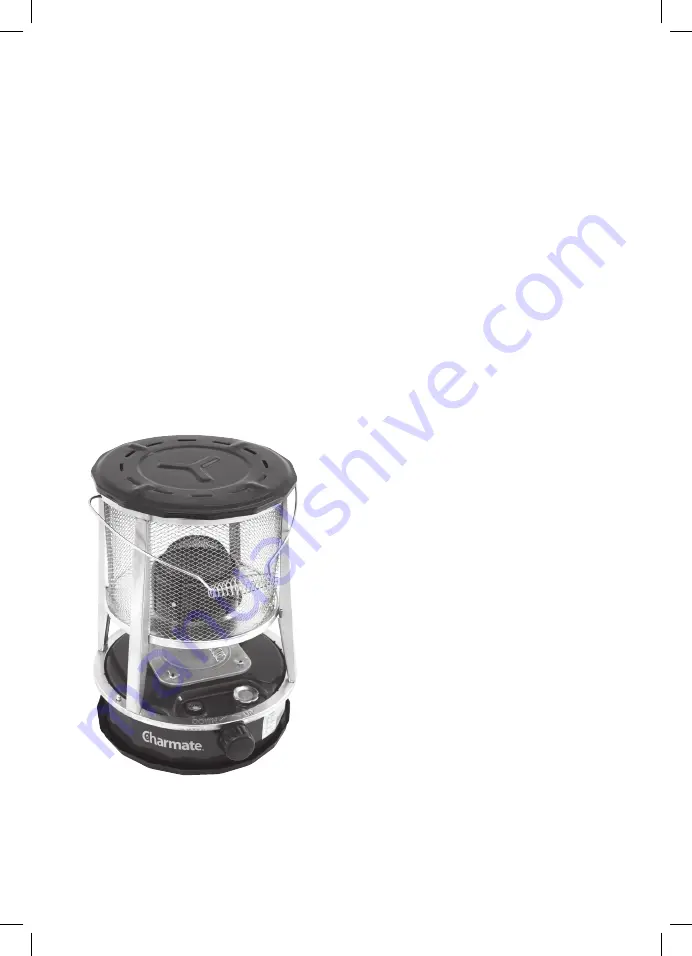
Your Kerosene Heater come fully assembled.
Please dispose of all packaging material in an
environmentally responsible manner.
Note: Ensure all packaging material is removed from the
heater before use.
Filling The Reservoir:
1. Ensure that the Kerosene Heater is OFF and cooled
before filling up the fuel tank.
2. Open the fuel tank cap, use a funnel (not supplied)
and fill until the fuel gauge is at ‘F’, do not over fill.
Note: Wipe up any spills before turning on.
3. Never run the Kerosene Heater out of fuel as it may
damage the wick.
For Easiest Assembly:
This Kerosene Heater is designed for use with kerosene
fuel. Before first use make sure all packaging and
protective films have been removed from the Kerosene
Heater.
Also ensure you have read and understand these user
instruction.
Warning:
Warning: It is important that you read this manual before
using this Kerosene Heater. Keep this manual in a safe
place. Only use this product in a well ventilated outdoor
area. Do not use indoors.
Note: When you use the appliance for the first time you
must wait 10 minutes until the wick is soaked with fuel.
If the wick is lit before it is properly soaked, it will burn
with heavy smoke with and odor as a consequence of the
wick not being soaked.
1. Lift and tilt the burner handle/unit so the wick area is
visible.
2. Rotate the wick control knob to the right till you can
see the wick.
3. Light the wick.
4. Drop the burner handle/unit back onto the body.
5. Move the burner handle to the left and right to check
that the burner unit is in the correct position.
6. Rotate the wick control knob to the right for a more
intense glow, to the left for a less intense glow.
7. As the kerosene heater warms up and glows,
gradually turn the wick control knob to the required
position.
Note:
Avoid fast rotations of the wick control knob as this
can cause a burst of flame.
Warning:
Never move the appliance while it is working.
Never leave a working appliance unattended.
Turning Off
1. Rotate the wick control knob fully to the left, the
flame will extinguish after approximately 3 minutes.
Note:
Allow appliance to fully cool about 30 minutes,
before moving or storing


