Chapter 4
7NJS User’s Guide
51
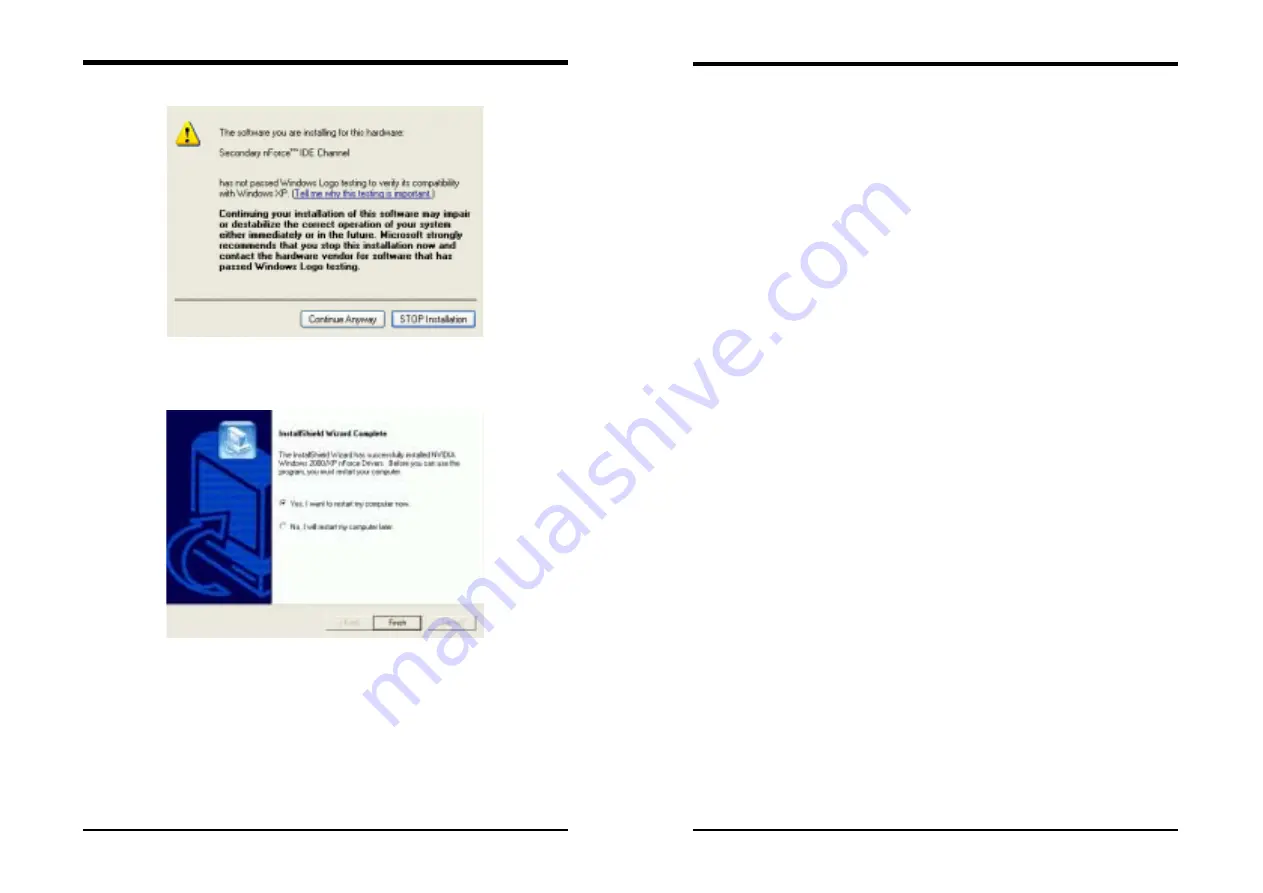
8. Please, select [
Continue Anyway
]
9. Please, select [
Finish
] after restart
Note:
Please check BIOS be enabled LAN function.
Chapter 4
52
7NJS User’s Guide
4.2 Promise Fast-Trak Driver
This section provides information on installed audio devices by choosing
[
Promise Fast-Trak Driver
] from the Setup Driver menu. (Figure 4 - 1)
Using the Windows Add New Hardware function:
1. Close any running applications.
2. Open
[
My Computer
].
3. Double click on the [
Control Panel
] icon.
4. Double click on the [
Add New Hardware
] icon.
5. Click on the [
Next
] button.
6. A window will ask: [
Do you want Windows to search for new
hardware?
], select [
No
] then click on the [
Next
] button.
7. Various device types will be listed. Select [
SCSI controllers
] and
press [
Next
].
8. Insert the driver installation diskette into CD-ROM, and then click on
the [
Have Disk..
.] button.
9. Select
CDROM:\Promise\FastTrak376\O.S.
10. Click on the [
OK
] button.
11. Click on the [
Next
] button.
12. If you see a window that displays the settings (resources) to be used by
the driver, click on [
Next
] again. Windows will then install the driver.
13. Click on the [
Finish
] button.
14. The system will then ask you to restart the system.
NOTE:
The driver for ACPI function is useful only if hardware supports ACPI
function.
4.3 USB 2.0 Driver Setup
This section provides information on installed audio devices by choosing
[USB
2.0 Driver
] from the Setup Driver menu. (Figure 4 - 1)
Note:
USB 2.0 only support Windows 2000 / XP operation system.
Windows XP:
•
Open Device Manager and open the properties for the USB 2.0 host
controller.
•
Select [
Update Driver
].
•
Point the installer to the folder with the USB 2.0 drivers.


