16
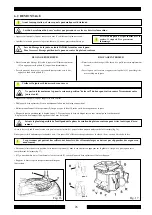
5.2 MONTAGGIO COMPONENTI
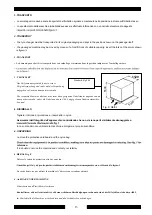
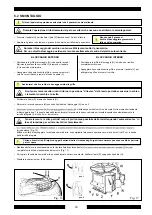
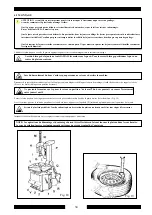
• Dopo aver disimballato e posizionato la macchina è necessario rimuovere i fermi del braccio verticale per renderlo libero.
• All’interno dell’imballo si trovano due imballi, la scatola degli accessori ed il portaoggetti.
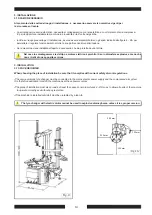
Posizionare la leva alzatalloni nel suo alloggiamento e l’anello porta vaso grasso nei due fori previsti sulla fiancata destra
.
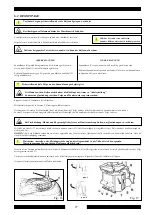
5.2 FITTING THE COMPONENTS
• After unpacking and positioning the machine, remove the catches of the vertical arm in order to release it.
• The packaging contains two items: the accessory box and the tool tray.
Position the bead lifter lever in its housing and the grease cup holding ring in the two holes on the right-hand side panel
.
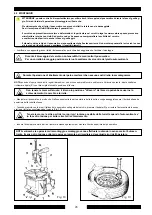
5.2 MONTAGE DES COMPOSANTS
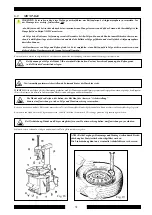
• Après avoir déballé et positionné la machine, il est nécessaire de retirer les blocages du bras vertical pour le libérer.
• L’emballage principal contient deux autres emballages, l’un contient les accessoires et l’autre le porte-objets.
Positionner le levier lève-talons dans son logement et l’anneau de soutien du réservoir de graisse dans les deux trous
prévus sur le flanc droit
.
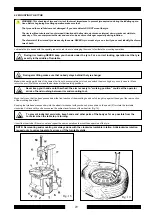
5.2 MONTAGE DER KOMPONENTEN
• Nachdem die Maschine ausgepackt und aufgestellt worden ist, sind die Feststellvorrichtungen vom vertikalen Arm zu
entfernen, damit dieser frei bewegt werden kann.
• Im Innern der Verpackung befinden sich zwei kleinere Verpackungen, die jeweils die Schachtel mit dem Zubehör und die
Ablagekonsole enthalten.
Den Hebel für das Aushebeln der Wulste in seiner Aufnahme positionieren und den Haltering für die Fettbüchse in die
beiden Löcher an der rechten Seite einführen
.
Содержание SM645
Страница 4: ... n a a ...
Страница 7: ...10 AVVERTENZE DI PERICOLO DANGER WARNING SIGNS AVIS DE DANg ER GEFAHRENHINWEISE ...
Страница 9: ... 10 10 10 10 ...
Страница 15: ...18 ...
Страница 16: ...19 7 67 81 21 0 172 1 pedale posto sul lato sinistro the inflating pedal located on the left side SRV SRV ...
Страница 18: ...1 1RWH VXOO XWLOL R 93Y005101 93Y005101 93Y005101 93Y005101 ...
Страница 19: ... 2 t ...
Страница 20: ... 3 ...
Страница 23: ...26 s assurer que le pneumatique est détalonné l élément coulissant ...
Страница 25: ...28 ...
Страница 26: ...29 ...
Страница 27: ...30 ...
Страница 28: ... 1 ...
Страница 33: ...36 ...
Страница 34: ...37 ...
Страница 35: ...38 l ...
Страница 36: ...39 ...
Страница 37: ...40 ORDINARIA 1 ROUTINE 1 ...
Страница 38: ...41 ORDINAIRE 1 ROUTINE 1 ...
Страница 39: ...42 ...
Страница 40: ...43 ...
Страница 41: ...44 ª ª ª ª ...
Страница 44: ...47 9 3 63 ...
Страница 47: ...50 ...
Страница 48: ... ...


