Please read this manual before switching the unit on.
Important safety information inside.
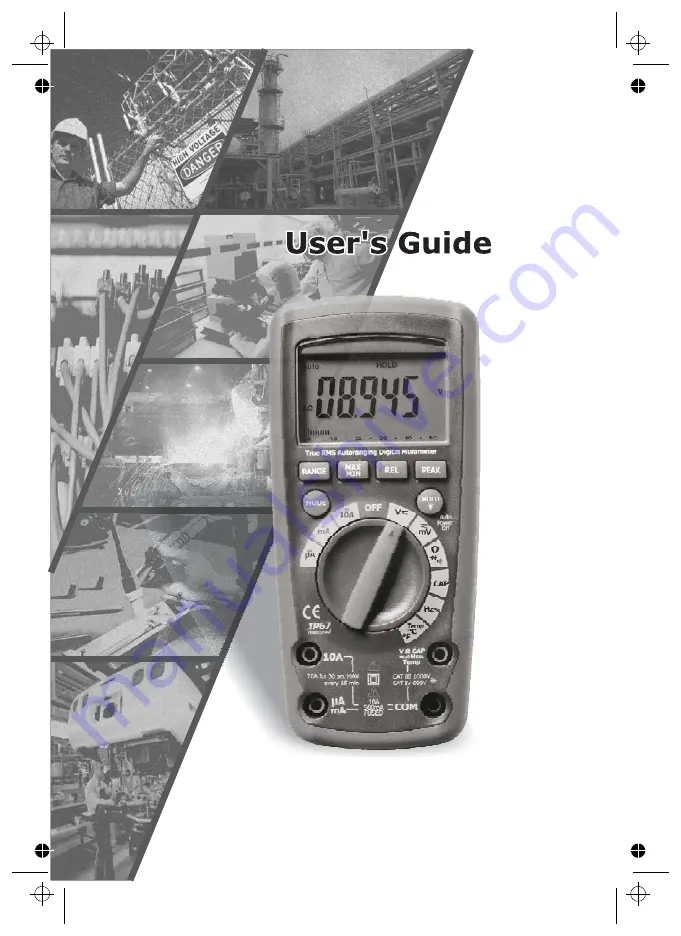
True RMS Industrial
Multimeter
Страница 1: ...Please read this manual before switching the unit on Important safety information inside True RMS Industrial True RMS Industrial Multimeter Multimeter...
Страница 2: ...True RMS Industrial Multimeter User s Guide True RMS Industrial Multimeter User s Guide...
Страница 3: ...3 safety Instructions 3 Controls and Jacks 4 Symbols and Enunciators 5 Operating Instructions 5 1 AC DC Voltage Measurements 5 2 DC AC Millivolt Measurements 5 3 AC DC Current Measurements 5 4 Resista...
Страница 4: ...ting Instructions to avoid personal injury or damage to the meter This symbol indicates a potentially hazardous situation which if not avoided could result in death or serious injury This symbol indic...
Страница 5: ...rom the fixed installation Note Examples include household office and laboratory appliances Equipment of OVERVOLTAGE CATEGORY III is equipment in fixed installations Note Examples include switches in...
Страница 6: ...to the recessed electrical contacts Other means should be used to ensure that the terminals are not live If the equipment is used in a manner not specified by the manufacturer the protection provided...
Страница 7: ...ce or diode mode Doing so can damage the meter ALWAYS discharge filter capacitors in power supplies and disconnect the power when making resistance or diode tests ALWAYS turn off the power and disconn...
Страница 8: ...h LED indicator 8 RELATIVE and Bluetooth Power button 9 PEAK button 10 HOLD and Backlight button 11 Positive input jack 12 COM input jack Note Tilt stand and battery compartment are on rear of unit Tr...
Страница 9: ...tery n nano 10 capacitance micro 10 amps cap m milli 10 volts amps A Amps k kilo 10 ohms F Farads capacitance M mega 10 ohms Ohms Hz Hertz frequency Percent duty ratio AC Alternating current DC Direct...
Страница 10: ...or OFF Large voltage surges may occur that can damage the meter Rotate the function switch to the V position Press the MODE button to display DC or AC on the LCD Insert the black test lead banana plug...
Страница 11: ...black test probe tip to the negative side of the circuit Touch the red test probe tip to the positive side of the circuit Read the voltage in the display Do not make 20A current measurements for longe...
Страница 12: ...the black test probe tip to the negative side of the circuit Touch the red test probe tip to the positive side of the circuit Apply power to the circuit Read the current in the display To avoid elect...
Страница 13: ...h to the position Insert the black lead banana plug into the negative jack Insert the red test lead banana plug into the positive jack Press the button to indicate on the display Touch the test probe...
Страница 14: ...making sure to observe the correct polarity Press the button to indicate F or C Touch the Temperature Probe head to the part whose temperature you wish to measure Keep the probe touching the part und...
Страница 15: ...red test lead banana plug into the positive jack Touch the test probe tips to the circuit under test Read the frequency on the display Press the button to indi cate Read the duty cycle in the display...
Страница 16: ...erence voltage current etc can be stored and measurements made in comparison to that value The displayed value is the difference between the reference value and the measured value Perform the measurem...
Страница 17: ...the battery should be replaced The auto off feature will turn the meter off after 15 minutes To disable the auto power off feature hold down the button and turn the meter on will appear in the display...
Страница 18: ...d or weak batteries so they do not leak and damage the unit the batteries should be removed to prevent damage to the unit To avoid electric shock disconnect the test leads from any source of voltage b...
Страница 19: ...est leads from the meter Remove the battery cover two B screws and the battery Remove the six A screws securing the rear cover Gently remove the old fuse and install the new fuse into the holder Alway...
Страница 20: ...0mA 10A 20A 30 sec max with reduced accuracy 500 A 5000 A 50mA 500mA 10A 20A 30 sec max with reduced accuracy All AC voltage ranges are specified from 5 of range to 100 of range Resolution 0 001mV 0 0...
Страница 21: ...cycle and 100kHz 0 1 to 99 90 Pulse width 100 s 100ms Frequency 5Hz to150kHz 58 0 to 2192 0 50 0 to 1200 0 o o F C Resolution 0 001 0 01 0 0001k 0 001k 0 01k 0 0001M 0 001M 0 01nF 0 0001 F 0 001 F 0...
Страница 22: ...molded Waterproof Ip67 Test current of 0 9mA maximum open circuit voltage 2 8V DC typical Audible signal will sound if the resistance is less than 35 approx test current 0 35mA Captures peaks 1ms Requ...
Страница 23: ...One 9 volt NEDA 1604 battery mA A ranges 0 5A 1000V ceramic fast blow A range 10A 1000V ceramic fast blow 5 C to 40 C 41 F to 104 F 20 C to 60 C 4 F to 140 F Max 80 up to 31 C 87 F decreasing linearl...
Страница 24: ...True RMS Industrial Multimeter User s Guide True RMS Industrial Multimeter User s Guide True RMS Industrial Multimeter User s Guide True RMS Industrial Multimeter User s Guide Rev 110518...