


ENGLISH |
1
Congratulations on purchasing the Celestron Smart DewHeater
and Controller 2x. This controller delivers “smart” and efficient
power usage for up to two of your telescope system’s dew
heaters plus another 12V DC device—while also providing cable
management for your setup. When you plug your dew heaters
into the controller, one cable connects everything to your power
source, while another connects the setup to your PC, if desired.
If you prefer not to connect to a PC, simply plug your dew heaters
into the controller and power it on. The controller will automatically
monitor the ambient temperature and humidity using its integrated
environmental sensor. The thermistor port monitors the lens’s
temperature and provides only enough power to prevent dew.
If you’re using battery power, this “smart” system significantly
reduces the heaters’ power consumption, extending battery life. If
you would like to manually adjust settings or monitor data, connect
to a PC or your Celestron mount’s hand control.
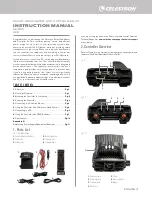
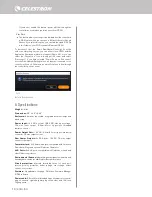
1. Parts List
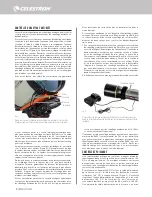
2. Controller Overview
TABLE OF CONTENTS
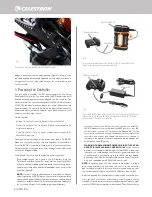
Fig 1 – All included items
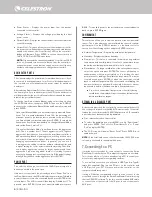
Refer to Figure 2 for an overview of the input jacks, output ports, and
features of the Smart DewHeater Controller 2x.
If you are missing any parts in the Parts List, please contact Celestron
Technical Support at
www.celestron.com/pages/technical-support
for assistance.
1.
Parts List . . . . . . . . . . . . . . . . . . . . . . . . . . . . . . . . . . . . . . . . . . . .
Pg.1
2.
Controller Overview . . . . . . . . . . . . . . . . . . . . . . . . . . . . . . . . . .
Pg.1
3.
Mounting the Controller to Your Setup . . . . . . . . . . . . . . . . . .
Pg.3
4.
Powering the Controller . . . . . . . . . . . . . . . . . . . . . . . . . . . . . . .
Pg.4
5.
Connecting to a Celestron Mount . . . . . . . . . . . . . . . . . . . . . .
Pg.5
6.
Using the Controller with a Celestron Hand Control . . . . . . . .
Pg.5
7.
Connecting to a PC. . . . . . . . . . . . . . . . . . . . . . . . . . . . . . . . . . .
Pg.6
8.
Using the Controller with CPWI Software . . . . . . . . . . . . . . .
Pg.7
9.
Specifications . . . . . . . . . . . . . . . . . . . . . . . . . . . . . . . . . . . . . . .
Pg.10
Appendix A:
Determining Power Supply Requirement Examples . . . . . . . . .
Pg.11
SMART DEWHEATER AND CONTROLLER 2X
INSTRUCTION MANUAL
Model #94035
ENGLISH
1.
2.
3.
4.
5.
6.
Fig 2-1
Fig 2-2
Fig 2-3
2.
3.
1.
6.
7.
5.
4.
1.
Smart DewHeater Controller 2x
2.
Power cable
3.
Auxilliry cable
4.
Mount power cable
5.
Tripod leg strap
6.
Thermistor Cable
1.
Dew heater ports
2.
Power input jack
3.
Thermistor ports
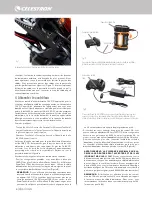
4.
AUX ports
5.
PC port
6.
Power output port
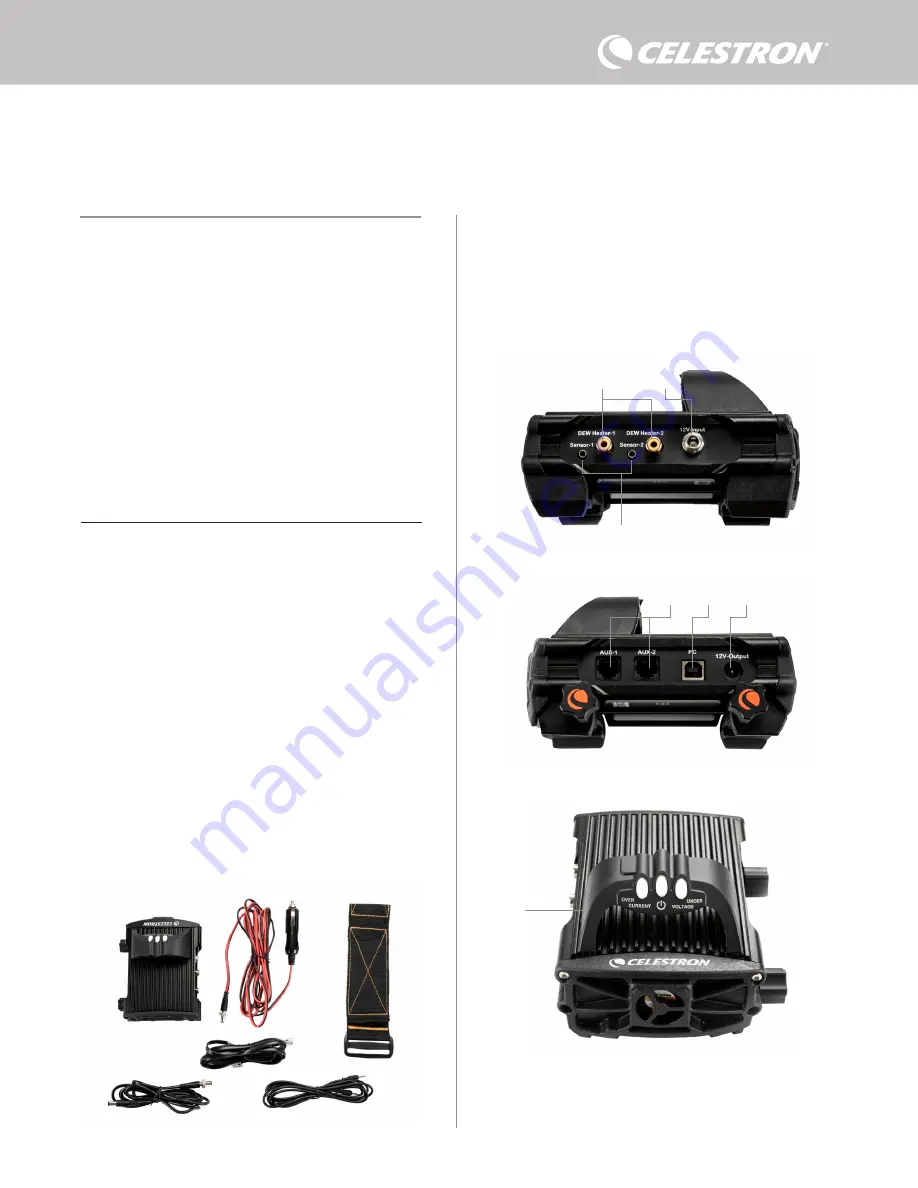
7.
Bridge


