


English
- 9 -
The Main media browser screen will be displayed.
You can display the approprite content by selecting
the Video, Music or Picture tab. Follow the button
indications under each on screen menu for media
playback features.
Pressing the
MENU
button while in the Media Browser
mode will access the Picture, Sound and Settings
menu options. Pressing the
MENU
button again will
exit from this screen.
You can set your Media Browser preferences by using
the Settings menu.
Note: If two USB devices are connected to the TV at
WKHVDPHWLPHWKH¿UVW86%GHYLFHFRQQHFWHGWRWKH
TV will be named USB drive 1. Select the drive by
using “ ” or “ ” buttons and press OK.
Quick Menu
The Quick Settings menu allows you to access some
options quickly. This menu includes
Power Save Mode,
Picture Mode, Equalizer Settings, Favourites
and
Sleep Timer
options.
Press
Q.MENU
button on the remote control to view
the quick menu. See the following chapters for details
of the listed features.
Changing Image Size: Picture Formats
Programmes can be watched in different picture
formats, depending on the transmission received.
You can change the aspect ratio (image size) of the
TV for viewing the picture in different zoom modes.
Press the “
” - (
SCREEN)
button repeatedly to
change the image size.
You can shift the screen
up or down by using
“ ”
or
“ ”
buttons while
in 14:9 Zoom, Cinema or Subtitle.
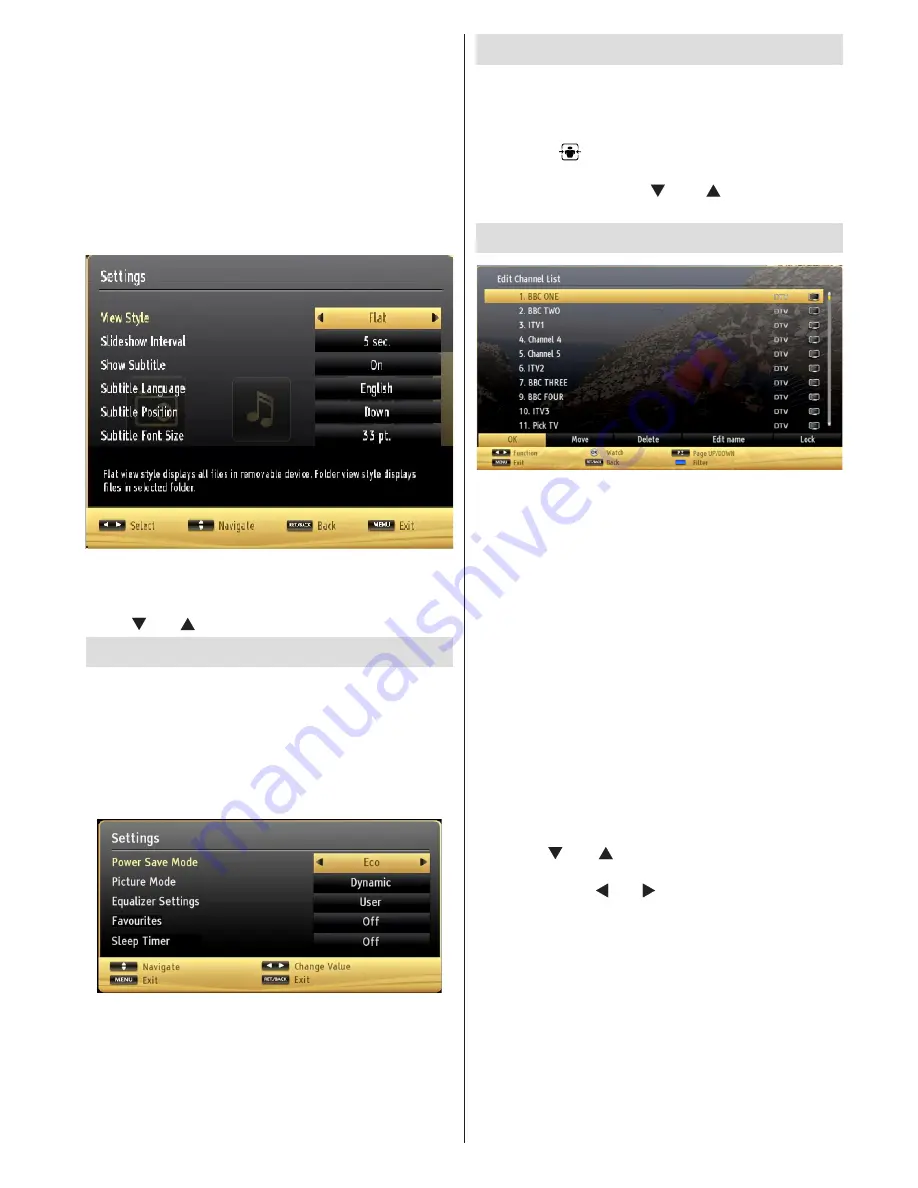
Using the Channel List
The TV sorts all stored stations in the Channel List.
You can edit this channel list, set favourites or set
active stations to be listed by using the Channel List
options. Press the
MENU
button to view the main
menu. Select the Channel List item by using
Left
or
Right
button. Press
OK
to view menu contents.
Select
Edit Channel List
to manage all stored
channels. Use
Up
or
Down
and
OK
buttons to select
Edit Channel List
. Press the
Up
or
Down
button
to select the channel that will be processed. Press
the
Left
or
Right
button to select a function on the
Channel List menu. Use
P+/P-
buttons to move page
up or down. Press
MENU
button to exit.
Sorting Channel List
You can select which broadcasts will be listed in the
FKDQQHOOLVW7RGLVSOD\VSHFL¿FW\SHVRIEURDGFDVW
you should use the Active channel list setting. Select
the Active channel list from the Channel list menu
by using “ ” or “ ” button. Press the OK button to
continue. You can select a network type option from
the list by using “ ” or “ ” and OK buttons.


