background image

Attention

Your CeiVA is currently displaying the 

demonstration slideshow.

to enjoy your own personal slideshow, please follow these three 
easy steps:

Power on your CeiVA.

1. 

Confirm that the slideshow is displaying.

2. 

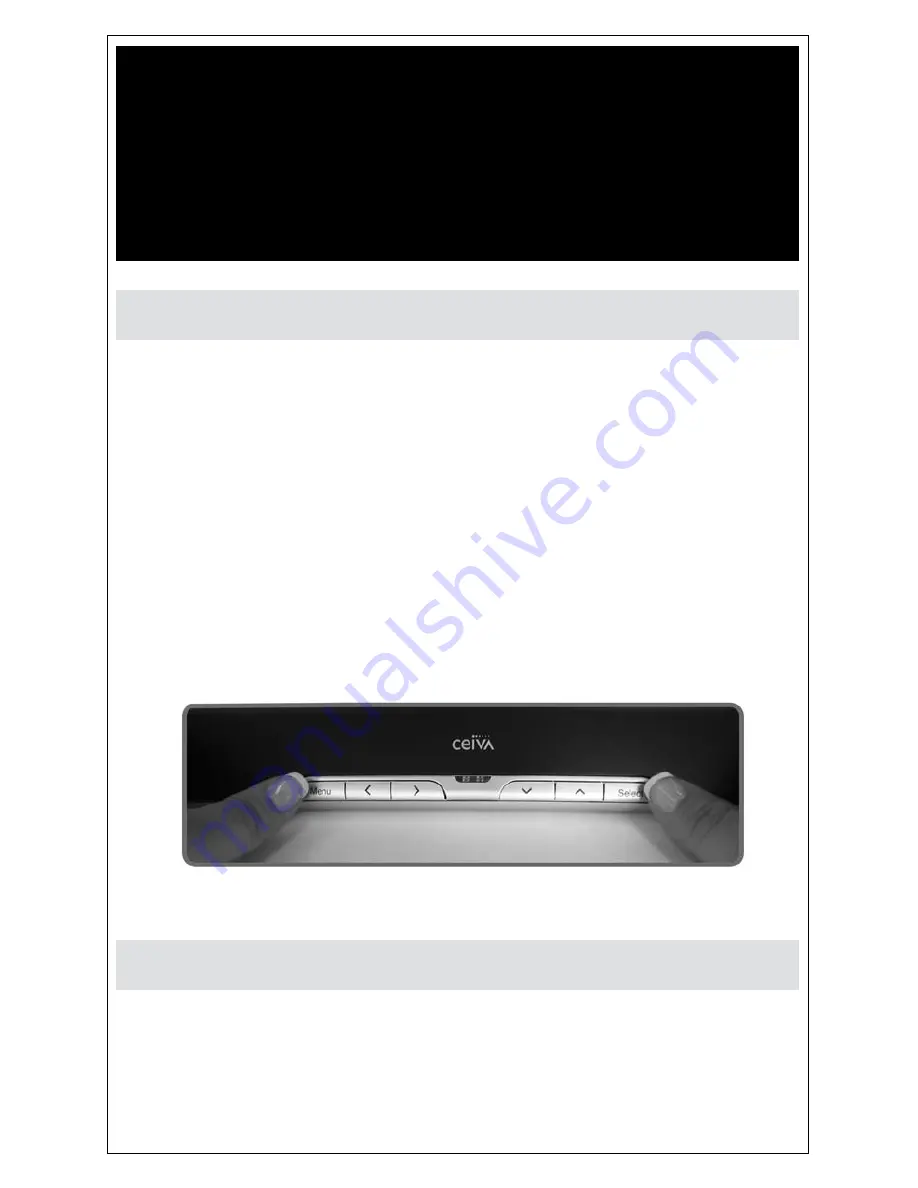
Hold both the Menu and Select buttons down for one 

3. 

second until the Congratulations screen appears.

This process is only necessary once.

For more information about how to display and receive 
photos on your CeiVA, see page 4. 

Displaying and Receiving Photos

Exiting the Demonstration Slideshow

Содержание LF4007

Страница 1: ......

Страница 2: ...r on your CEIVA 1 Confirm that the slideshow is displaying 2 Hold both the Menu and Select buttons down for one 3 second until the Congratulations screen appears This process is only necessary once Fo...

Страница 3: ...timing brightness and more Set your CEIVA to turn on and off automatically Add a CEIVA PicturePlan and Receive New Photo Updates Automatically Receive and display new photos from friends and family ar...

Страница 4: ...n Arrow Button 4 Up Arrow Button 5 Select Button 6 New Photo Indicator 7 Power Light 8 CF I CF II Slot 9 for Compact Flash or Microdrive memory card SD MMC MS Slot 10 for Secure Digital MultiMedia Car...

Страница 5: ...registering The serial number is located on the bottom of your CEIVA NOTE If you try to connect your CEIVA to the CEIVA Network before registering it it will display an error message Choose a Locatio...

Страница 6: ...family around the world Invite anyone you choose to share photos with you for free Send photos directly from your camera phone or online CEIVA account Store and organize all your photos in secure per...

Страница 7: ...ct button again to save your selection If your network does not require a key password you are finished 8 If your network requires a key please enter it at this time via the on screen keyboard Selecti...

Страница 8: ...to my CEIVA There are many ways to get your photos on your CEIVA The simplest way is to insert your camera memory card into the back of your CEIVA for an instant slideshow If you have a PicturePlan yo...

Страница 9: ...appear on the Info Bar The photo will be removed the next time your CEIVA connects to the CEIVA Network To cancel your delete request and keep the photo in your slideshow rotation repeat the steps fo...

Страница 10: ...n how you configure it You can set this feature online or by using the Connection Fre quency menu function The default is once per day When your CEIVA is not scheduled to connect to the CEIVA Network...

Страница 11: ...connect to a phone system NOTE For detailed information on how to address these and other network prob lems please visit http help ceiva com For detailed information on how to address broadband or wir...

Страница 12: ...ited States Patent No 6 442 573 D545 782 Other Patents Pending QSGUK091407 Need More Assistance Please visit http help ceiva com or email CEIVA Customer Care at customercare ceiva com Please include y...

Отзывы: