User Manual
11
5.2.1 Camera setup
Explanation
:
1
、
The modifications will be available after clicking [APPLY] button on the bottom of the sub-menu windows
and being prompted to save and then clicking [ok] button.
2
、
If you want to cancel the modification, click [Exit] button to exit the menu.
3
、
When clicking [DEFAULT] button, all system default values will be reset to default value.
4
、
System default value indicates the value pre-set at the factory.
5.2.2 Record setup
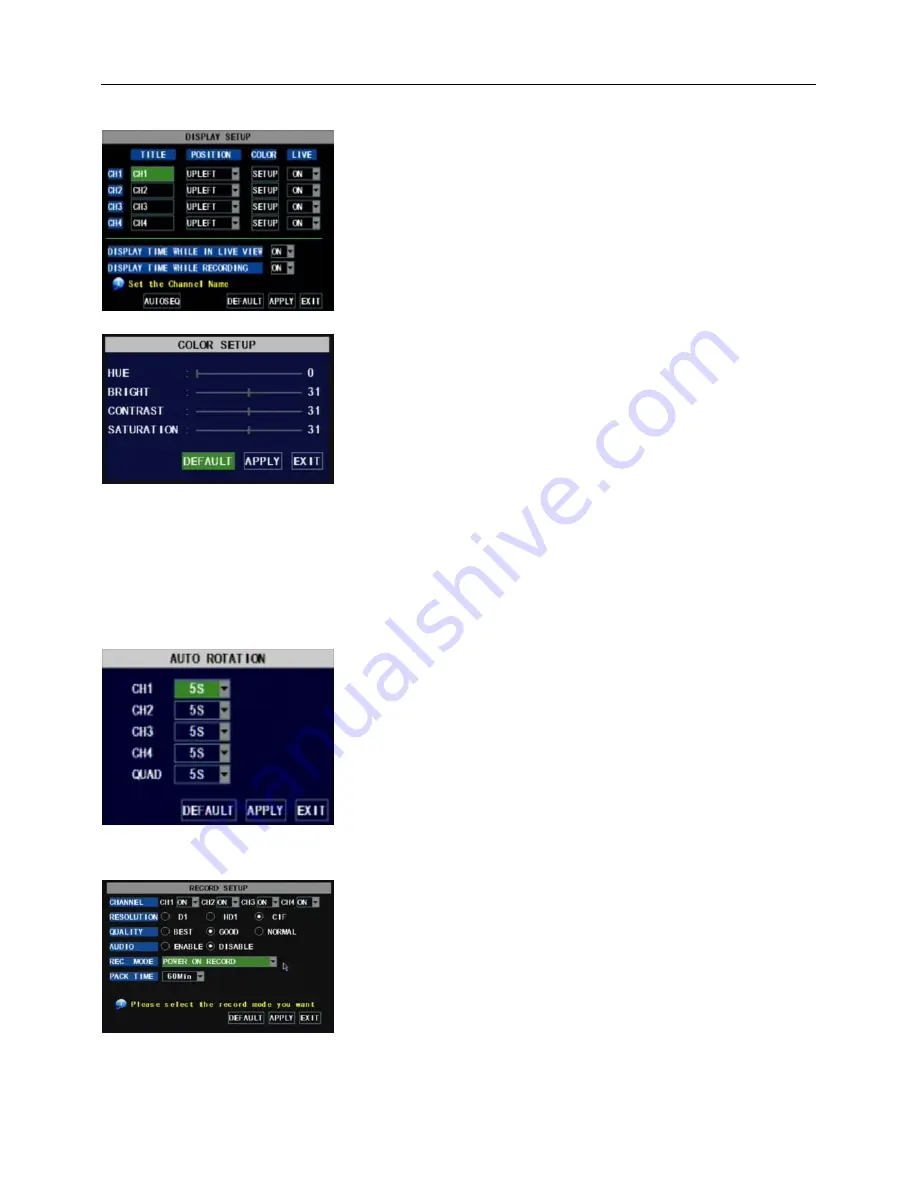
Go to [Main Menu Camera] to set up the name display
and position display of each channel (Shown as Picture 5-3), You
can also adjust image brightness, saturation, contrast and hue
settings of each channel after entering into [Color] Menu and set
up whether each channel can be previewed or not under Live
display and/or Recording mode.
Please note that the name of each channel supports up to
eight characters or four Chinese characters.
Click [Main Menu] [Record] to enter into [Record Setup]
menu (Shown as Picture 5-5)
Functions
:
1
、
The [Rec Mode] button allows you to setup recording 24
hours, on motion, or on a set schedule.
2
、
[PACK time] indicates maximum continuous time length of
recorded files (15, 30, 45, 60 min).
Below is the Color Menu where you can adjust image
brightness, saturation, contrast and hue parameters of each
channel.(shown as picture 5-4)
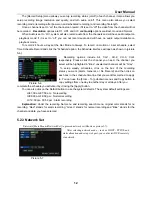
Picture 5-4
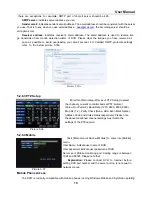
Picture 5-5
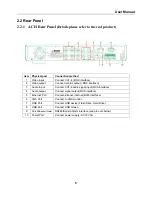
Picture 5-3
Click [AUTOSEQ] button to start auto rotation function.
(setting sub menu shown as Picture 5-4A. After starting auto
rotation function, system will auto rotate the video images among
CH1, CH2, CH3, CH4 and Quad in turn.
Default rotation time: 5 second
Settable time range: 0~10 second
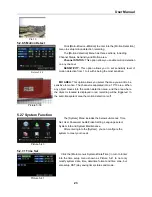
Picture 5-4A
Содержание 4CH
Страница 1: ...User Manual ...
Страница 40: ...User Manual 37 9 6 System connection Configuration 4 CH 8 CH ...


