background image


4.


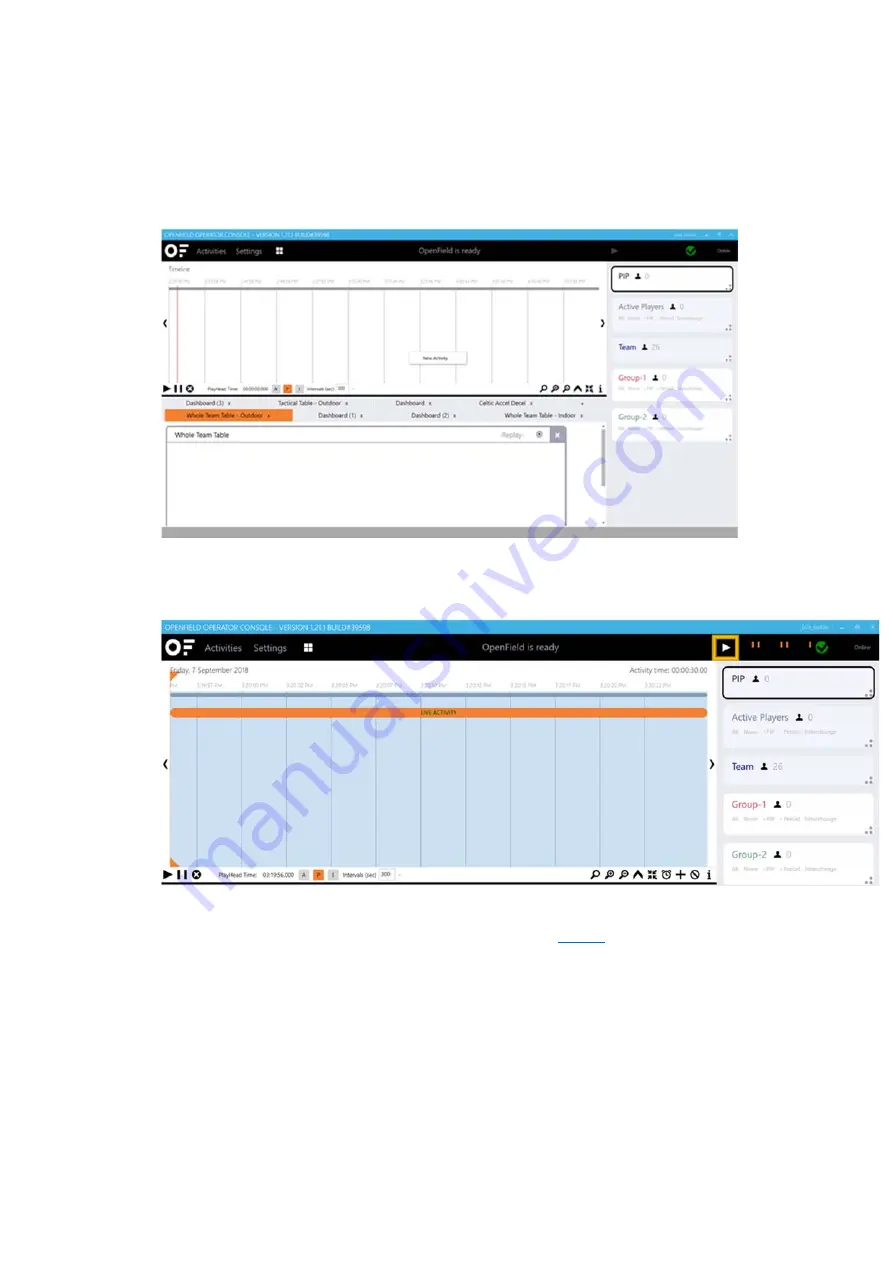
From the main user interface in the console, select Start to begin a new Live Activity. 

5.


Create a New Activity via the Activity Timeline by right clicking in the timeline area and selecting 
New Activity. From the new activity menu, fill in all of the details for the session such as Name, tag 
type, venue, teams, ect. Select ‘Create Activity’. 


6.


Hit the 'Play' Button up the top right of the User Interface; Once hit the button will change to a 
'Pause' Button 


7.


Start a New Live Period and PIP Athletes as necessary. See our 

Periods

 article for more 

information on how to create and stop Periods. 

8.


When the Activity is completed, stop all live Periods and press the pause button. 


Содержание Clearsky T6

Страница 1: ...nts 1 OUTLINE Pg 2 2 CLEARSKY T6 TAG Pg 2 4 3 SYSTEM LOGIN Pg 4 5 4 COLLECTING DATA Pg 6 7 5 DOWNLOADING DATA Pg 7 8 6 SOFTWARE USER GUIDE LINKS Pg 8 7 CLEARSKY ANCHOR CLEARSKY DOCK Pg 9 10 8 SUPPORT...

Страница 2: ...the Clearsky system include the worn Clearsky tag wireless Ultrawide Band UWB anchors for LPS tracking and a charging case 2 CLEARSKY T6 TAG The Clearsky T6 tag is a wearable LPS tag with embedded mi...

Страница 3: ...nd pressing start navigating to the settings menu will show athletes Pressing auto assign will assign tag IDs to players and will then transfer this configuration to the tag as described above 4 Start...

Страница 4: ...tag pocket located on the back of the vest Please ensure the tag has been turned on the power button prior to inserting the tag into the vest The tag is now ready to record your player s data 3 SYSTE...

Страница 5: ...in real time whilst the Tags are being used this is achieved via Data being collected through the Clearsky LPS anchor s Live Activities are extremely useful to be able to provide real time feedback o...

Страница 6: ...fill in all of the details for the session such as Name tag type venue teams ect Select Create Activity 6 Hit the Play Button up the top right of the User Interface Once hit the button will change to...

Страница 7: ...he OpenField console and select Data Transfer from the Console Tile Screen 3 The units connected to the PC will automatically begin downloading beginning with the most recent file moving back when the...

Страница 8: ...dget options Console Widgets 3 How to create a new dashboard on the cloud Cloud Dashboards 4 How to create a new widget on the cloud Cloud Widgets 5 How to customize a widget on the cloud Cloud Widget...

Страница 9: ...provides more robust communication between tags and anchors s and improves immunity to third party environmental interference such as Wi Fi The anchor is wireless and has a 12 hour battery life Users...

Страница 10: ...ort and a power supply port The USB port connects the tags to the PC via a USB cord to enable tag configuration and downloading of the raw files on the tags To operate plug the charging case into main...

Страница 11: ...able at https wearables catapultsports com hc en us that includes multiple getting started how to and troubleshooting articles Regulatory Notices USA Federal Communication Commission Interference Stat...

Страница 12: ...or an uncontrolled environment and must not be co located or operating in conjunction with any other antenna or transmitter This equipment complies with FCC RF radiation exposure limits set forth for...

Страница 13: ...13 This equipment should be installed and operated with minimum distance 0cm between the radiator your body...

Отзывы: