EN-48
Music Presets
3.
After you are finished, touch
br
EXIT to
return to the editing type selection screen
(page EN-47).
•
Up to approximately 999 measures can be contained
in a single preset.
If your edits cause this limit to be exceeded, the
message “Measure Limit” will appear on the screen
and further editing will become impossible.
■
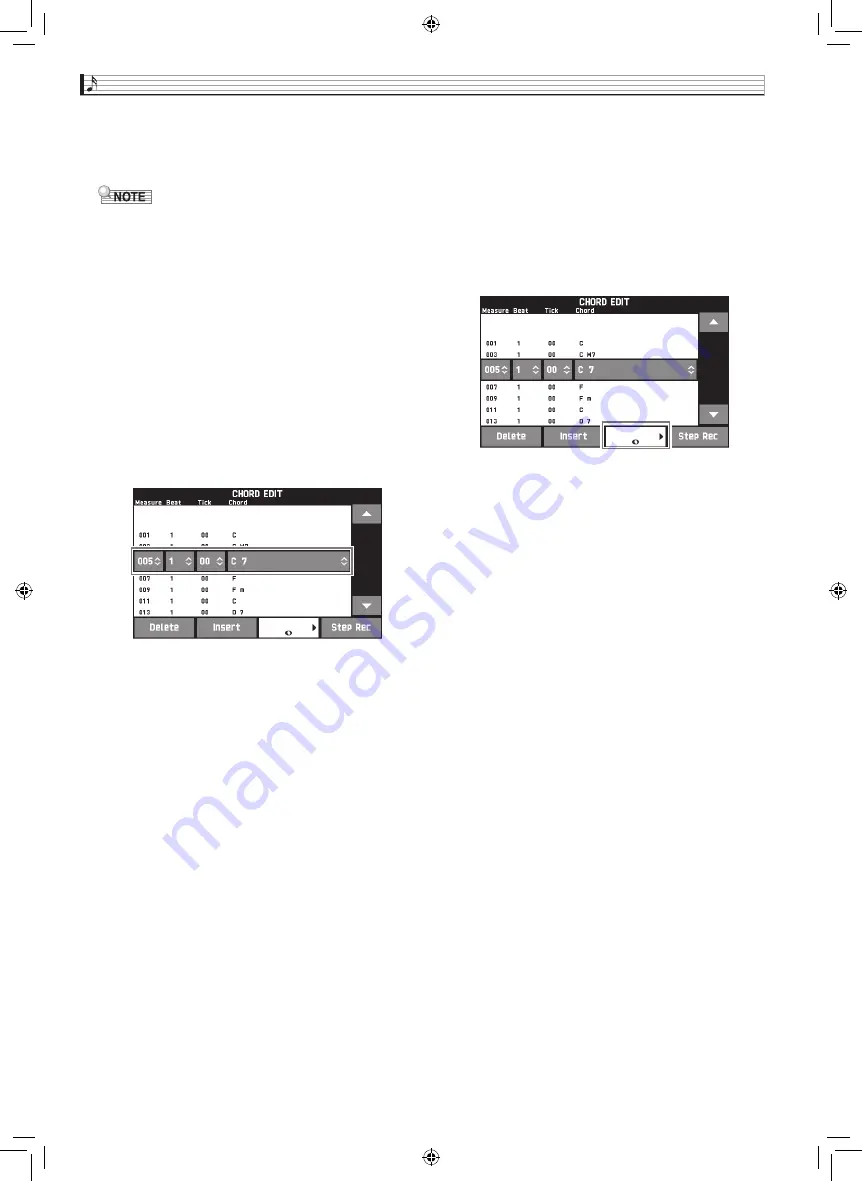
To edit preset chord information
1.
Use the on-screen “
e
” and “
r
” icons to
select the step you want to change.
2.
Input timing information or a chord.
•
To change the timing, touch the current “Measure”,
“Beat”, or “Tick” value, and then use the
bt
w
,
q
buttons to change the timing value.
•
To change a chord, touch it and then play the desired
chord on the keyboard.
•
The timing of the first step (001:1:00) is fixed and
cannot be changed. Also, the final step is always one
measure, regardless of the resolution.
■
To insert a new chord
1.
Use the on-screen “
e
” and “
r
” icons to
select the step that comes immediately
before the location where you want to insert a
new chord.
2.
Touch “Insert” and then play the desired
chord on the keyboard.
■
To insert a sequential series of steps
1.
Use the on-screen “
e
” and “
r
” icons to
select the step that comes immediately
before the location where you want to insert
the step.
2.
Touch “Step Rec”.
3.
Touch the note icon.
4.
Touch the note you want to use.
5.
Play a chord on the keyboard.
This inputs a step of the length you specified in step 4
above, and then advances to input of the next step.
•
Touching “Tie” without inputting a chord will
specify a tie.
•
Touching “Rest” without inputting a chord will
result in no chord being played during that step.
6.
After you are finished inserting steps, touch
“Step Rec” again to exit data editing.
■
To delete a step
1.
Use the on-screen “
e
” and “
r
” icons to
select the step you want to delete.
2.
Touch “Delete”.
•
You cannot delete the first step or the last step.
PX560-ES-1A.indd 50
2015/06/18 14:53:49


