


51
Inserting a Label Background Image
(Free Text Template)
1.
On the main window, click
.
2.
Click
or
, and then select the image you want to inser t.
•
The image appears in the preview image on the main window.
•
One image can be inserted per label area.
After you insert an image into print pattern
, you cannot input
text. To insert a label background image, choose
or
.
Note
•
See “Inserting an Image into a Label” on page 41 for information
about inserting images.
•
See “Configuring Lauout Settings” on page 36 for information about
print patterns.
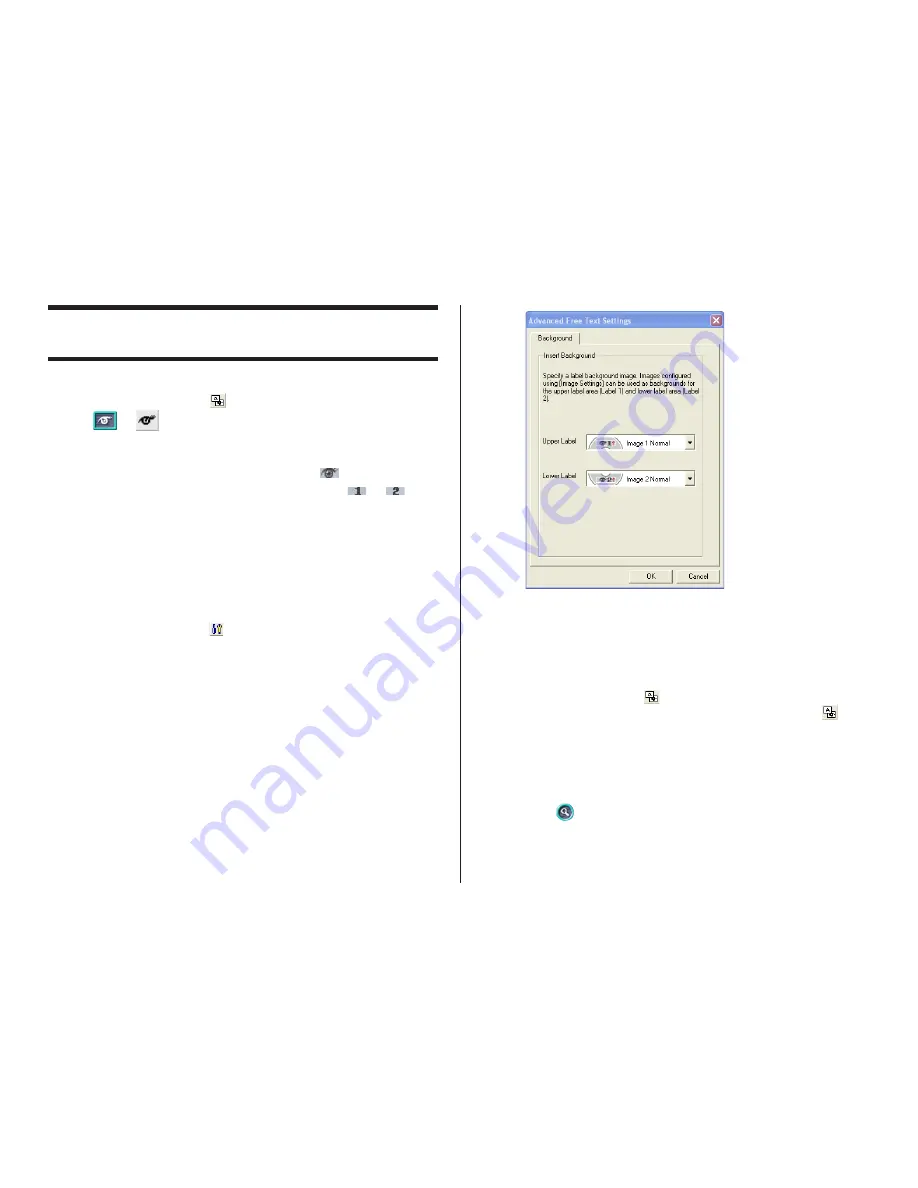
To specify the image orientation
1.
On the main window, click
.
This displays the
Advanced Free Text Settings
dialog box.
2.
Specify the orientation for the images in the upper label area and the
lower label area, and then click
OK
.
To turn off display of background images
1.
On the main window, click
.
This turns off display of the background images. Clicking
again
turns display of the background image back on.
Note
•
Text overlaid on a background image can become distor ted when
printed. Because of this, we recommend that you lay out your label
so the text is not overlaid on an image.
•
Clicking
displays an enlarged preview image, which comes in
handy when layout label elements.