


Configuring Settings to Suit Particular Music and Performance Venues (Scene)
EN-27
English
1.
Configure the settings below to create a user
scene.
•
Tone (including Acoustic Simulator and effects): Page
EN-10
•
Layer: Page EN-18
•
Split: Page EN-20
•
Song type number: Page EN-28
•
Others: Items with an asterisk (
*
) to the left of
“Display Name” in the “Parameter List” (page
EN-45).
•
An exclamation point (!) to the left of a scene name
indicates a preset setup has been modified but not
yet saved. It is recommended that you save the setup
to Digital Piano memory as soon as possible.
User scene can be saved to Digital Piano memory.
PREPARATION
•
Create the scene you want to save (page EN-27).
1.
Press the
SETTING
button.
2.
Use the
q
and
w
arrow buttons to select
“Scene” and then press the
ENTER
button.
3.
Use the
q
and
w
arrow buttons to select
“Write” and then press the
ENTER
button.
•
This displays a screen for saving the user scene.
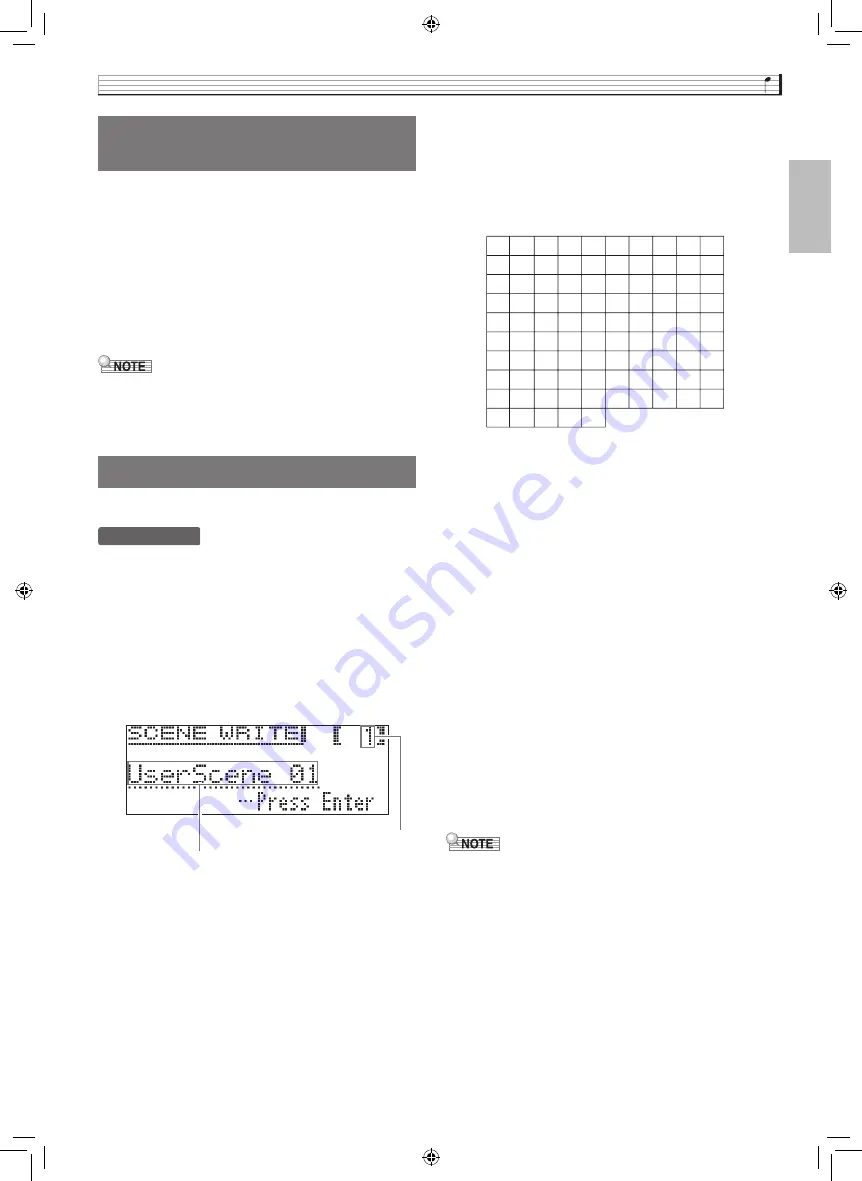
4.
Use the arrow buttons to move the cursor and
to change the scene number and name.
•
Use the
u
and
i
arrow buttons to move the cursor
to the input position.
•
Use the
q
and
w
arrow buttons to scroll through
characters at the current cursor position. Supported
input characters are shown in the table below.
•
An asterisk (
*
) to the left of a number indicates that a
setup is already saved to it.
•
While the cursor is located at the scene number, you
can jump to scene number 01 by pressing the
q
and
w
arrow buttons at the same time.
•
While an alpha character is selected, pressing the
q
and
w
arrow buttons at the same time will toggle it
between upper case and lower case.
5.
After inputting the number and name you
want, press the
ENTER
button.
•
This will cause the confirmation message “Sure?” to
appear.
6.
Press the
i
arrow button to execute the
save operation.
•
Press the
u
arrow button to cancel the save
operation.
•
The message “Please Wait...” will remain on the
display while the operation is being performed. Do
not perform any operation while this message is on
the display. After the operation is complete, the
display shows “Complete!” for a few moments and
then returns to the screen that was displayed when
you recalled the scene.
•
User scene data can be saved to a USB flash drive
and recalled back into Digital Piano memory as
required. For details, see the pages referenced
below.
–
Saving Digital Piano Data to a USB Flash Drive
(page EN-55)
–
Importing Data from a USB Flash Drive to Digital
Piano Memory (page EN-56)
Creating Your Own Scene
(User Scene)
Saving a User Scene
Scene name
Scene (memory) number
9
J
T
d
n
x
(
<
`
8
I
S
c
m
w
'
;
_
7
H
R
b
l
v
&
:
^
6
G
Q
a
k
u
%
/
]
5
F
P
Z
j
t
$
.
\
4
E
O
Y
i
s
#
-
[
3
D
N
X
h
r
"
,
@
~
2
C
M
W
g
q
!
+
?
}
1
B
L
V
f
p
z
*
>
|
0
A
K
U
e
o
y
)
=
{
GP500-ES-1C.indd 29
2015/10/28 14:20:38


