


www.cascadiadvrt.com
(888) 421-0050 65 |
P a g e
6.8.4
Recording
Video
on
Local
PC
during
Live
Mode
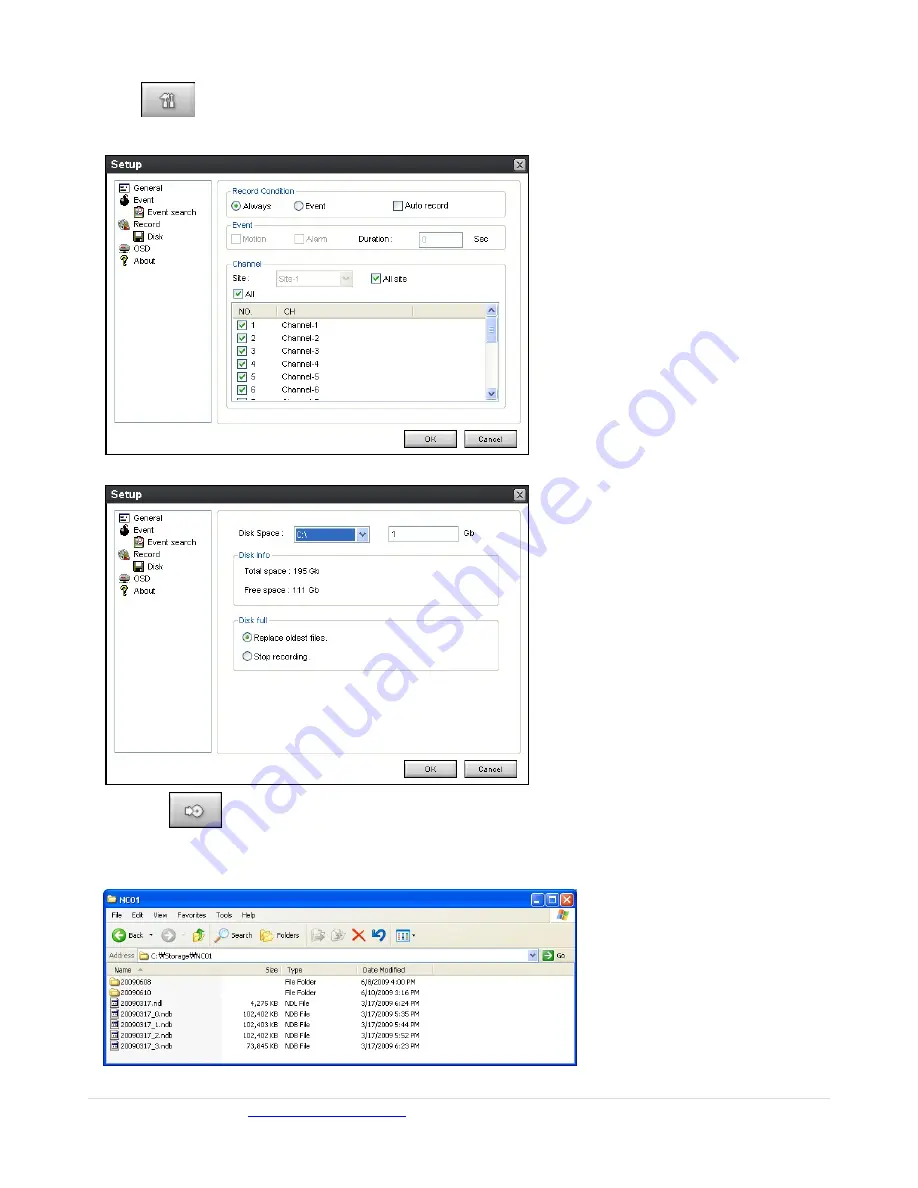
1.
Click
SETUP
button.
A
setup
window
will
be
displayed
as
below.
2.
Select
Record
and
set
the
values.
3.
Select
Disk
and
set
the
values.
4.
Left
‐
click
RECORD
ON
button.
The
button
color
will
change.
5.
Live
video
data
is
recorded
as
set
in
Record
and
Disk
setup.
This
video
data
can
be
searched
and
played
back
with
Local
Playback.


