


www.cascadiadvrt.com
(888) 421-0050 33 |
P a g e
2.8.1
DDNS
User
can
use
this
function
to
connect
to
a
network
with
a
domain
name.
The
DVR
supports
several
different
DDNS
services.
The
DDNS
interval
can
be
set
from
5
to
60
minutes.
To
connect
to
a
network
with
a
domain
name,
the
user
must
register
a
MAC
address
and
serial
number
of
the
DVR
and
create
a
unique
domain
name
on
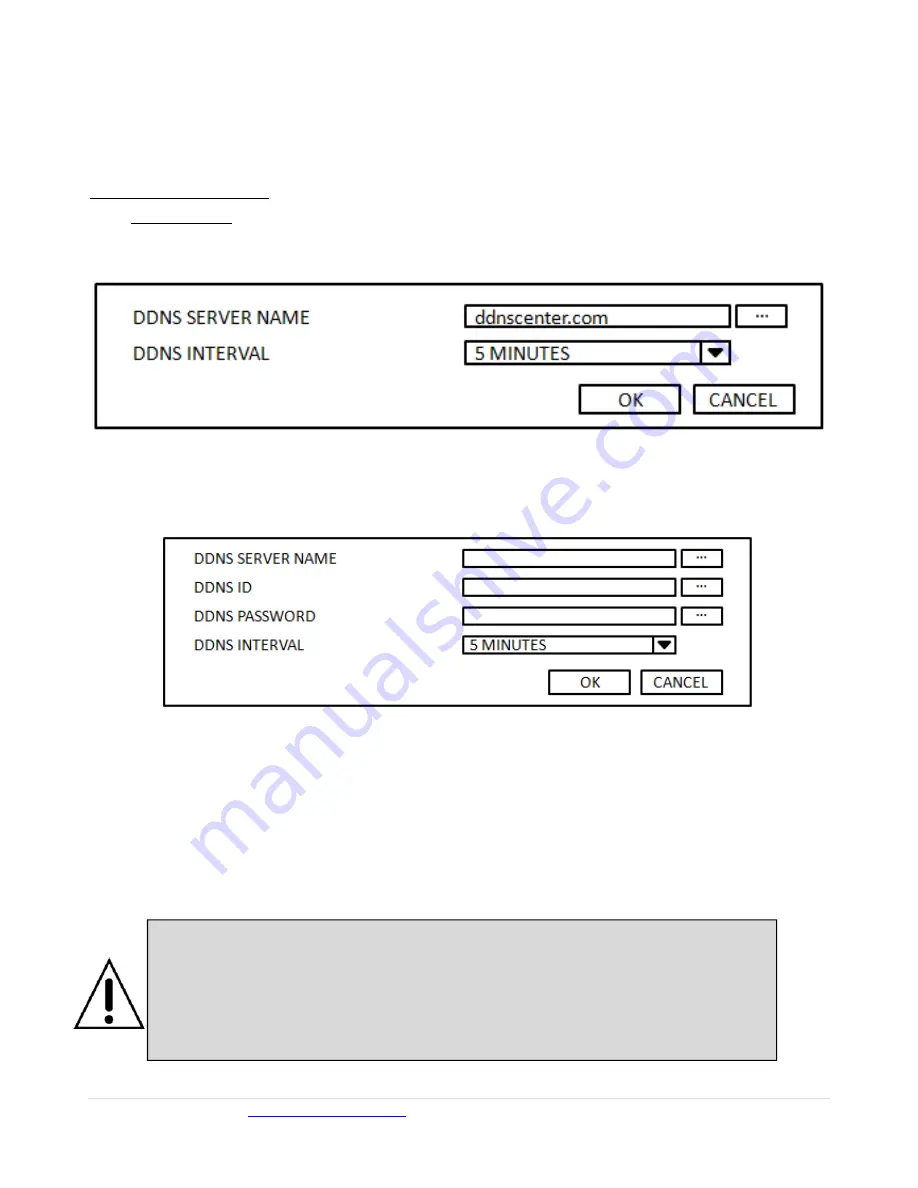
http://www.ddnscenter.com.
Select
ddnscenter.com
from
the
three
DDNS
servers.
(If
you
select
other
DDNS
server,
the
DVR
will
not
connect
to
the
DDNS
properly.)
Please
refer
to
“APPENDIX:
How
to
Connect
the
Network”
(pg.
105)
for
registration
details.
Figure
2.8.2
Network
setup
screen
–
DDNS
Server
1
If
the
user
wants
to
use
another
general
‐
purpose
DDNS
Server,
select
Server
2.
The
user
then
has
to
input
the
server
name,
ID,
and
password
using
a
virtual
keyboard.
Figure
2.8.3
Network
Setup
Screen
–
DDNS
Server
2
2.8.2
Network
Ports
When
you
connect
one
or
more
DVRs
to
a
network
through
an
IP
sharing
device,
each
device
must
have
a
unique
TCP
port
number
for
access
to
each
unit
from
outside
the
LAN.
The
IP
sharing
device
must
be
configured
to
forward
the
assigned
port
to
the
specific
DVR.
Note:
This
port
number
is
listed
next
to
the
Port
menu
option
in
the
Network
Setup
screen.
If
you
plan
to
access
the
DVR
units
only
from
within
the
same
LAN,
the
TCP
port
does
not
have
to
be
changed.
Network Access through a Router
In order to access the DVR remotely through a router (firewall), the user must open TCP
port for command level, live channels, and storage channels. The user needs to port
forward 3 ports in the router. These ports are found on the Network Tab of the DVR: 1)
Network, 2) Network Audio, and 3) WEB.


