background image

www.CasablancaFanCo.com

1.888.227.2178

30 inches

7 feet

PA
G

E

2

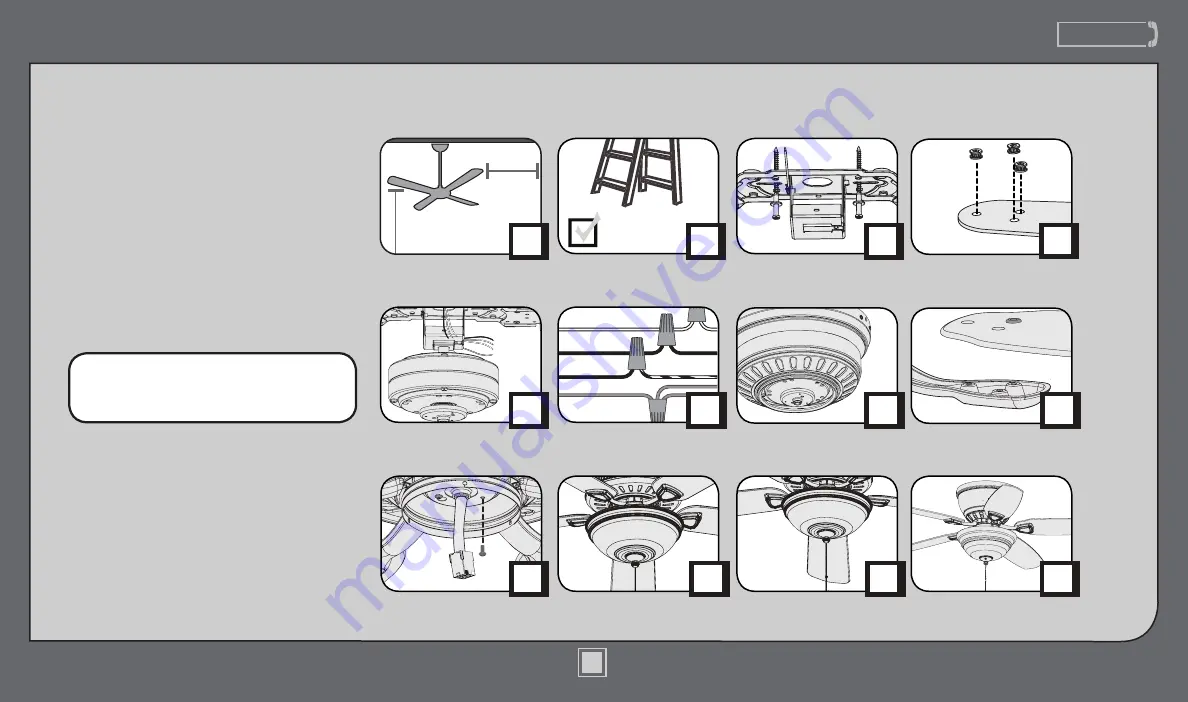
What to Expect with 

Your Installation

Ceiling Bracket

Ladder

PA
G

E

3

Tools Needed

PA
G

E

6

Hanging the Fan

PA
G

E

8

Motor Housing

PA
G

E

9

Blades

Table of Contents

PA
G

E

7

PA
G

E

5

Preparation

PA
G

E

4

Wiring

PA
G

E

10

Switch Housing

Congratulations on purchasing your new 
Casablanca® ceiling fan!  It will provide 
comfort and performance in your home 
or office for many years. This installation 
and operation manual contains complete 
instructions for installing and operating 
your fan.

We are proud of our work and appreciate 
the opportunity to supply you with the 
best ceiling fan available anywhere in the 
world.

To register your fan, please visit:

www.CasablancaFanCo.com/register

Save your receipt for proof of purchase.

Maintenance 

& Cleaning 

Troubleshooting

Light Kit

PA
G

E

11

PA
G

E

13

PA
G

E

14 

?

?

?

1

M6017-01 • 04/11/13 • © Casablanca Fan Company

Содержание Durant 54101

Страница 1: ...ceiling fan It will provide comfort and performance in your home or office for many years This installation and operation manual contains complete instructions for installing and operating your fan We are proud of our work and appreciate the opportunity to supply you with the best ceiling fan available anywhere in the world To register your fan please visit www CasablancaFanCo com register Save yo...

Страница 2: ...r by turning off the circuit breakers to the outlet box and associated wall switch location If you cannot lock the circuit breakers in the off position securely fasten a prominent warning device such as a tag to the service panel w 3 To reduce the risk of fire electrical shock or motor damage use only Casablanca Solid State Speed Controls w 4 To reduce the risk of personal injury do not bend the b...

Страница 3: ...caFanCo com 1 888 227 2178 Tools Needed Ladder Power Drill optional 9 64 Drill Bit optional Screwdrivers If mounting to a support structure you will also need these tools 3 M6017 01 04 11 13 Casablanca Fan Company ...

Страница 4: ...rews included when securing to support structure with approved electrical outlet box Drill 9 64 pilot holes in support structure to aid in securing ceiling bracket with hardware found in the hardware bag Use machine screws provided with outlet box when securing to existing ceiling fan rated outlet box Make sure it is securely installed and is acceptable for fan support of 31 8 kg 70 lbs or less Ma...

Страница 5: ...g Bracket continued Preparation Time Saver Tip Get a helper to insert grommets found in the hardware bag into the blades while you re doing the next couple of steps www CasablancaFanCo com 1 888 227 2178 5 M6017 01 04 11 13 Casablanca Fan Company ...

Страница 6: ...d place the square hanger into the opening in the ceiling bracket Be sure the ground wire attached to the hanger faces out of the large opening in the ceiling bracket Locking Screw Ground Wire Note Fan style may vary Once the motor is in the ceiling bracket use the two locking screws found in the hardware bag to secure the motor to the ceiling bracket Screw Hole ...

Страница 7: ...e white wire grounded from the ceiling to the white wire from the fan Using the orange wire connectors from the hardware bag connect the white wire grounded from the ceiling to the white wire from the fan Connect the black wire ungrounded from the ceiling to the black wire from the fan Connect the second ungrounded wire from the ceiling to the blue wire from the fan FROM FAN White Ungrounded Black...

Страница 8: ...g Screw Holes Motor Housing Screw Indentation Notch Raise the motor housing up over the motor and ceiling bracket Turn the motor housing so the screw holes align and the indentation in the housing locks into place with the notch in the ceiling bracket The motor housing is not secured until the next step is complete Do not leave unattended 8 M6017 01 04 11 13 Casablanca Fan Company ...

Страница 9: ...a blade iron with screws found in the hardware bag Lightly attach the blade irons to the motor with screws found in the hardware bag then securely tighten after both screws are attached Your blades are shielded with Dust Armor which is a nanotechnology coating that repels dust For cleaning the fan use soft brushes or cloths to prevent scratching Cleaning agents may damage the finishes ...

Страница 10: ...ardware bag halfway into the motor housing It does not matter which two screw holes you choose Insert the third screw found in the hardware bag into place and then tighten all three screws Make sure the upper switch housing is securely attached to the mounting plate Failure to properly secure all 3 assembly screws could result in the switch housing fixture falling Switch Housing 10 M6017 01 04 11 ...

Страница 11: ...t kit Go to www CasablancaFanCo com FAQs and click How do I install my fan without the light kit Lift the lower switch housing up until the screw holes line up with the screw holes in the upper switch housing Connect the plugs from the upper and lower switch housings Make sure to line up the colored markings on the connectors Install a CFL bulb into each socket Insert three switch housing screws f...

Страница 12: ...thread the fan pull chain through the grommet hole in the side of the finial cap Bowl Glass Holder Finial Cap Finial Thread the light pull chain through the hole in the finial and screw the finial onto the threaded rod Connect the pull chain pendants to the short chains coming from the fan Be sure to turn the power back on at the breaker and the switch before trying to operate fan ON Turn Power CO...

Страница 13: ... Use soft brushes or cloths to prevent scratching Cleaning products may damage the finishes Changing the bulbs Unscrew the finial and remove it from the threaded rod Remove the finial cap and unscrew the globe keeper while supporting the globe with your other hand Carefully remove the globe Unscrew bulbs and replace with bulbs of same type and wattage Reinstall the globe assembly Changing the dire...

Страница 14: ...nug Check to see if any of the blades are cracked If so replace all of the blades Fan doesn t work Make sure power switch is on Pull the pull chain to make sure it is on Push the motor reversing switch firmly left or right to ensure that it is engaged Check the circuit breaker to ensure the power is turned on Make sure the blades spin freely Turn off power from the circuit breaker then loosen the ...

Отзывы: