


178
Fig. 95 — Modulating Gas Valve Bypass
Adjustment
MAIN BURNERS
For all applications, main burners are factory set and should re-
quire no adjustment.
MAIN BURNER REMOVAL AND REPLACEMENT
1. Shut off (field-supplied) manual main gas valve.
2. Shut off power to unit.
3. Remove gas section access door, door frame, and corner post.
4. Disconnect gas piping from gas valve inlet.
5. Remove wires from gas valve.
6. Remove wires from rollout switch.
7. Remove sensor wire and igniter cable form IGC board.
8. Remove 2 screws securing manifold bracket to basepan.
9. Remove 2 screws that hold the burner support plate flange
to the vestibule plate.
10. Lift burner assembly out of unit.
11. Replace burner assembly. Reinstall by reversing Steps 1
to 10.
Moisture/Liquid Indicator
A clear flow of liquid refrigerant indicates sufficient charge in
the system. Bubbles indicate undercharged system or the pres-
ence of noncondensables. Moisture in the system measured in
parts per million (ppm) changes the color of the indicator.
Green — moisture below 45 ppm (dry)
Chartreuse — 45 to 130 ppm (caution!)
Yellow — moisture above 130 ppm (wet)
Change filter driers at the first sign of moisture in the system.
See Carrier Charging Handbook for more information.
Filter Drier
Replace whenever the moisture/liquid indicator shows mois-
ture in the system.
Liquid Line Service Valves
Use caution when closing liquid line service valves. The ex-
pansion of a trapped liquid can create dangerously high pres-
sures. Remove refrigerant immediately from trapped sections
or attach a hose from the high side to the low side of the system
to provide relief. If equipped with a liquid line solenoid valve
in the evaporator section, it will be closed during the off-cycle.
This creates the potential for a liquid trap between the solenoid
valve and a closed service valve. Remove refrigerant immedi-
ately from the section or attach a hose for relief.
Protective Devices
COMPRESSOR PROTECTION
Overcurrent
Each compressor has one manual reset, calibrated trip, magnet-
ic circuit breaker. Do not bypass connections or increase the
size of the circuit breaker to correct trouble. Determine the
cause and correct it before resetting the breaker.
Overtemperature
Each compressor has a protector to protect it against excessive-
ly high discharge gas temperatures.
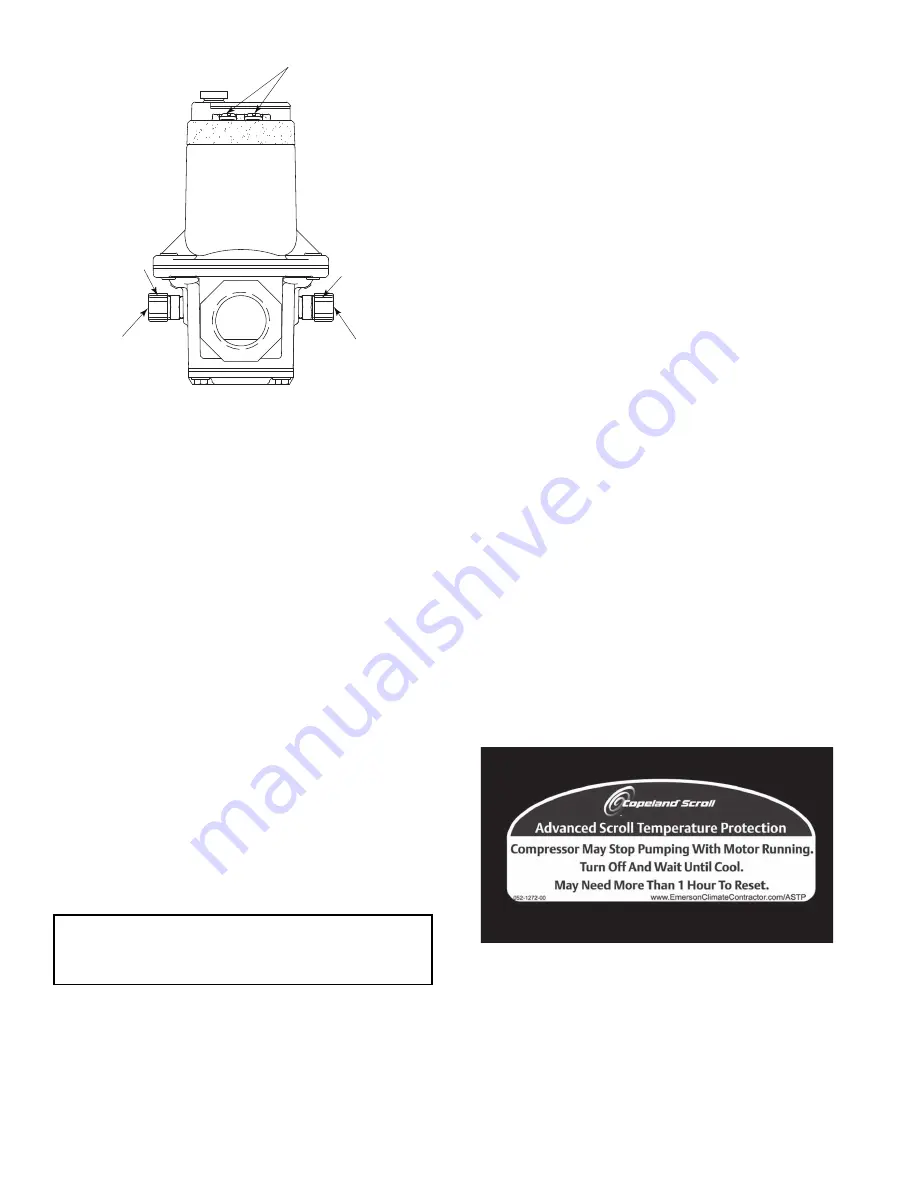
Additionally, some units contain Copeland compressors equipped
with advanced scroll temperature protection (ASTP). A label lo-
cated above the terminal box identifies Copeland Scroll compres-
sor models that contain this technology. See Fig. 96. Advanced
scroll temperature protection is a form of internal discharge tem-
perature protection that unloads the scroll compressor when the in-
ternal temperature reaches approximately 300°F. At this tempera-
ture, an internal bi-metal disk valve opens and causes the scroll el-
ements to separate, which stops compression. Suction and
discharge pressures balance while the motor continues to run. The
longer the compressor runs unloaded, the longer it must cool be-
fore the bi-metal disk resets. See Fig. 97.
To manually reset ASTP, the compressor should be stopped
and allowed to cool. If the compressor is not stopped, the mo-
tor will run until the motor protector trips, which occurs up to
90 minutes later. Advanced scroll temperature protection will
reset automatically before the motor protector resets, which
may take up to 2 hours.
Fig. 96 — Advanced Scroll Temperature
Protection Label
IMPORTANT: Unit must be in operation at least 12 hours
before moisture indicator can give an accurate reading.
With unit running, indicating element must be in contact
with liquid refrigerant to give a true reading.
TERMINAL
S
RIGHT
BYPA
SS
CAP
LEFT
BYPA
SS
CAP
LEFT
ADJU
S
TMENT
S
CREW
(HIDDEN)
RIGHT
ADJU
S
TMENT
S
CREW
(HIDDEN)
Содержание Weathermaster 48P2030-100
Страница 130: ...130 Fig 19 Typical Power Schematic Sizes 040 075 Shown ...
Страница 131: ...131 Fig 20 Main Base Board Input Output Connections ...
Страница 132: ...132 Fig 21 RXB EXB CEM SCB Input Output Connections ...
Страница 133: ...133 Fig 22 Typical Gas Heat Unit Control Wiring 48P030 100 Units Shown ...
Страница 134: ...134 Fig 23 Typical Electric Heat Wiring 50P030 100 Units Shown ...
Страница 135: ...135 Fig 24 Typical Power Wiring 115 V ...
Страница 136: ...136 Fig 25 Typical Gas Heat Section Size 030 050 Units Shown ...
Страница 138: ...138 Fig 27 Component Arrangement Size 030 035 Units ...
Страница 139: ...139 Fig 28 Component Arrangement Size 040 075 Units ...
Страница 140: ...140 Fig 29 Component Arrangement Size 090 100 Units ...


