50
To change IP address manually, press TCP/IP Address to
display the TCP/IP Address screen. See Fig. 59.
Enter the new address and validate it by pressing OK. Re-
turn to the Network screen and enter the subnet mask and de-
fault gateway using the same method. Then return to the appli-
cation and save the changes. See Fig. 60.
Web Address —
This configuration is normally done at
the factory and is not typically modified in the field. To check
the parameters, press Web Connection. The Startup Connection
screen is displayed. See Fig. 61.
If needed, press “Edit Connection.” See Fig. 62. Default pa-
rameters are shown; to modify, press a specific parameter.
System Configuration —
On the main Setup screen
(see Touch Screen Settings for the Controller on page 49),
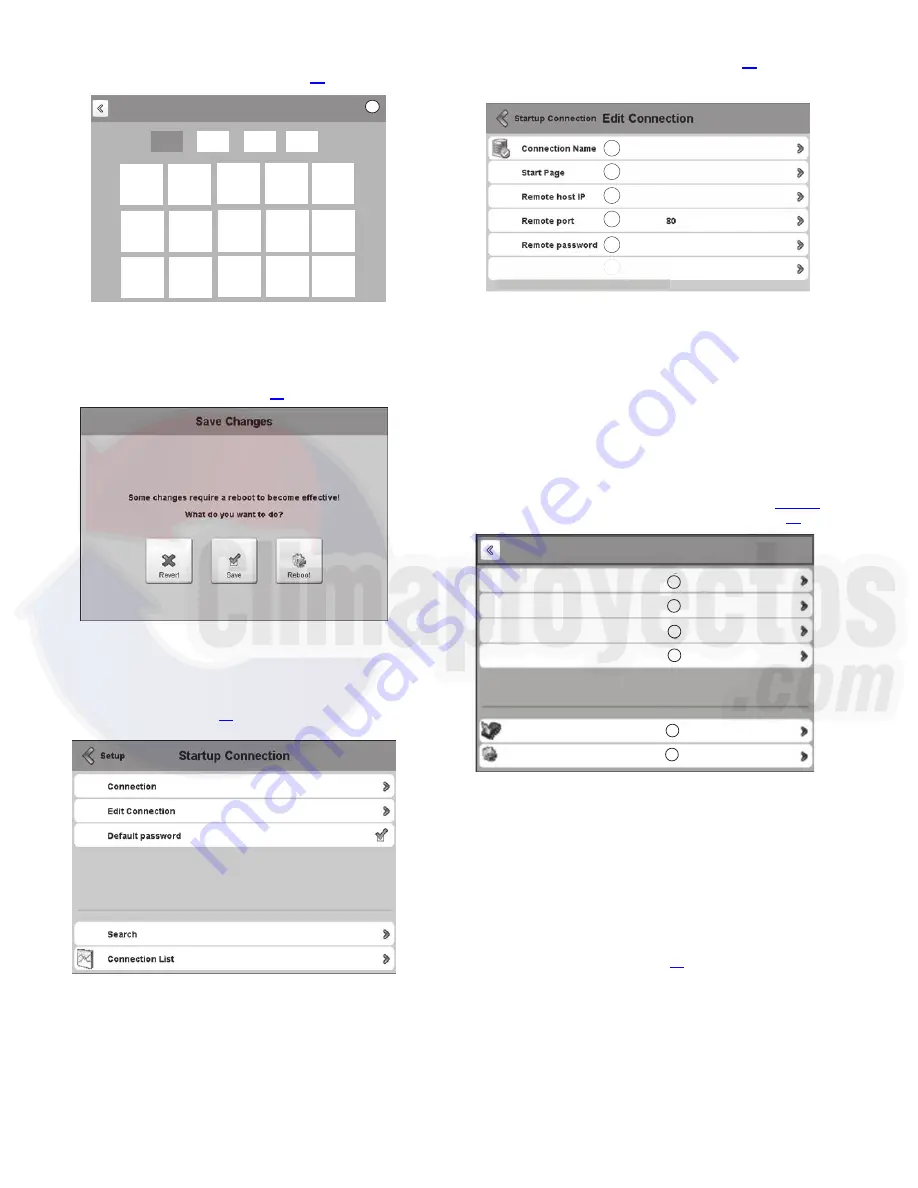
press System. The System screen is displayed. See Fig. 63.
Press Info on the System screen to display detailed informa-
tion about the HMI panel. See Fig. 64.
Fig. 59 — TCP/IP Address Screen
a19-2162
Help
Network
TCP/IP Address
i
172
30
101
103
.
.
.
1
2
3
4
5
6
7
8
9
clr
prv
0
ok
<=
=>
Fig. 60 — Save Changes
Fig. 61 — Startup Connection
hmi.html
127.0.0.1
5
6
4
3
2
1
6
Fig. 62 — Edit Connection
LEGEND
1
— Connection Name: startup
2
— Start Page Name: hmi.html
3
— Remote host IP: Not applicable for the application.
Do not modify.
4
— Remote port: Not applicable for the application.
Do not modify.
5
— Remote password: Not applicable for the application.
Do not modify.
Fig. 63 — System Screen
LEGEND
1
— Software version
2
— Settings: Systems Settings
3
— Special: Reset to 0, flash formatting, clock parameters.
Do not modify.
4
— Log: Unit start-up history
5
— Firmware update (not applicable)
6
— Unit reboot
a19-2164
System
Info
1
Settings
2
Special
3
Log
4
FW download
5
Reboot
6
Setup
Содержание AquaEdge 19XR
Страница 7: ...7 Fig 3 IOB 2 ...
Страница 8: ...8 Fig 4 IOB 3 ...
Страница 9: ...9 Fig 5 IOB 4 ...
Страница 105: ...105 APPENDIX E ISM WIRING DIAGRAMS cont a19 2372 Fig T One Line Diagram of Medium Voltage VFD Power Typical ...
Страница 107: ...107 APPENDIX E ISM WIRING DIAGRAMS cont Fig V Starter Field Wiring Schematic USE 8TB 9 10 IOB3 ...


