background image


OWNER’S MANUAL


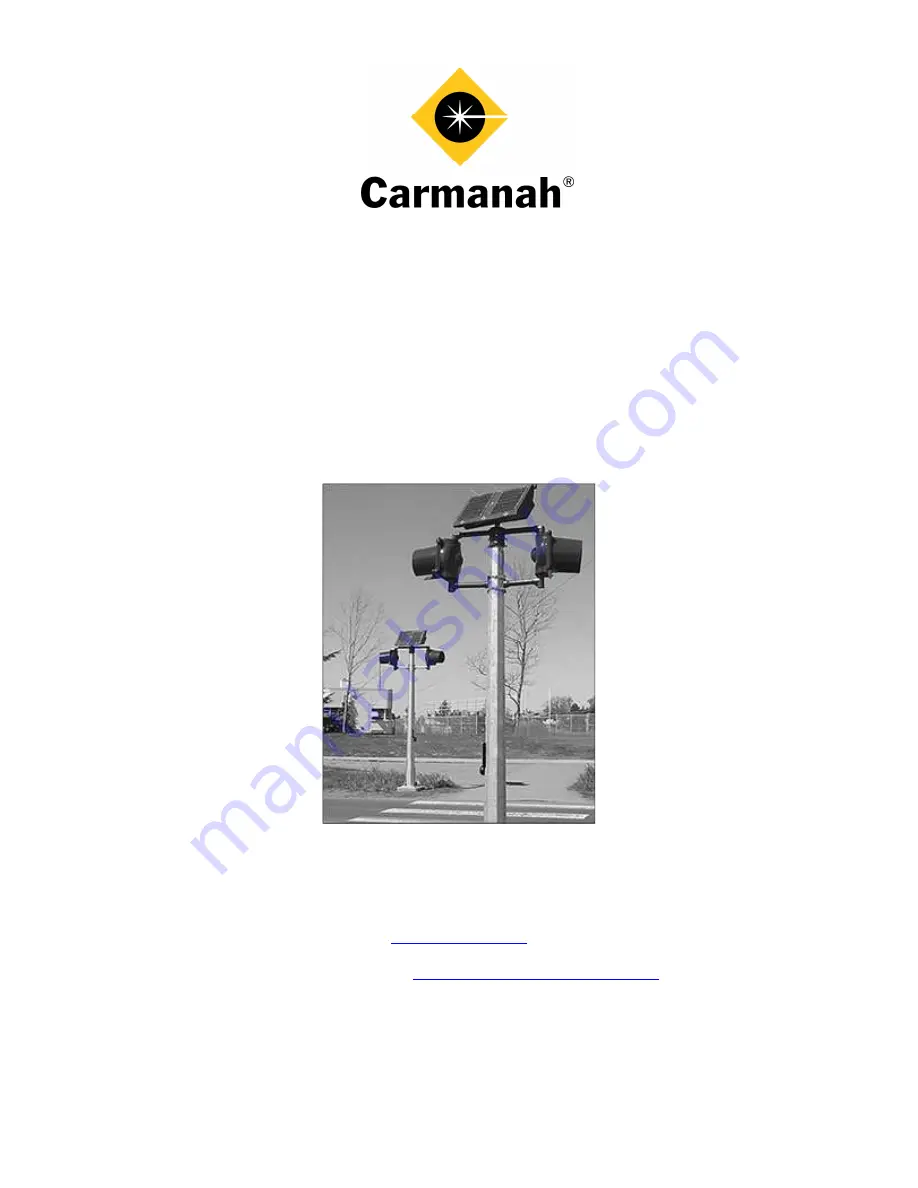
Solar-Powered LED Pedestrian Crosswalk  

Flashing Beacon - Model R820 


© July 13, 2006, Carmanah Technologies Inc. 

www.carmanah.com


Technical Support: 

[email protected]


Toll Free in North America:  1-877-722-8877 

International: +1 (250) 380-0052  |  Fax: +1 (250) 389-0040 


R820 - 36983

Содержание R820

Страница 1: ...an Crosswalk Flashing Beacon Model R820 July 13 2006 Carmanah Technologies Inc www carmanah com Technical Support customerservice carmanah com Toll Free in North America 1 877 722 8877 International 1 250 380 0052 Fax 1 250 389 0040 R820 36983 ...

Страница 2: ......

Страница 3: ...Installation 7 3 2 2 Temporarily Connecting System Pieces to Configure System 8 3 2 3 Primary Secondary Channel Selection 8 3 3 CONFIGURING THE FLASH DURATION AND TIMER DELAY 9 3 3 1 Factory Flash and Timer Delay Settings 10 3 3 2 Battery Connection Customized Flash Duration and Timer Delay 10 3 4 PREPARING R820 COMPONENTS FOR FIELD INSTALLATION 12 3 4 1 Using a New Pole Wiring the R820 Button 13 ...

Страница 4: ...an overhead or in advance of the crosswalk Since the R820 operates entirely by solar power connecting to grid power is unnecessary In addition wireless communication between units means that the R820 requires no trenching of cables across the roadway The R820 solar powered roadway light is designed to operate reliably under all environmental conditions with no scheduled maintenance for up to 5 yea...

Страница 5: ...er 7 2006 5 2 0 Component Identification 1 LED Signal Module 2 Polycarbonate Signal Head 3 Solar Engine 4 Antenna Assembly 5 Bird Deterrent 6 Pole not included 7 Push Button Mounting Plate 8 Push Button 9 Push Button sign 10 Sign not included 11 Top Brackets optional 12 Bottom Brackets optional 2 3 4 11 11 6 2 2 1 1 2 3 4 10 8 7 6 9 5 12 12 ...

Страница 6: ...g with the installation 3 1 1 Optimal Solar Location As the Carmanah Model R820 is a solar powered device it is critical to position the unit in relation to the optimum angle of the sun in order to achieve maximum solar power generation To do this the Solar Engine must ideally be installed in a non shady location where it can be angled towards the equator for maximum solar exposure during daylight...

Страница 7: ...nclosure To set up the external pieces attached to the Solar Engine complete the following steps 1 Identify the three bird deterrents and set aside 2 Remove the cover with the solar panels from the top of the Solar Engine 3 Attach each of the three bird deterrents included with the R820 to the top of the solar panel via the pre drilled holes Ensure the solar panels remain as clean as possible 4 De...

Страница 8: ...tton wire has two ring terminal connectors 5 Connect the remaining two wires to the two signal heads Note The signal head connections use Molex quick connectors 3 2 3 Primary Secondary Channel Selection The channel chosen for each system must be the same in each unit of that system Five channel switches give the possibility of 32 unique channels as shown in Figure 9 below Each R820 system is shipp...

Страница 9: ...er located between the two batteries See Figure 10 2 The DIP switches are located on the logic card and has eight individual switches See Figure 11 Switch 1 is used to configure the unit as a Primary or a Secondary ON position is PRIMARY OFF position is SECONDARY Switches 2 and 3 are not used Switches 4 through 8 are used to set the channel 3 3 Configuring the Flash Duration and Timer Delay The cu...

Страница 10: ...ht will flash for flash duration seconds after the new button press 3 3 1 Factory Flash and Timer Delay Settings The default factory configuration is a 20 second flash duration with a zero second delay between activations What this means is if a second pedestrian should press the button while the light is flashing the light will flash for 20 seconds starting from the moment the button is pressed T...

Страница 11: ...yond 60 seconds d Press and hold the button for 3 seconds until the light flashes quickly 6 times e The light is now set to the new values and will demonstrate its settings If the new values are incorrect you can repeat starting from Step a within 30 seconds Resetting Factory Default Settings Once the batteries are connected in Step 4 above a Hold the button for 10 seconds the light will flash onc...

Страница 12: ...the solar panel wires located on the underside of the solar panel cover to the female connector with one red and two black wires going into the logic card housing 3 Re install the cover with the solar panels on the top of the Solar Engine Ensure the notch in the top cover mates with the antenna mount 4 Disconnect the button and the signal heads and carefully recoil the wires exiting the mounting t...

Страница 13: ...y a 10 foot Type 1 pedestrian pole is used for the installation A Type 9 with the mast arm for over the road configuration or any other pole that has a 4 to 4 5 OD top cap can also be used Note If you use a 4 OD Pole you will need longer bolts than those provided 3 5 2 Using an Existing Pole Wiring the R820 Buttons Note ADA regulations specify that the button should be 42 from the ground 1 Tap the...

Страница 14: ...using two installers stand the pole up and set onto the mounts 3 Bolt the pole to the mounting hardware already poured in the concrete base 4 Position the Solar Engine so that the unit achieves maximum solar power generation by angling the solar panel towards the equator and tipping it upwards at an angle equal to the latitude of the geographical location of the installation plus 5 degrees For exa...

Страница 15: ... 2 Connect the signal wire from the Solar Engine to the LED module 3 Attach the bottom brackets then level the solar head and tighten the top cap bolts The bottom brackets can be affixed with bolts or stainless steel straps 4 Next tighten the setscrew on the cap and position the lenses towards oncoming traffic 5 Tighten the bolts inside the signal heads 6 Attach the crosswalk signs to the poles Fi...

Страница 16: ...2 The main battery housing has several vents and drain holes Ensure that they are free of debris 3 Visual inspection check over exterior assembly for cracks missing or broken hardware or other potential problems 4 1 Troubleshooting There are two faults that may occur with the R820 that will prevent the light from flashing 1 Check the battery connection and the LED array connection to ensure that t...

Страница 17: ...lied with each unit The warranty can also be viewed online at http www carmanah com content products warranty Mail Carmanah Technologies Corp Building 4 203 Harbour Rd Victoria BC Canada V9A 3S2 Phone 250 380 0052 1 877 722 8877 Toll Free in Canada U S Fax 250 380 0062 Email customerservice carmanah com Website www carmanah com 5 2 Additional Products Carmanah offers a variety of solar powered and...

Страница 18: ...put Yellow Dominant Wave Length 590 nm Flash Pattern On Time Off Time 0 55s 0 55s MUTCD Compliant Bouncing Ball Battery Capacity 400 Whr Lens Colors Yellow ITE compliant Material 8 or 12 polycarbonate is hard coated for abrasion Communication RF Transmission 900 MHz Frequency hopping spread spectrum Transmit Output Power Less than 100 mW Effective Range 165 ft 50 m line of site operation Antenna T...

Отзывы: