29
Advanced
Functions
E
Enter your title in the camera’s memory before you start recording. The title can be one or two lines of up
to 16 characters each.
1. Open the camera menu to screen 2 and choose the TITLE SET option.
• The title lines appear in the viewfinder.
• If you have already entered a title in the memory, it will be displayed in the viewfinder.
• The first dot (or character) flashes to show where the cursor (the insertion point) is located.
2. Press the SELECT button to move the cursor to the point where you want to start the
title.
• Press once to move the cursor one space at a time. Press and hold to move it quickly.
3. Press the REC /– buttons to scan the list of title characters.
• Press once to scan one at a time. Press and hold to scan quickly.
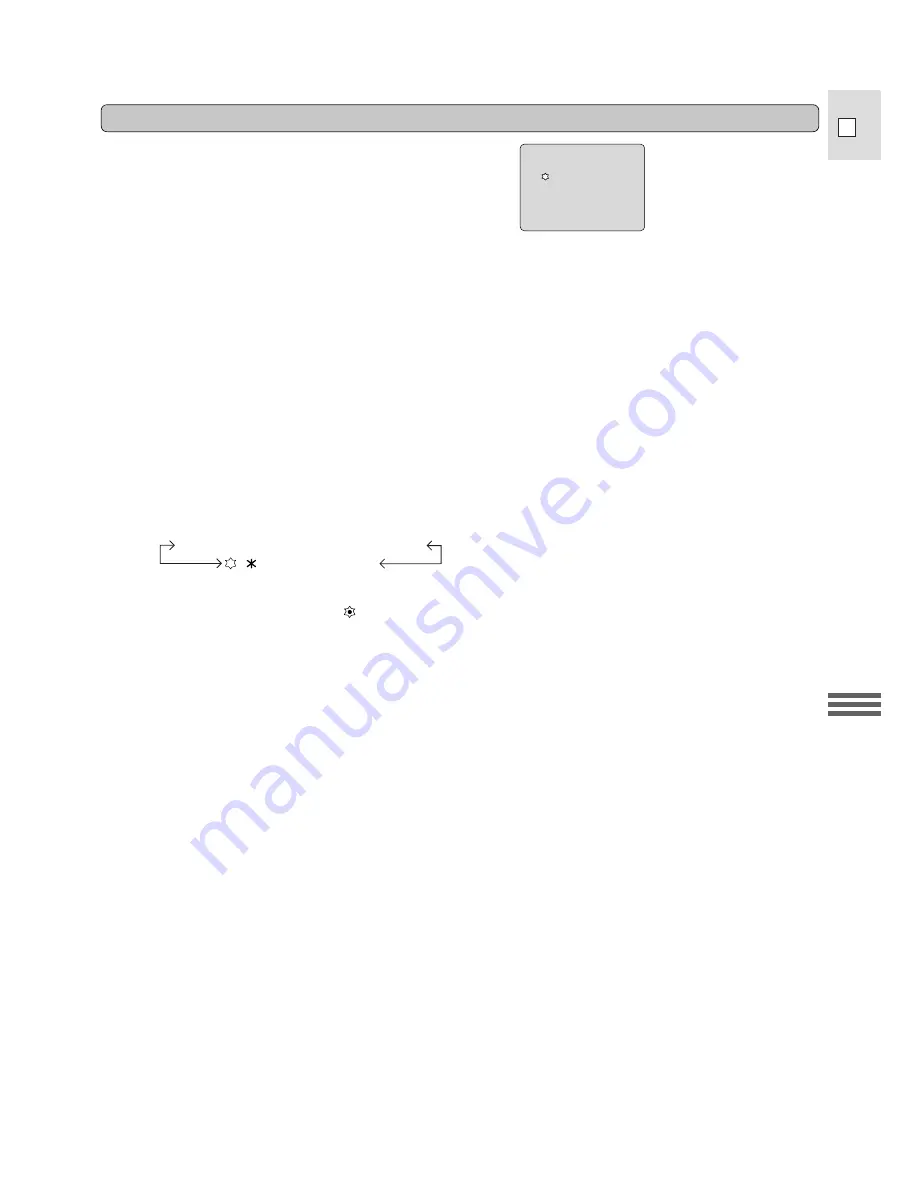
• You can choose from the following characters:
• If you choose the flashing dot
, nothing will be recorded at this position.
• You can erase all the characters at and to the right of the cursor by pressing and holding the C. RESET
button for more than one second.
4. When the character you want is displayed, press the SELECT button to move the cursor
to the point where you want to write the next character.
5. Repeat steps 3 and 4 until your title is complete, then press the SET (or MENU) button to
enter the title in the memory.
• The title is displayed for about 3 seconds, before the camera returns to the menu.
6. Press the MENU button to close the menu.
Note:
• If it takes you more than about five minutes to write a title, the camera may turn itself off automatically
before you finish. This can be avoided by removing the cassette before you begin.
ABCDEFGHIJKLMNOPQRSTUVWXYZ
• & !?;:”’-/.,9876543210
Writing a title
•
•
•
•
•
•
•
•
•
•
•
•
•
•
•
•
•
•
• • •
•
•
•
• • • •
• •
• •
These lines appear in the viewfinder while you are writing
a title.


