background image


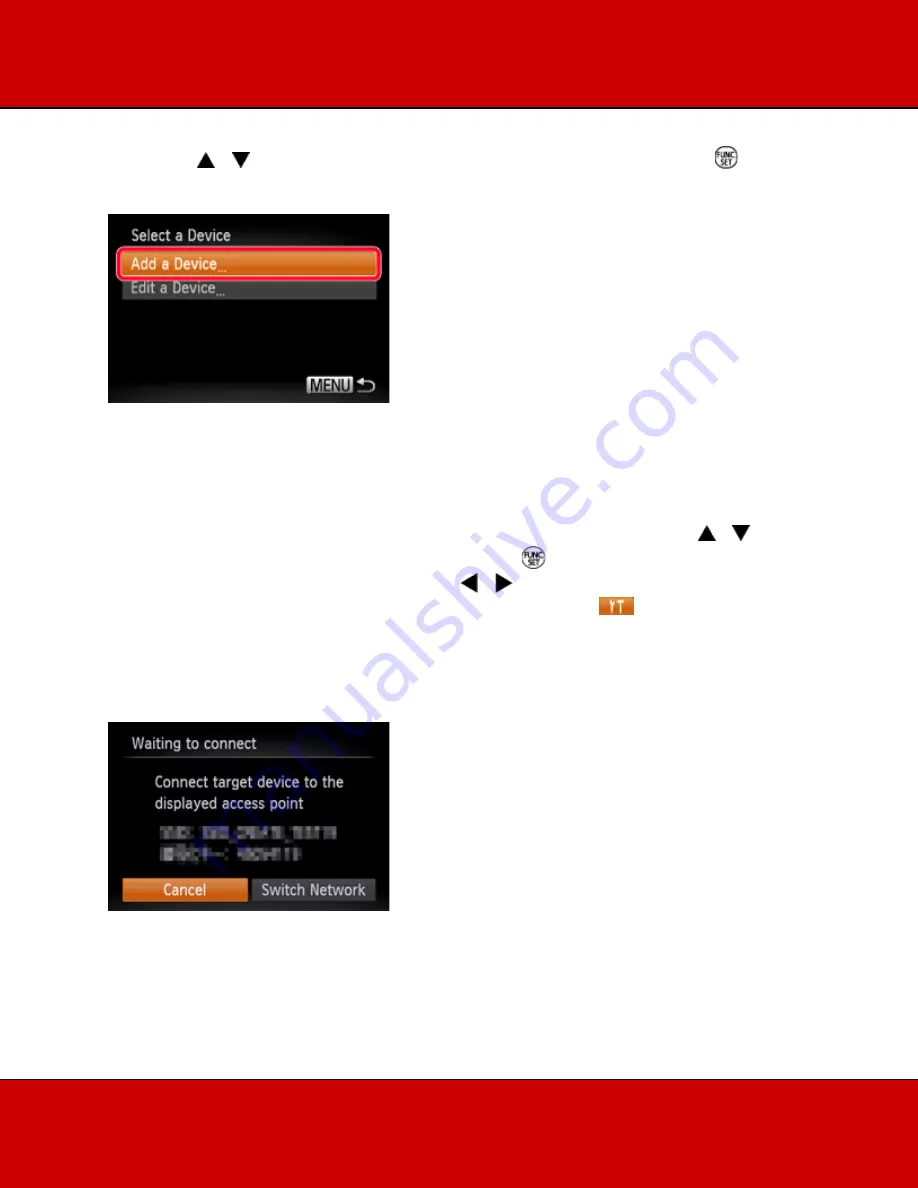
4. Press the < >< >buttons to choose [Add a Device], and then press the <FUNC./SET> (

) button. 


NOTE 


Once a printer is added, the printer name will be displayed on the screen in step 4. To connect 

to a printer again, simply choose the printer name from the list. 


Once you have connected to devices via the Wi-Fi menu, recent destinations will be listed first 

when you access the Wi-Fi menu. You can easily connect again by pressing the < >< > 
buttons to choose the device and then pressing the < 

> button. To add a new device, display 

the device selection screen by pressing the < >< > buttons, and then configure the setting. If 
you prefer not to display recent target devices, choose MENU > [ 

] tab > [Wi-Fi Settings] > 

[Target History] > [Off]. 

5. Choose the displayed SSID (network name) from the printer's Wi-Fi setting menu. 


Содержание PowerShot SX60 HS

Страница 1: ...Connecting to a printer and printing via Wi Fi PowerShot SX60 HS PowerShot G7 X...

Страница 2: ...position and shape of the operation buttons screens displayed and setting items may differ according to the model you use NOTE Connections require that a memory card with saved images be inthe camera...

Страница 3: ...a nickname for the camera This nickname will be displayed on the screen of target devices when connecting to other devices via Wi Fi Press the FUNC SET button to access the keyboard and use it to ente...

Страница 4: ...the Wi Fi menu recent destinations will be listed first when you access the Wi Fi menu You can easily connect again by pressing the buttons to choose the device and then pressing the button To add a n...

Страница 5: ...e printing screen appears Printing Images 7 Press the buttons to choose an image and then press the FUNC SET button to access the printing screen 8 The screen for specifying the print settings appears...

Страница 6: ...e paper size and then press the FUNC SET button 9x13cm has been selected in the example image above 10 The screen for setting the paper type appears Press the buttons to choose the paper type and then...

Страница 7: ...ons to choose a layout and then press the FUNC SET button Bordered has been selected in the example image above 12 The camera returns to the print setting screen Make sure that the settings are correc...

Отзывы: