Printing Your Photos
15
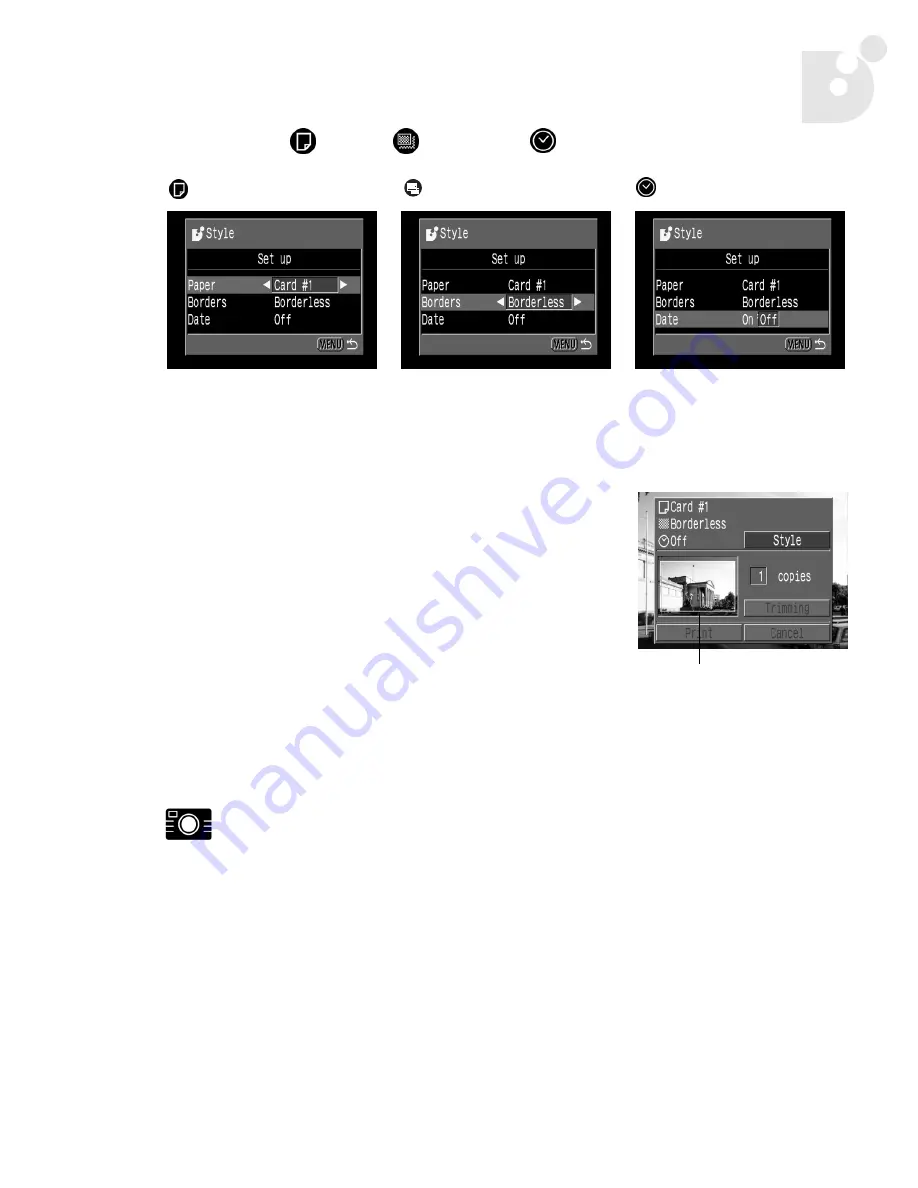
d. Set the
[
Paper
], [
Borders
] or
[
Date
] settings.
e. Press the
MENU
button.
The setting is complete, and the Print Order
menu resumes.
If [
Borderless
] or [
Multiple
] is selected as the
print style, the center portion of the recorded
photo (the photo displayed on the LCD monitor)
is printed at an enlarged size. As a result, the
photo’s top, bottom and sides may be cropped
slightly. If you have not specified a trimming
setting, a frame appears around the area of the
photo to be printed, allowing you to check the
portion to be cropped.
6.
If desired, you can crop your photo. See “Cropping the Photo” below, then
continue with Step 7 below.
For the PowerShot S30/S40/G2 Black cameras:
•
Set the trimming (see page 16).
For the PowerShot S200/S330 cameras:
•
Set the printing area (see page 18).
Paper
Borders
Date
Choose [
Card #1
],
[
Card #2
], [
Card #3
],
[
LTR
] or [
A4
].
Choose [
Borderless
] or
[
Bordered
].
Choose [
On
] or [
Off
].
Print Area Frame
bubbleJetDirect.book Page 15 Tuesday, April 30, 2002 12:33 PM
Содержание PowerShot G2
Страница 1: ...Bubble Jet Direct Reference Guide...
Страница 4: ...iv Contents...
Страница 24: ...20 Printing Your Photos...
Страница 26: ...22 Media Types for Digital Cameras...


