


Connecting Your MG5220 To Your Network
11
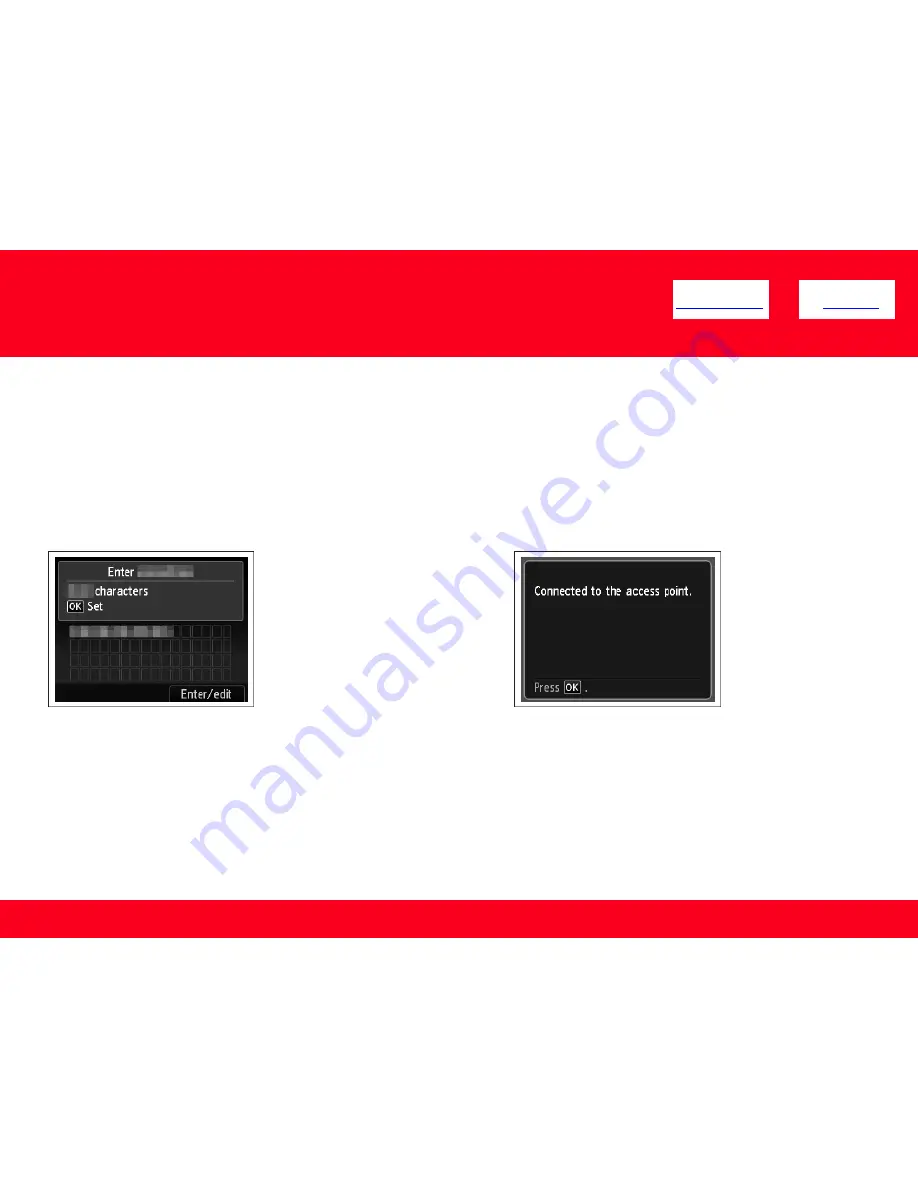
Step 8
Make sure that the network key is
correct, then press the
OK
button.
Step 9
When the screen below
appears, press the
OK
button.
Your MG5220 is now connected to your network
Note:
•
If Failed to connect to the access point. appears, press the
OK
button, make sure that the network key is correct, then enter it
again. If a connection still cannot be established, refer to the printed manual:
Network Setup Troubleshooting
.
<< Previous
Next >>