background image


English


Installing the EP-22 Cartridge


11


3.

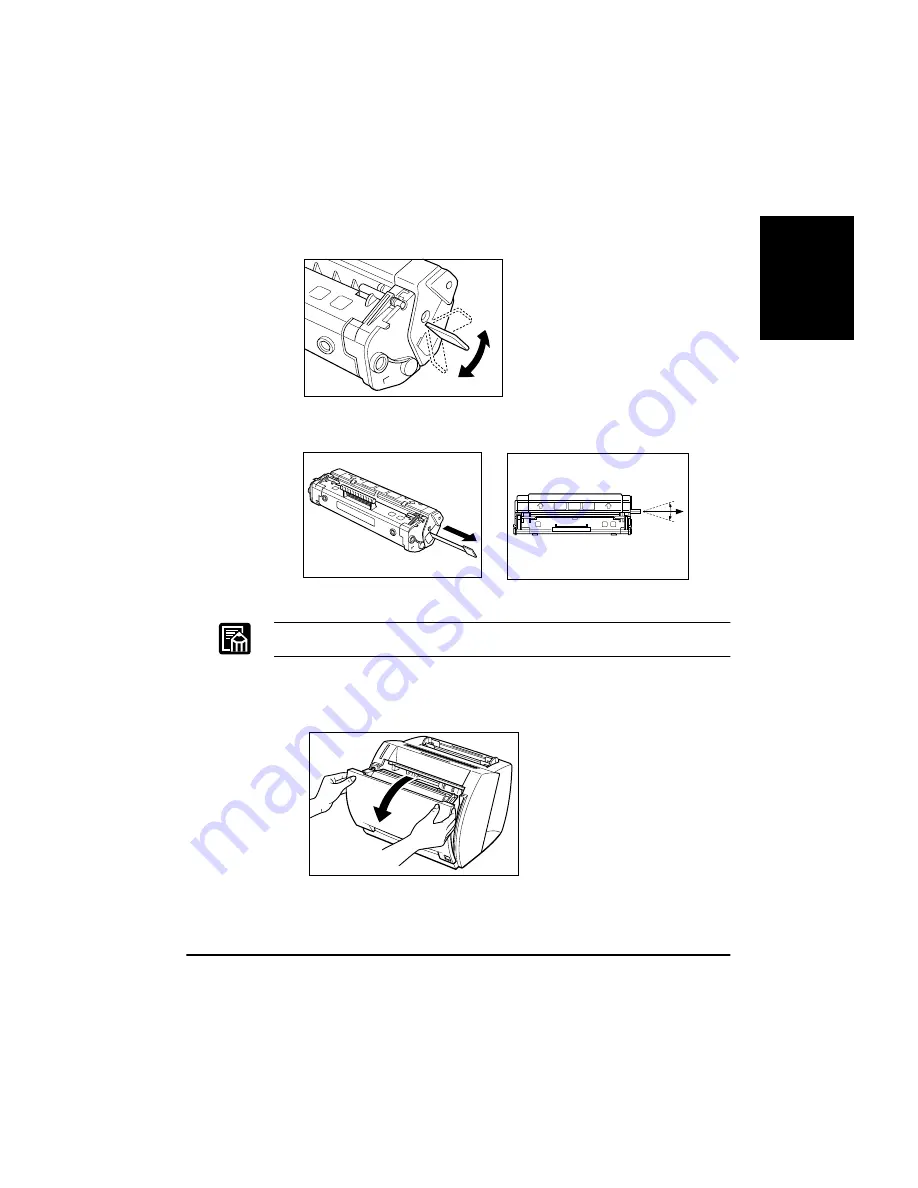
Place the cartridge on a sturdy surface. Snap the tab at the end of the 
cartridge backwards and fold it back and forth until it is loose.

4.

While holding the cartridge firmly with one hand, pull the sealing 
tape in the direction indicated in the illustration below.


The tape may snap if pulled in a direction wider than the indicated angle.


5.

Grasp the top of the front cover on both sides, then gently pull until 
the cover is fully open.

Pull in this direction

Pull within this angle

Содержание LBP-800

Страница 1: ...LBP 800 Laser Printer Getting Started Guide IMPORTANT Read this manual carefully before using your printer Save this manual for future reference...

Страница 2: ...gard to this manual Canon shall not be held liable for errors contained herein or for consequential or incidental damages incurred as a result of acting on information contained in the manual Trademar...

Страница 3: ...inter Location 8 Carrying the Printer 8 Installing the EP 22 Cartridge 9 Inserting Removing the Paper Supports 13 Connecting the Printer to Your Computer 14 Connecting to the Power Supply 15 Selecting...

Страница 4: ...d its basic operation The User s Guide is available online Use this manual when you need a quick reference help Help Provides help for the CAPT Canon Advanced Printing Technology Use Help to get more...

Страница 5: ...E file in that folder Adobe Acrobat Reader will install in the language you selected For help using Acrobat Reader select the Online Guide in the Acrobat Reader Help menu System Requirements Before in...

Страница 6: ...unpack the printer save the carton and packing materials in case you want to move or ship the printer in the future Input paper support LBP 800 Printer Output paper support EP 22 cartridge CD ROM dis...

Страница 7: ...ew Rear View Multi purpose tray MP tray Paper guides Manual feed slot Paper delivery selector Face down delivery slot Front cover Face up delivery slot Face down output paper support Input paper suppo...

Страница 8: ...printer Use the dimensional diagrams below for space considerations Dimensions are in millimeters Carrying the Printer CAUTION Do not carry the printer by holding the front panel the face up delivery...

Страница 9: ...de the cartridge Follow the instructions below when handling the cartridge Do not open the protective bag containing the cartridge until you are ready to install it in the printer Save the protective...

Страница 10: ...inside the cartridge can destroy the image data in the CRT or data on the disks CAUTION Do not dispose of toner cartridges in fire Toner powder is flammable 1 Remove the cartridge from its protective...

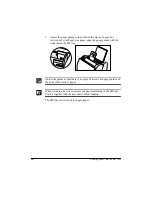
Страница 11: ...until it is loose 4 While holding the cartridge firmly with one hand pull the sealing tape in the direction indicated in the illustration below The tape may snap if pulled in a direction wider than t...

Страница 12: ...g the guides Make sure that the cartridge slides all the way inside the printer Do not touch the drum s protective shutter 7 Always close the front cover immediately after inserting a cartridge Do not...

Страница 13: ...he slots at the front and back of the printer The slots have guides to ensure the correct support is in the correct slot Supports should curve slightly towards the rear of the printer Do not insert a...

Страница 14: ...able to your printer Secure the cable by snapping the two wire clips on the printer into the cable connector CAUTION Before connecting or disconnecting the interface cable make sure that the printer i...

Страница 15: ...nter by pressing the I mark Turn off the printer by pressing the O mark If the power does not turn on even when the printer is plugged into an AC outlet check the following items Close the front cover...

Страница 16: ...y selector to choose face up or face down delivery Face down Delivery Use face down delivery for plain paper only Face up Delivery Use face up delivery for envelopes and transparencies as well as othe...

Страница 17: ...load a stack of paper Make sure that the input paper support is inserted into its slot in the printer 1 Prepare a stack of paper and tap it on a flat surface to properly align the edges 2 Align the st...

Страница 18: ...paper align the paper guides with the icons inside the MP tray Adjust the guides so that there is no space between each paper guide and the edge of the stack of paper When reloading be sure to remove...

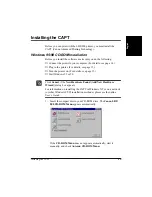
Страница 19: ...e printer For details see page 15 Turn the printer on For details see page 15 Start Windows 95 or 98 Click Cancel if the New Hardware Found Add New Hardware Wizard dialog box appears For information o...

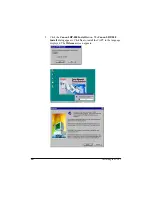
Страница 20: ...20 Installing the CAPT 2 Click the Canon LBP 800 Install button The Canon LBP 800 Install dialog appears Click Yes to install the CAPT in the language displayed The Welcome screen appears...

Страница 21: ...t printer connection port screen appears 4 Select a local port such as LPT1 then click Next The Install program proceeds to copy files and creates the Canon CAPT Tools group When installation finishes...

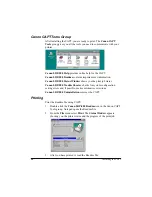
Страница 22: ...dow shows you the print job status Canon LBP 800 Trouble Shooter checks for system configuration setting errors and if possible makes automatic corrections Canon LBP 800 Uninstallation removes the CAP...

Отзывы: