


5-5
Cop
y
ing
5
4
Press [Start].
The machine begins scanning from the first page of the document. After scanning, the scanned documents will
come out in order.
NOTE
When scanning multiple page documents, <MEMORY FULL> may appear in the LCD, Press [OK] to make the
document come out automatically. If the document does not come out, it may be jammed in the ADF. Follow the
procedure in "Removing Jammed Paper from the ADF," on p. 9-6 to clear the paper jam in the ADF.
If this happens, reduce the documents to be scanned. Or, change the image quality mode to <TEXT>.
■
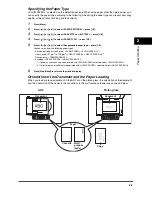
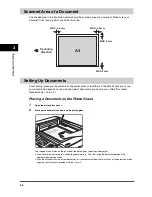
When Placing a Document on the Platen Glass
1
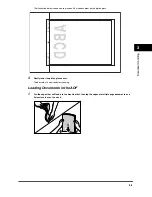
Place the first page of a document on the platen glass.
For details on how to place documents on the platen glass, see "Placing a Document on the Platen Glass," on p.
3-2.
2
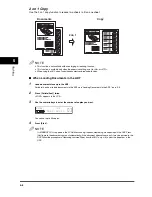
Press [Collate/2on1].
<COL.> appears in the LCD.
3
Use the numeric keys to enter the number of copies you want.
You can set up to 99 copies.
4
Press [Start].
The machine begins scanning and prints only 1 copy.
5
Place the next page of the document on the platen glass.
6
Press [Start].
The machine begins scanning the next page and prints only 1 copy. Repeat step 5 and 6 to scan all documents,
and prints only 1 copy of each document.
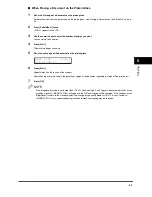
7
Press [OK].
The machine begins printing rest of copies.
NOTE
When scanning multiple page documents, <MEMORY FULL> may appear in the LCD and scanning is canceled.
In this case, press [Stop/Reset] to return to the standby display. And reduce the documents to be scanned. Or,
change the image quality mode to <TEXT>.
N E X T P A G E : S T A R T
E N D S C A N N I N G : O K


