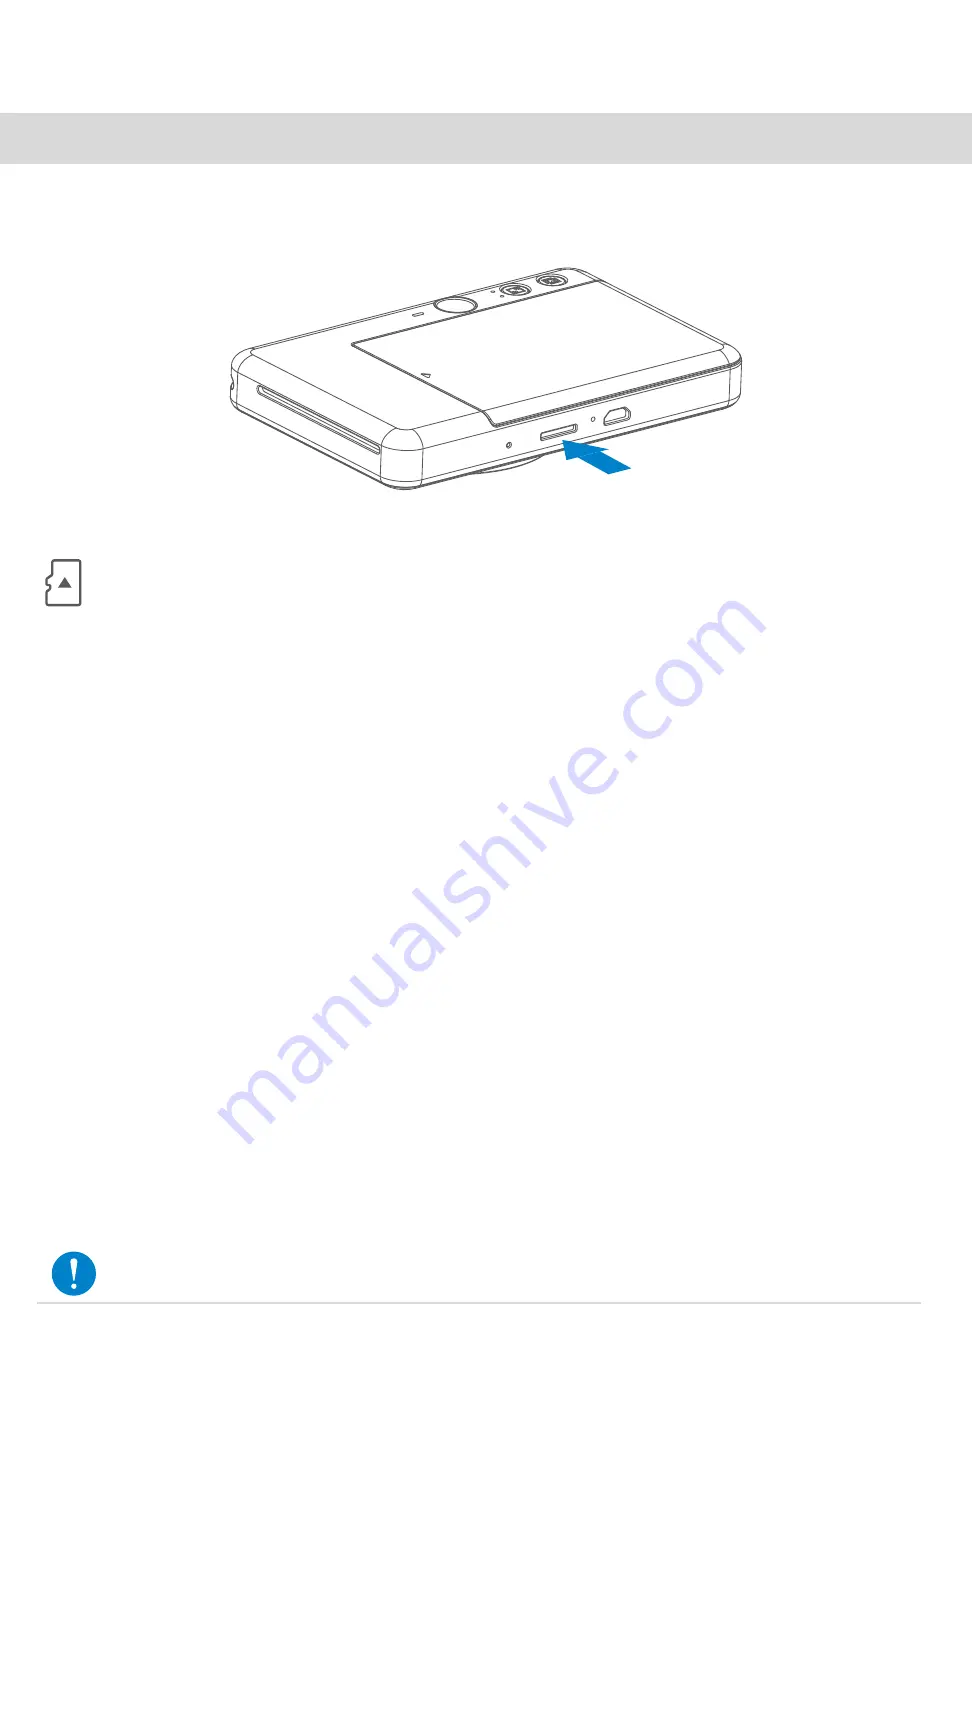
PREPARING A MEMORY CARD
Use the following memory cards (sold separately)
• MicroSD memory cards
*1
• MicroSDHC memory cards
*1 *2
• MicroSDXC memory cards
*1 *2
*1
Cards conforming to SD standards. However, not all memory cards have been
verified to work with the camera.
*2
UHS-I memory cards are also supported.
INSTALL AND REMOVE THE MicroSD CARD
• Insert the MicroSD card into the slot at the bottom of the device. You will feel a
slight click when the card is fully inserted .
• Push on the top of the card to release it. Gently pull to fully remove the card from
the device.
• If there is an error on reading /writting to the MicroSD card, the FAIL sound will
play once. Remove the MicroSD card and restart the device.
• Connect the device to a computer by USB cable. Double-click the external drive
image when it appears on the computer to view and save the photos.
An external MicroSD card (up to 256 GB) is needed for saving captured photos.
Only FAT16, FAT32 and exFAT format are supported.
EXTERNAL MEMORY
MAINTAINING THE DEVICE
•
Use and keep the device in the recommended environment of 59º to 90º F
(15º to 32º C) and 40-55% relative humidity.
•
Keep your device firmware up-to-date. Connect your device with the Canon Mini
Print App. "Firmware Upgrade" icon will be appeared on the menu bar if new
firmware is available.
−
Make sure your mobile device has a internet connection before checking. If you
need to upgrade the firmware, your printer must be charged to 50% or higher.
•
Make sure you’re using the latest Canon Mini Print app version. If your apps don’t
automatically update, go to app store and check if you need to update.
NOTE
7


