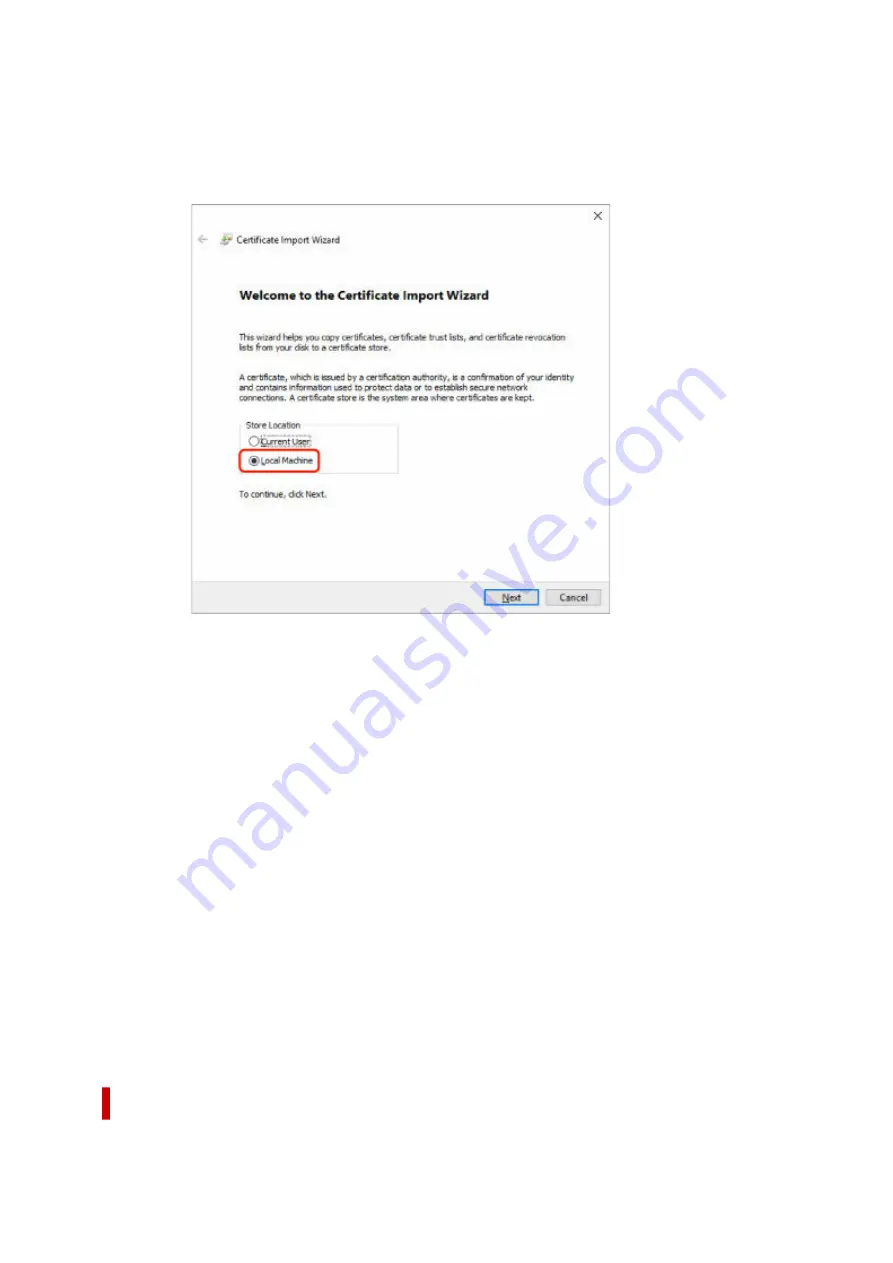
The
Certificate Import Wizard
screen appears.
6.
Select
Local Machine
.
6.
1.
Select
Local Machine
on the startup screen of
Certificate Import Wizard
.
1.
2.
Select
Next
.
2.
3.
Select
Yes
on the displayed screen.
3.
The
Certificate Store
screen appears.
7.
Select
Place all certificates in the following store
.
7.
8.
Select
Trusted Root Certificate Authorities
.
8.
1.
Select
Browse
to open the
Select Certificate Store
screen.
1.
2.
Select
Trusted Root Certificate Authorities
from the list and select
OK
.
2.
3.
Select
Next
on the
Certificate Store
screen.
3.
9.
Select
Finish
.
9.
When the
Completing the Certificate Import Wizard
screen appears, check the settings and select
Finish
.
For Windows 7
The procedure below describes how to import a root certificate in Windows 7.
211
Содержание imagePROGRAF GP-300
Страница 1: ...GP 300 GP 200 GP 5300 GP 5200 Online Manual English ...
Страница 17: ...B510 840 ...
Страница 50: ...Optional accessories Stand Roll Holder Set 50 ...
Страница 59: ...Start printing Important Do not move the release lever during printing 59 ...
Страница 68: ...Note The screen may differ slightly depending on the model you are using 68 ...
Страница 70: ...Pausing Printing Pausing Printing 70 ...
Страница 86: ...86 ...
Страница 117: ...5 Tap ON 5 117 ...
Страница 127: ...127 ...
Страница 128: ...Basket Using the Basket 128 ...
Страница 164: ... Prepare to move Select this to prepare for transporting the printer Preparing to Transfer the Printer 164 ...
Страница 192: ...Data on the hard disk are erased 192 ...
Страница 222: ...3 Select OK 3 The resending setting is completed 222 ...
Страница 234: ...4 Enter wireless LAN router password 4 Your device is connected to the printer 5 Start printing from application 5 234 ...
Страница 270: ...Adjusting the Print Head Adjusting the Print Head Troubleshooting Paper Abrasion and Blurry Images 270 ...
Страница 282: ...Adjusting Feed Amount Adjusting Feed Amount Adjusting Vacuum Strength 282 ...
Страница 286: ...6 Tap Auto 6 7 Tap paper to adjust 7 A test pattern is printed for adjustment and adjustment is finished 286 ...
Страница 295: ...Ink Tanks Ink Tanks Replacing Ink Tanks Checking Ink Tank Levels When to Replace Ink Tanks 295 ...
Страница 298: ...Note For instructions on replacing the ink tanks see Replacing Ink Tanks 298 ...
Страница 306: ...306 ...
Страница 308: ...Print Head Print Head Checking for Nozzle Clogging Cleaning the Print Head Replacing the Print Head 308 ...
Страница 330: ...Cutter Blade Cutter Blade Replacing the Cutter Blade 330 ...
Страница 341: ...Cleaning the Printer Cleaning the Printer Exterior Cleaning Inside the Top Cover Cleaning the Print Head 341 ...
Страница 346: ...346 ...
Страница 347: ...Other Maintenance Preparing to Transfer the Printer Reinstalling the Printer Firmware update 347 ...
Страница 357: ...Specifications Specifications Print Area 357 ...
Страница 365: ...Appendix Manuals and Their Contents Safety Online Manual Using This Online Manual Trademarks and Licenses 365 ...
Страница 367: ...Safety Safety Precautions Regulatory Information WEEE EU EEA When Repairing Lending or Disposing of the Printer 367 ...
Страница 404: ...Adjusting Color Balance Adjusting Brightness Adjusting Contrast 404 ...
Страница 420: ...Click Print When you print the document is expanded or reduced to match the roll paper width and then printed 420 ...
Страница 460: ...Printing from Printer Printing Data Saved on USB Flash Drive 460 ...
Страница 482: ...Printer Driver Windows Printer Driver macOS Printer Driver 482 ...
Страница 483: ...macOS Printer Driver Overview of the Printer Driver Description of Print Dialog Updating the Printer Driver 483 ...
Страница 499: ...Adjusting Color Balance Adjusting Brightness Adjusting Contrast 499 ...
Страница 530: ...3 Select Save in Job Box in Output Method 3 530 ...
Страница 531: ...531 ...
Страница 533: ...2 Select Job management 2 3 Select Print job 3 4 In the list select the target job 4 5 Select Prioritize 5 533 ...
Страница 543: ...5 In the list select the target job 5 6 Select Edit 6 7 Select Delete 7 8 Select Yes 8 543 ...
Страница 558: ...Media Type Selection does not Match Loaded Media Type 558 ...
Страница 583: ...583 ...
Страница 587: ...Check 8 Is the edge of the cutter blade blunt Replace the cutter blade Replacing the Cutter Blade 587 ...
Страница 594: ...6 Load roll 6 At this time be sure to press the Load button and select Load roll paper Loading Rolls in the Printer 594 ...
Страница 618: ...Cleaning the Printer Exterior 618 ...
Страница 620: ...Move the printer to a different environment or let the paper dry before rolling it 620 ...
Страница 691: ...1201 Cause The ink tank cover is open What to Do Close the ink tank cover 691 ...
Страница 692: ...1210 Cause The ink tank cover is open What to Do Close the ink tank cover 692 ...
Страница 714: ...1485 Cause Cannot use attached print head What to Do Attach the correct print head Replacing the Print Head 714 ...
Страница 718: ...1500 Cause The ink in the ink tank is running low What to Do Prepare a new ink tank 718 ...
Страница 720: ...1552 Cause A genuine Canon ink tank has been inserted What to Do To dismiss the message tap OK on the touch screen 720 ...
Страница 723: ...1660 Cause Ink tank not inserted What to Do Insert the ink tank correctly Replacing Ink Tanks 723 ...
Страница 730: ...1752 Cause The ink has run out What to Do Open the ink tank cover and then replace the ink tank Replacing Ink Tanks 730 ...
Страница 752: ...3331 Cause Print results may be abnormal as there is a large volume of print data What to Do Check the print job 752 ...
Страница 791: ...Contact your Canon dealer for assistance 791 ...


