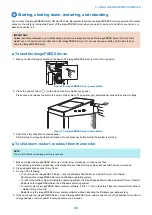
When shutting down the imagePRESS Server, do the following:
IMPORTANT:
Remember that when the imagePRESS Server is powered off, network access to the printer is interrupted. Always obtain
permission from the network administrator before you take the imagePRESS Server off the network.
• Remove the power cable from the connector panel before removing or connecting interface cables or accessing the internal
components.
• If you are cycling power, wait at least 10 seconds before powering back on.
• If you are unable to shut down the imagePRESS Server through the printer control panel, power off by holding down the
power button on the side of the imagePRESS Server for up to eight seconds.
■ Opening the imagePRESS Server
Before you open the
imagePRESS Server
, it is strongly recommended that you review
or damage to the
imagePRESS Server
.
■ To open the imagePRESS Server
1. Shut down the imagePRESS Server (see
“Shutting down the system” on page 33
2. Wait 10 seconds after the imagePRESS Server powers off, and then remove all cables from the back of the imagePRESS
Server.
3. Remove the imagePRESS Server from the furniture, if applicable.
4. Remove all external panels necessary to access the component that you need to service.
At the minimum, you must remove the left panel to service the component. You may also need to remove other panels,
depending on the component that you need to access. For guidelines on which panels to remove, see the service procedures
that accompany a given component.
NOTE:
When removing multiple panels from the imagePRESS Server, use the following order:
• Left side panel (See
“To remove the side panels” on page 34
)
• Right side panel (See
“To remove the side panels” on page 34
)
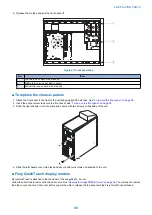
“To remove the front panel” on page 35
)
• Top panel with Fiery QuickTouch (See
“To remove the Fiery QuickTouch” on page 37
)
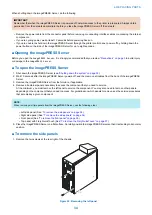
5. Place the imagePRESS Server on a flat surface. Carefully position the imagePRESS Server so that it is standing in its normal
position.
■ To remove the side panels
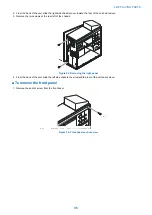
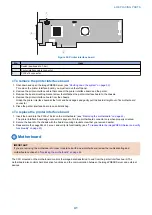
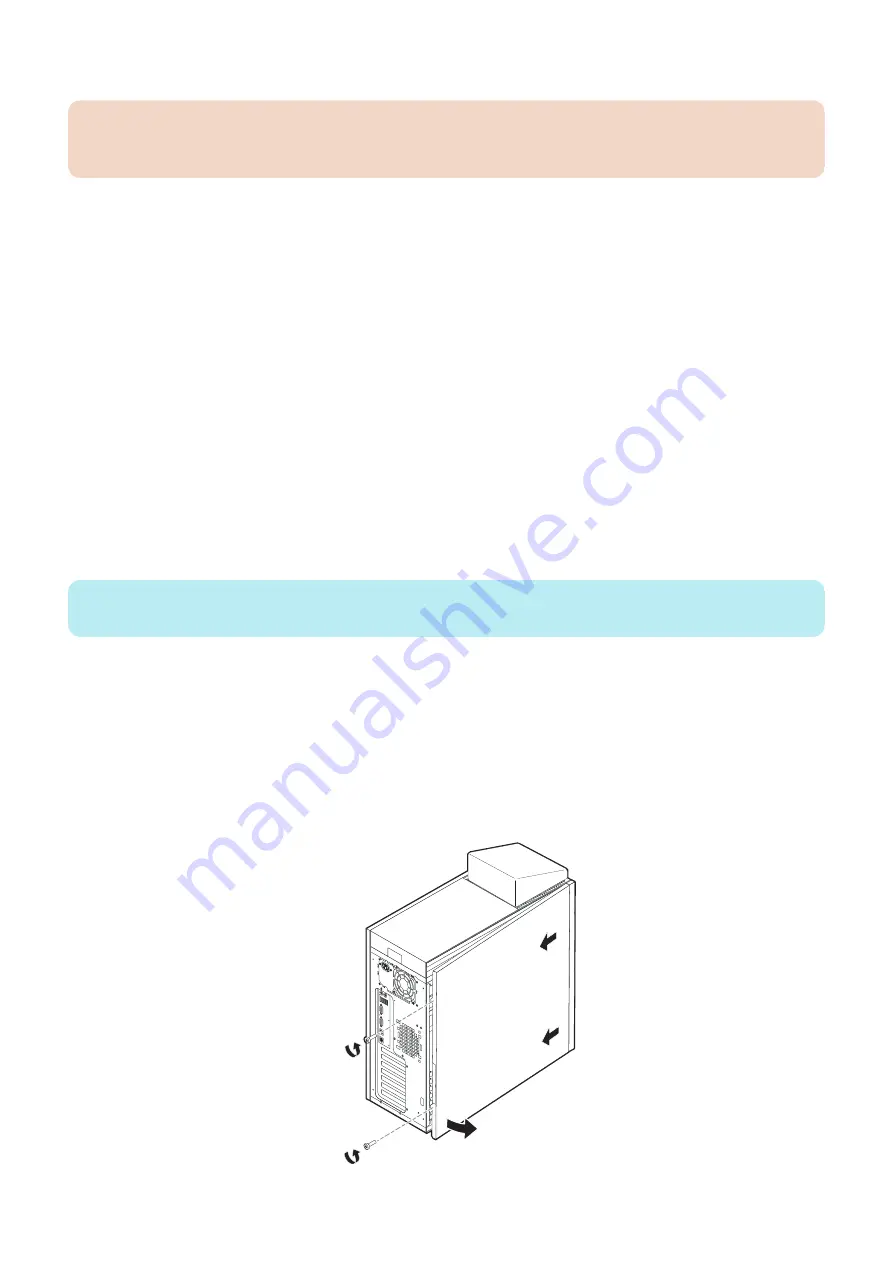
1. Remove the two screws at the rear right of the chassis.
Figure 22: Removing the left panel
4. REPLACING PARTS
34
Содержание ImagePRESS Server H350 V2
Страница 8: ...Introduction 1 Introduction 2 Specifications 7 ...
Страница 17: ...INSTALLING HARDWARE 2 Installing Hardware 11 ...
Страница 26: ...USING THE IMAGEPRESS SERVER 3 Using the imagePRESS Server 20 ...
Страница 35: ...REPLACING PARTS 4 Replacing parts 29 ...
Страница 38: ...1 2 Figure 19 Inside the front panel No Item 1 DVD drive 2 DVD eject button 4 REPLACING PARTS 31 ...
Страница 86: ...INSTALLING SYSTEM SOFTWARE 6 Installing System Software 80 ...
Страница 91: ...TROUBLESHOOTI NG 7 Troubleshooting 85 ...
Страница 104: ...INSTALLATION PROCEDURE 8 Installation 98 Removable HDD Kit B5 108 ...

