


S
ERVICE
P
ROCEDURES
31
T
O
INSTALL
THE
MOTHERBOARD
When you handle electronic components, follow electrostatic discharge (ESD) precautions
(see
1 Remove the old motherboard (see
).
2 Remove the following components from the old motherboard and transfer them to the new
motherboard:
• DIMMS (see
• Security chip (
Make sure that you remove the security chip from the old motherboard
before
returning it
to your authorized service/support center. If you do not transfer the security chip to the
replacement motherboard, the imagePASS will not start up, and all customer-purchased
software options will be lost.
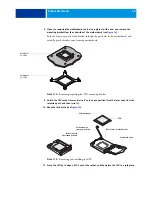
• CPU and CPU cooling assembly (see
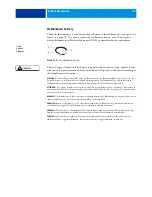
3 On the replacement motherboard, remove the battery (see
.) Wait two or more
minutes, and then reinstall the battery.
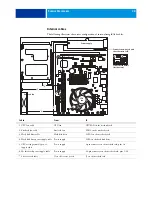
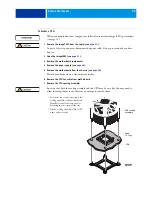
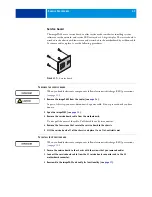
4 Align the motherboard with the screw holes in the bottom of the chassis, sliding the edge
connectors into the connector panel cutouts.
Avoid putting stress the motherboard cables. Carefully position the metal prongs on the USB
connectors.
5 Secure the motherboard to the chassis with the five screws you removed earlier.
To prevent stress on the motherboard connectors, align the motherboard with the connector
panel cutouts first.
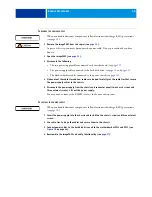
6 Connect the following cables from the motherboard to the corresponding component (see
• Power supply cable
• Hard disk drive cable
• Enclosed fan cable
• Service board cable
7 Install the copier interface board (see
8 Reassemble the imagePASS (see
) and power on the imagePASS.
9 Configure the date and time in Setup.
For more information, see the User Documentation CD.
10 Print a Configuration page to verify system settings and features.


