12
4.
Turning the Power ON and OFF
Use the power switch to turn the scanner ON, and press the [Power off] button on the touch panel to turn it OFF.
❏
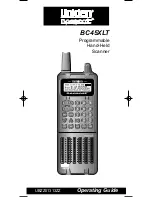
Turning the Power ON
Press the power switch to turn the scanner ON. The power
indicator lights, and the Home screen or the login screen
appears.
IMPORTANT
• It takes approximately 40 seconds for the Home screen to
appear after the power switch is turned on.
• If users have been registered, the login screen appears.
(Refer to “Login screen” on p. 5-4 of the
ScanFront 300/300P
INSTRUCTIONS
.)
• When the power indicator is lit but nothing appears on the
touch panel, Display Off has activated to turn the panel display
off. You can touch the panel to restore the display. (Refer to
“Display Off” on p. 6-31 of the
ScanFront 300/300P
INSTRUCTIONS
.)
• When the power indicator is flashing but nothing appears on
the touch panel, the Low Power mode has activated to
temporarily stop scanner operations. To switch out of Low
Power mode, press the power switch or touch the touch panel.
(Refer to “Low Power Mode” on p.6-31 of the
ScanFront 300/
300P INSTRUCTIONS
.)
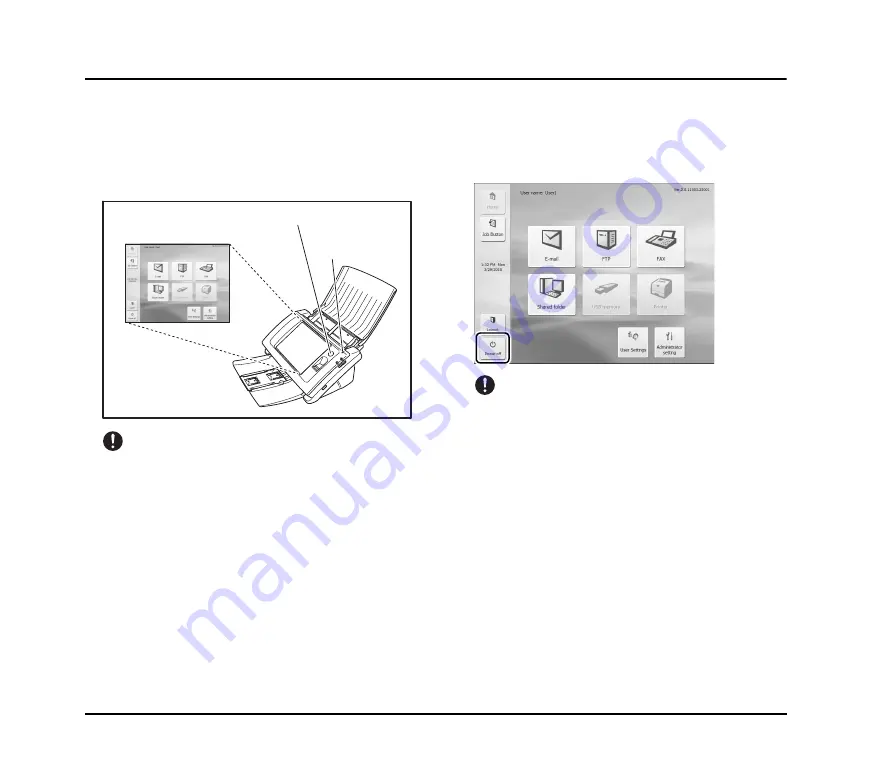
❏
Turning the Power OFF
Press the [Power off] button displayed at the bottom left of
the panel to turn the scanner OFF.
IMPORTANT
• When restarting the scanner, wait at least 5 seconds after
turning the power OFF before turning it ON again.
• If the scanner stops responding, press and hold the power
switch to shut down the system, and then press the power
switch to turn the scanner ON again. In such cases, settings
configured immediately before shutting down may be lost.
Home screen
Power
indicator
Power switch