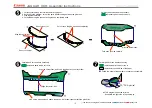
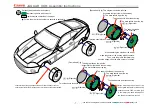
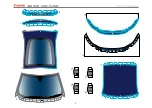

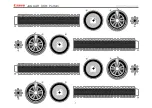
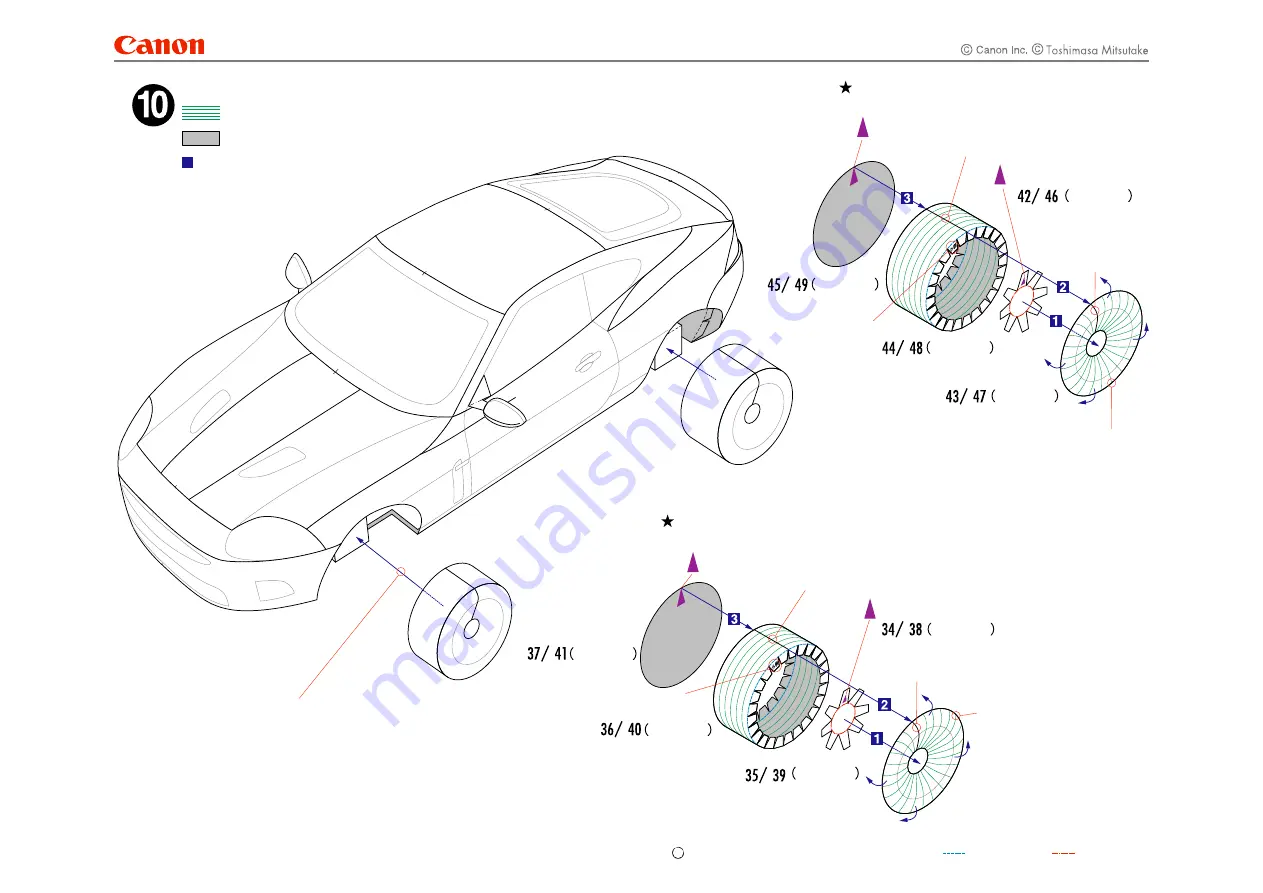
[Back wheels]
Look carefully at the gap between the wheel and the body of the car,
ensuring that the left and right wheels are in line when they are attached.
When attaching the outside of the wheel,
make the center of the hubcap slightly concave.
Then, once the glue is completely dry,
bend the edges of the tire back so that it is convex.
The seam should be at the exact top
The seam should be at the exact top
The seam should be at the exact top
The seam should be
at the exact top
The mark should be at the top
The mark should be at the top
The mark should be at the top
The mark should be at the top
This side should face outwards
This side should face outwards
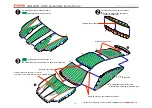
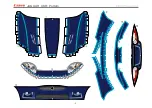
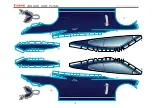
The lines in the diagram are divided as follows: ( )Mountain fold ( )Valley fold.
represents the underside of the paper.
Carefully add curves where necessary.
represents parts to add curves to.
Follow the order of the numbers in squares to assemble.
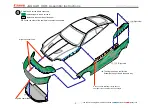
This diagram shows the left side.
Assemble the right side in the same way.
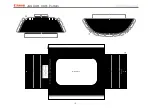
[Front wheels]
This diagram shows the left side.
Assemble the right side in the same way.
Right side
Right side
Right side
Right side
Right side
Right side
Right side
Right side
When attaching the outside of the
wheel,make the center of the hubcap
slightly concave.Then, once the glue
is completely dry,bend the edges of
the tire back so that it is convex.
- 7 -
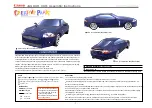
JAGUAR XKR : Assembly Instructions
Содержание Creative Park JAGUAR XKR
Страница 9: ... 2 JAGUAR XKR Pattern ...
Страница 10: ... 3 JAGUAR XKR Pattern ...
Страница 11: ...JAGUAR XKR Pattern 4 ...
Страница 12: ...JAGUAR XKR Pattern 5 Cut out this part ...
Страница 13: ...Cut out this part JAGUAR XKR Pattern 6 ...
Страница 14: ...Right Front Left Front Right Rear Left Rear 7 JAGUAR XKR Pattern Out side Out side Out side Out side ...


