


Flow of Sending Operations
1-32
Introduction to Sending Functions
1
NOTE
•
To display [Access Number], set the Access Number Management to 'On'. To
access the Access Number Management setting, press
(Additional Functions)
➞
[System Settings]
➞
[Manage/Access to Address Book]
➞
[Access Number
Management]. (See "Manage/Access to Address Book," on p. 10-22.)
•
For instructions on setting the Job Done Notice, see "Job Done Notice," on p. 5-37.
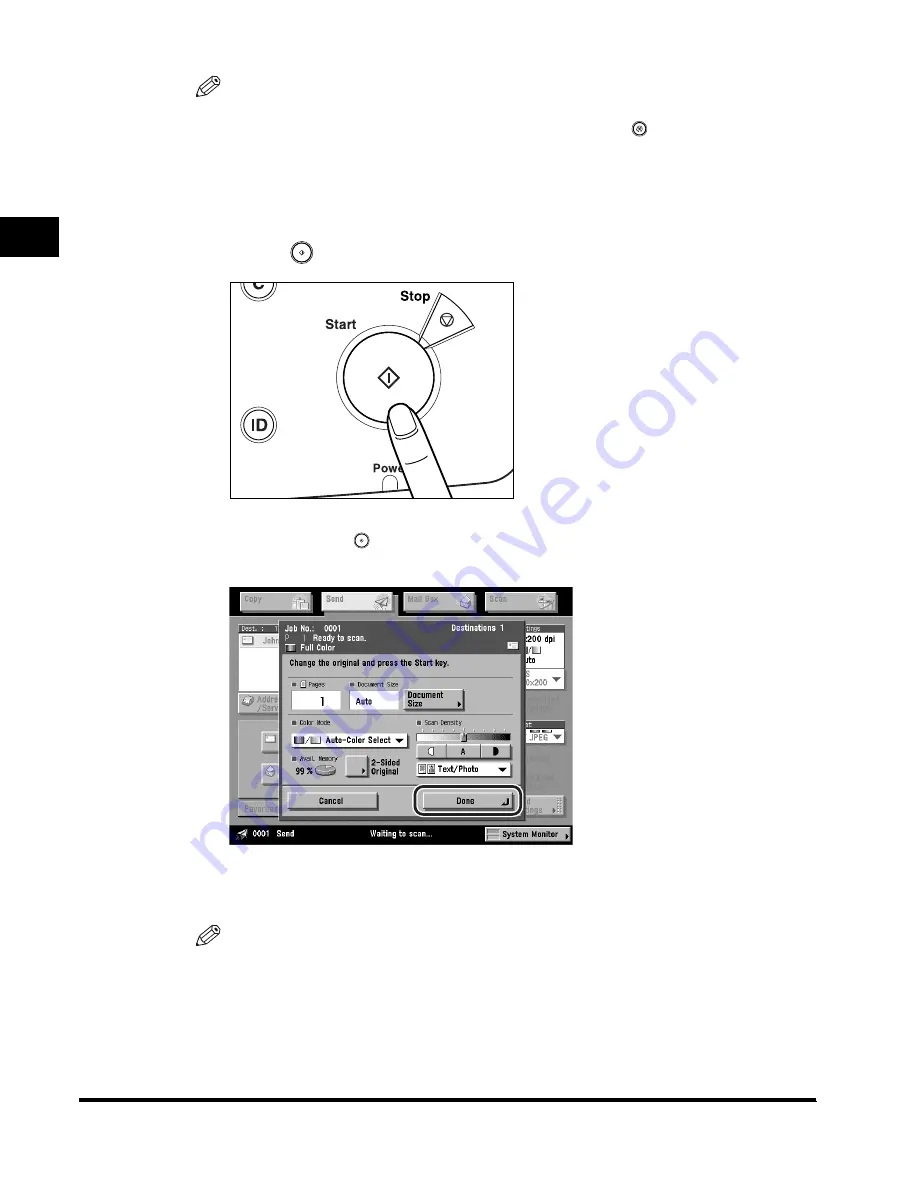
9
Press
(Start).
If the following screen is displayed, follow the instructions on the touch panel
display
➞
press
(Start) once for each original. When scanning is complete,
press [Done].
Scanning starts.
The scanned data is sent to the specified destination when scanning is complete.
NOTE
If the Preview key is lit, the Preview display setting is turned on, and you can verify
the images from the Preview screen before sending your document. (See
"Previewing Originals," on p. 5-34.)
Содержание Color imageRUNNER C3200
Страница 1: ......
Страница 2: ...Color imageRUNNER C3200 Sending Guide ...
Страница 17: ...xvi ...
Страница 128: ...Scan Settings 3 13 Basic Scanning Features 3 3 Press Other Size 4 Press Register Size ...
Страница 255: ...Available Paper Sizes 6 24 Receiving Documents 6 ...
Страница 279: ...Checking Changing the Status of Receive Jobs 7 24 Checking Changing the Send Receive Status 7 ...
Страница 329: ...2 On 1 Log 8 50 Customizing Communications Settings 8 ...
Страница 419: ...Erasing One Touch Buttons 9 90 Storing Editing Address Book Settings 9 ...
Страница 543: ...Questions Answers 12 28 Troubleshooting 12 ...


