30
Printing
This section explains the flow of printing operations with Canon camera*.
For more details, refer to your
Camera User Guide
or
Direct Print User Guide
.
* In other cases, please refer to the
Printing with Non-Canon Digital Cameras
(p. 54).
1
Turn the camera’s power on and
display the images.
• Check that the
(
Canon Direct Print
)/
(
PictBridge
) mark is displayed in the upper
left corner of the LCD monitor.
• Some camera models automatically power
up when the cable is connected to the
printer. The mark then displays on the LCD
monitor.
2
Display the images to be printed and press the SET or
SELECT button.
• If your camera has the
(Print/Share) button, printing starts immediately
after you press the
button (Step 3 is not necessary).
3
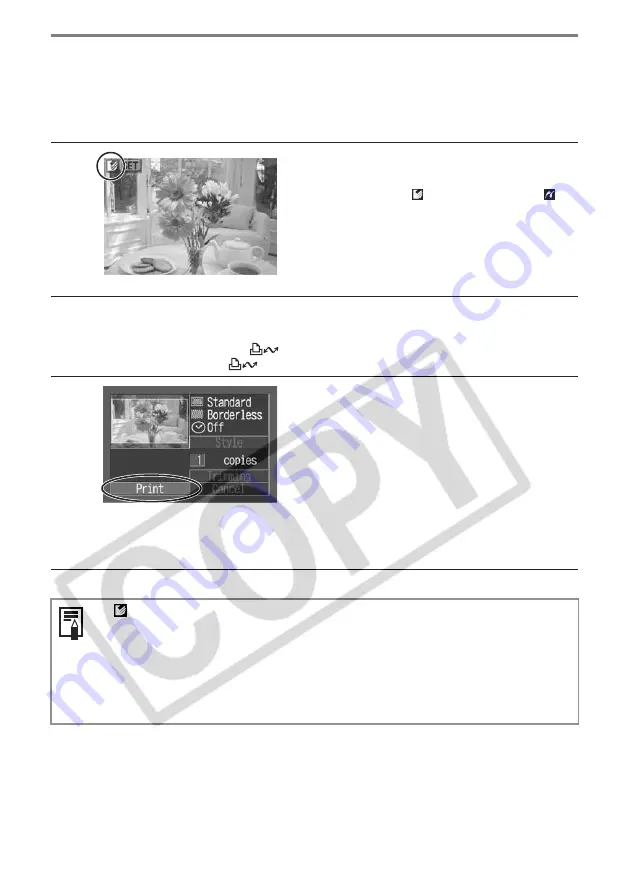
Select [Print] and press the SET
or SELECT button.
• Printing starts. The camera returns to the
playback screen once printing is
successfully completed.
• The display window lights as explained
below.
If
does not display in step 1, check the following:
• Is the cable correctly connected? (p. 28)
• Is the printer’s power on? (p. 28)
• Is your camera’s firmware compatible with this printer? (p. 37)
If printing does not start, check the following:
• Does the camera’s LCD monitor display a message? (p. 39)
CP-330 : The color changes in the following
order: yellow
Æ
pink (magenta)
Æ
light blue (cyan)
Æ
white
Æ
blue.
CP-220 : Lights in blue.


