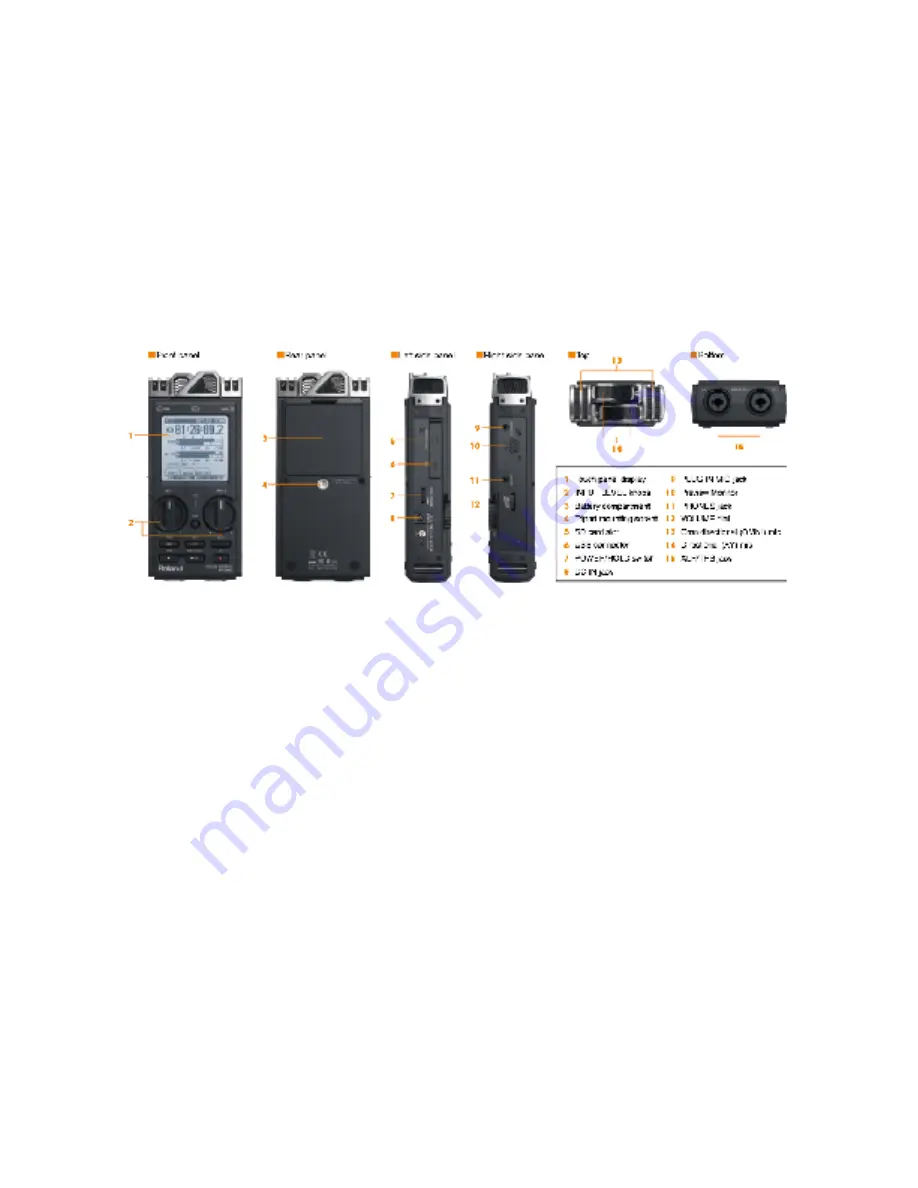
SMART GUIDE: Using the Roland 026 for recording dual system sound
The tiny mic on most DSLR cameras do not record very good audio and sometimes the sound
of data being written to the card will also be recorded on the movie file. To enable us to
have better sound and to allow us to use a variety to microphones, we will record our audio
with the Roland 026 recorder. We will then sync up the audio files and the video files using
Final Cut Pro.
SETTING UP THE ROLAND 026 AUDIO RECORDER
•
Put in 4 AA batteries ( or use the AC adapter ) and an SD card
•
turn on the recorder
•
Press the Menu button to show the touch screen menu
•
set the date and time and format the SD card
•
Press the Rec Setup button to configure your microphones
•
Rec Mode: 2 channels
•
Rec Source
•
Internal - use the built in mic to record room tone and ambient sound
•
Analog - use this setup if you are plugging in one or two microphone in the Analog
inputs located on the bottom of the recorder
•
set the Sample Rate to 48kHz and the Rec Format to Wav 24-bit
SETTING THE RECORDING LEVELS - aim for an average peaking between -12 and -6 dB
•
Plug in a microphone into Input 1 ( if using Analog inputs )
•
Press the REC button. It will flash as it goes into Preview mode
•
Start by turn the Input 1 knob to the notch, speak into the mic in a normal voice.
•
Press the SENS button to increase the sensitivity of the input
•
Press REC again when you are happy with the levels to start recording.
•
Slate each take verbally so you will be able to match the video and audio files.
•
say the date, location, scene or shot #, the action then clap your hands


