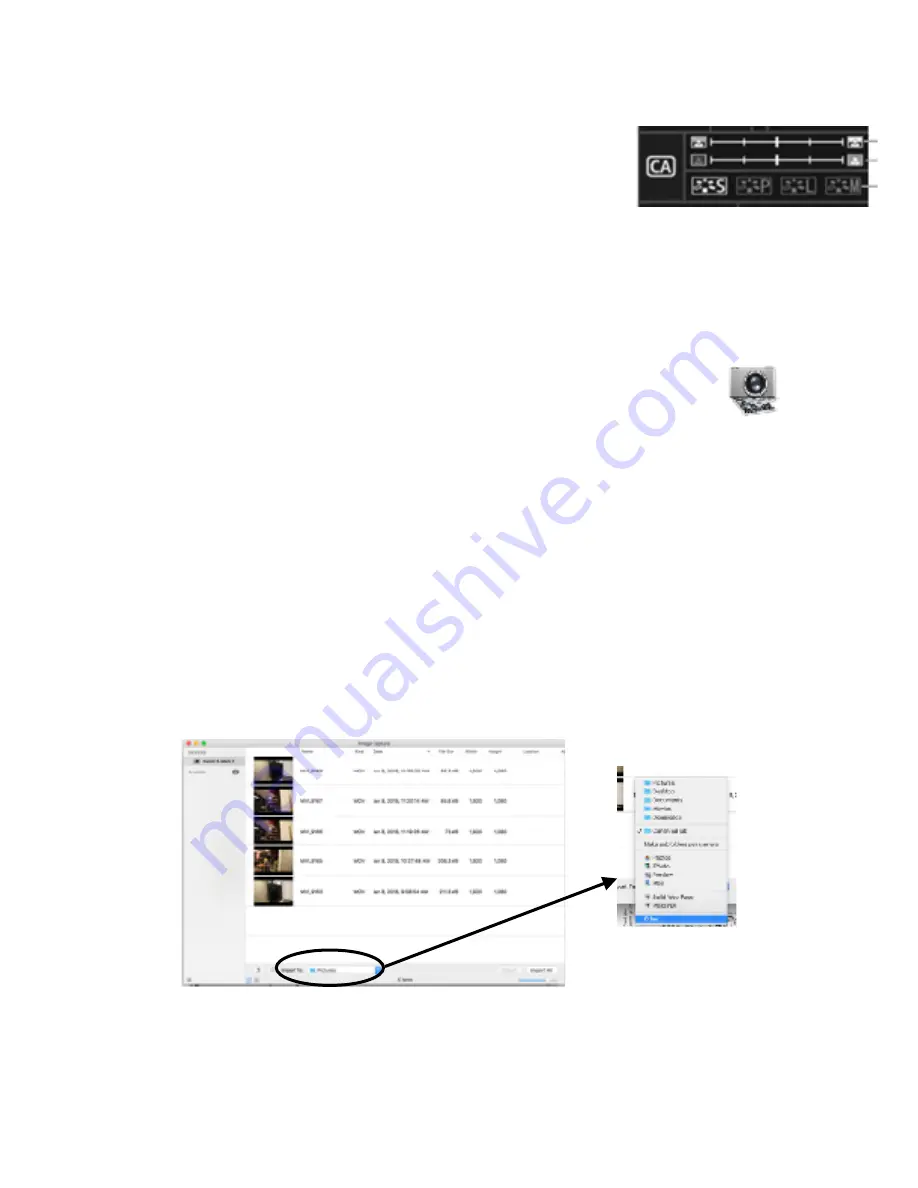
CHANGING THE BRIGHTNESS OF THE IMAGE IN CA MODE
•
turn off Live View to see the CA quick menu and use the multi
selector to choose Exposure:Darker < - > Brighter. Use the back
wheel to adjust the exposure
PICTURE STYLES -
S ( standard: vivid,sharp and crisp )• P ( Portrait )
L ( Landscape: vivid blues + greens ) •M ( monochrome )
NOTE: The Background Blur setting does not have any affect when shooting movies
REVIEWING A MOVIE
•
press the play button ( 3 button from the top, to the left of the LCD screen )
•
use the back wheel to select a movie then press the “set” button to play it.
ERASING A MOVIE
•
press the play button ( 3 button from the top, to the left of the LCD screen )
•
use the back wheel to select a movie then press the “trash” button to play to erase it.
•
use the back wheel and the “set “ button to either cancel or erase the selected movie.
COPYING MOVIE FILES TO A COMPUTER
In order to protect the delicate pins of the CF card, do not remove the card. Uuse the
provided USB cable to transfer your files to the computer using the Image Capture Software.
•
turn on the camera and connect it to a Mac computer with the USB cable
•
In the application menu of the computer find and open up Image Capture
•
Select the camera listed under Device on the left side of the window
•
Select where to import your files by clicking on the Import To: and choosing Other… at the
bottom. Navigate to where you wish to save your files. You can also create a new folder.
•
You can import all, or you can use the mouse and either the Shift or Cmmd key to select
specific files. Once you click on Import, do not turn off or unplug the camera. Quit Image
Capture when you are finished and unplug the USB cable


