Advanced Guide
>
Printing Using the Operation Panel of the Machine
>
Printing from a Memory Card
>
Using Useful
Display Functions
> Printing a Specified Area (Trimming)
Printing a Specified Area (Trimming)
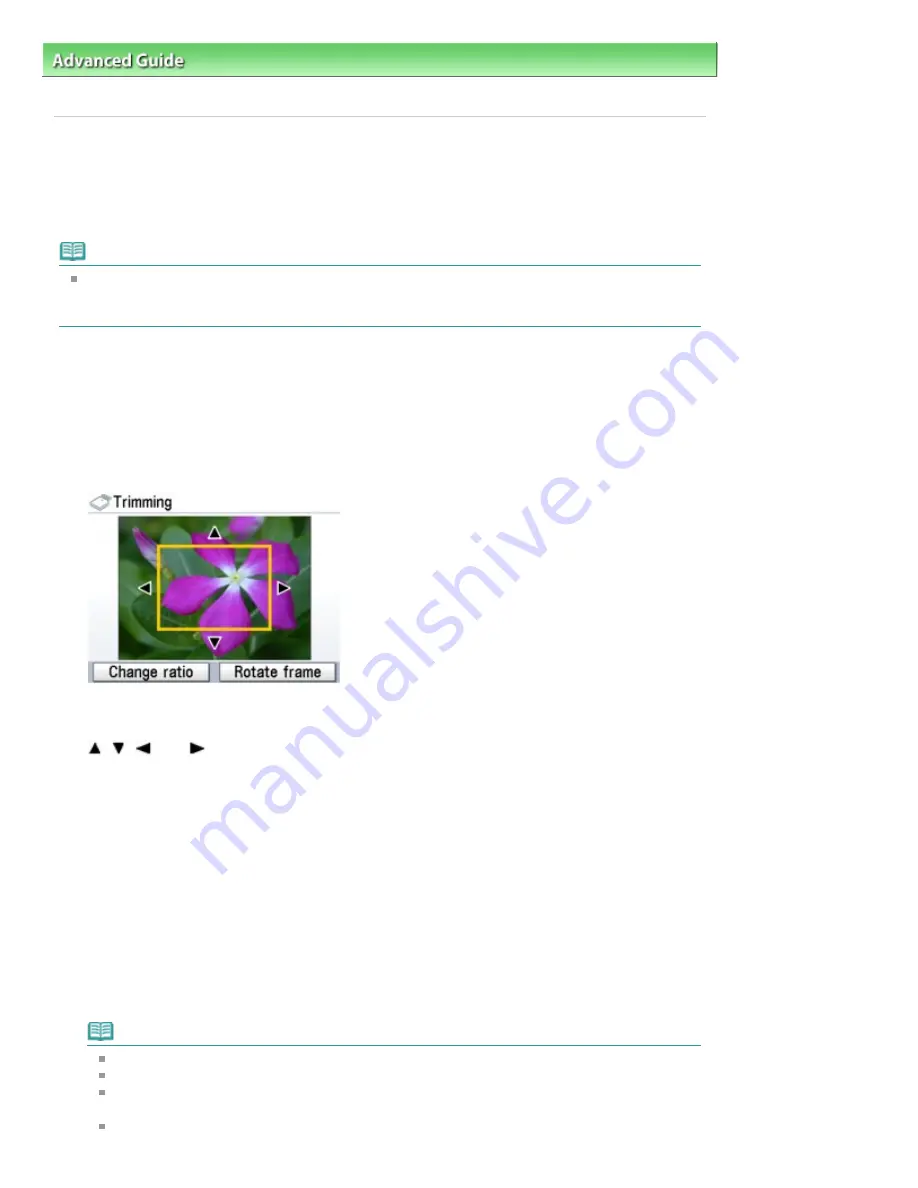
You can edit images displayed on the LCD by cropping them.
* This function is available both for printing photos on a memory card and for printing photos on a USB
flash drive.
Note
Crop images after specifying the page size, media type, and bordered or borderless printing in the
print settings screen. If you change the paper settings after cropping, the cropped area may be
adjusted to match the paper, or be disabled completely.
1.
Select the photo to crop.
2.
Press the right Function button when Edit is displayed on the screen.
3.
Select Trimming, then press the
OK
button.
The cropping edit screen is displayed.
4.
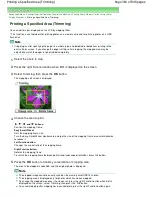
Choose the area to print.
,
,
, and
buttons:
Position the cropping frame.
Easy-Scroll Wheel:
Sets the cropping frame size.
Turn the Easy-Scroll Wheel clockwise to enlarge the size of the cropping frame or counterclockwise
to reduce it.
Left Function button:
Changes the aspect ratio of the cropping frame.
Right Function button:
Rotates the cropping frame.
To switch the cropping frame between portrait and landscape orientations, press this button.
5.
Press the
OK
button to finalize your selection of cropping area.
The area to be cropped is specified, and the original photo is displayed.
Note
The cropped image cannot be newly saved on the memory card/USB flash drive.
The cropping area is displayed only for photos which have been cropped.
To change the cropped area once it has been set, press the right Function button when Edit is
displayed on the screen, select Trimming, then press the
OK
button.
To cancel cropping after cropping has been complete, press the right Function button again
Page 383 of 949 pages
Printing a Specified Area (Trimming)
Содержание 3747B003
Страница 19: ...Page top Page 19 of 949 pages Printing Photos Saved on the Memory Card USB Flash Drive ...
Страница 22: ...Page top Page 22 of 949 pages Using Various Functions ...
Страница 28: ...Page top Page 28 of 949 pages Inserting the USB Flash Drive ...
Страница 73: ...Page top Page 73 of 949 pages Loading Paper ...
Страница 81: ...Page top Page 81 of 949 pages Loading Paper in the Rear Tray ...
Страница 87: ...2 Close the Document Cover gently Page top Page 87 of 949 pages Loading Originals ...
Страница 101: ...Page top Page 101 of 949 pages Printing the Nozzle Check Pattern ...
Страница 105: ...See Cleaning the Print Head Deeply Page top Page 105 of 949 pages Cleaning the Print Head ...
Страница 148: ...Page top Page 148 of 949 pages Printing Photos ...
Страница 156: ...How Can I Move or Copy the Saved File What Is C1 or C4 Page top Page 156 of 949 pages Creating an Album ...
Страница 163: ...C4 Back cover Saving Note See Help for details on the Edit screen Page top Page 163 of 949 pages Editing ...
Страница 165: ...3 Click Print Note See Help for details on the Print Settings screen Page top Page 165 of 949 pages Printing ...
Страница 167: ...Questions and Answers How Can I Move or Copy the Saved File Page top Page 167 of 949 pages Printing Calendars ...
Страница 170: ...See Help for details on the Page Setup screen Page top Page 170 of 949 pages Selecting the Paper and Layout ...
Страница 173: ...See Help for details on the Edit screen Page top Page 173 of 949 pages Editing ...
Страница 175: ...Note See Help for details on the Print Settings screen Page top Page 175 of 949 pages Printing ...
Страница 182: ...Page top Page 182 of 949 pages Printing ...
Страница 189: ...Note See Help for details on the Print Settings screen Page top Page 189 of 949 pages Printing ...
Страница 191: ...Adjusting Images Page top Page 191 of 949 pages Correcting and Enhancing Photos ...
Страница 214: ...Exit Click to close the Correct Enhance Images window Page top Page 214 of 949 pages Correct Enhance Images Window ...
Страница 228: ...Page top Page 228 of 949 pages Printing an Index ...
Страница 230: ...Page top Page 230 of 949 pages Printing ID Photos ID Photo Print ...
Страница 249: ...Page top Page 249 of 949 pages Printing Dates on Photos ...
Страница 270: ...Page top Page 270 of 949 pages Borderless Printing ...
Страница 275: ...Selecting Scaled changes the printable area of the document Page top Page 275 of 949 pages Scaled Printing ...
Страница 326: ...grayed out and is unavailable Page top Page 326 of 949 pages Representing Image Data with a Single Color ...
Страница 329: ...Page top Page 329 of 949 pages Smoothing Jagged Outlines ...
Страница 525: ...Page top Page 525 of 949 pages Memory Card Screen Scan Import Window ...
Страница 606: ...Page top Page 606 of 949 pages Scanning in Advanced Mode ...
Страница 608: ...Page top Page 608 of 949 pages Scanning in Auto Scan Mode ...
Страница 637: ...Scanning in Basic Mode Page top Page 637 of 949 pages Basic Mode Tab ...
Страница 660: ...Page top Page 660 of 949 pages Scanner Tab ...
Страница 694: ...print setting Page top Page 694 of 949 pages Setting the Page Size Media Type and Layout When Printing from a Mobile P ...
Страница 747: ...Page top Page 747 of 949 pages Printer Cannot be Registered ...
Страница 761: ...Page top Page 761 of 949 pages Advanced settings ...
Страница 780: ...Page top Page 780 of 949 pages If an Error Occurs ...
Страница 823: ...Page top Page 823 of 949 pages Jammed Paper Is Not Removed out When Automatic Duplex Printing ...
Страница 889: ...Page top Page 889 of 949 pages Using Easy PhotoPrint EX ...
Страница 898: ...Page top Page 898 of 949 pages Canon IJ Network Tool Dialog Box ...
Страница 917: ...Page top Page 917 of 949 pages How to Set a Network Key Network Password ...

