Cameron Scanner 3100 Скачать руководство пользователя страница 14

10

Section 2 

Scanner 3100 Wi-Fi & Advanced Networking Guide

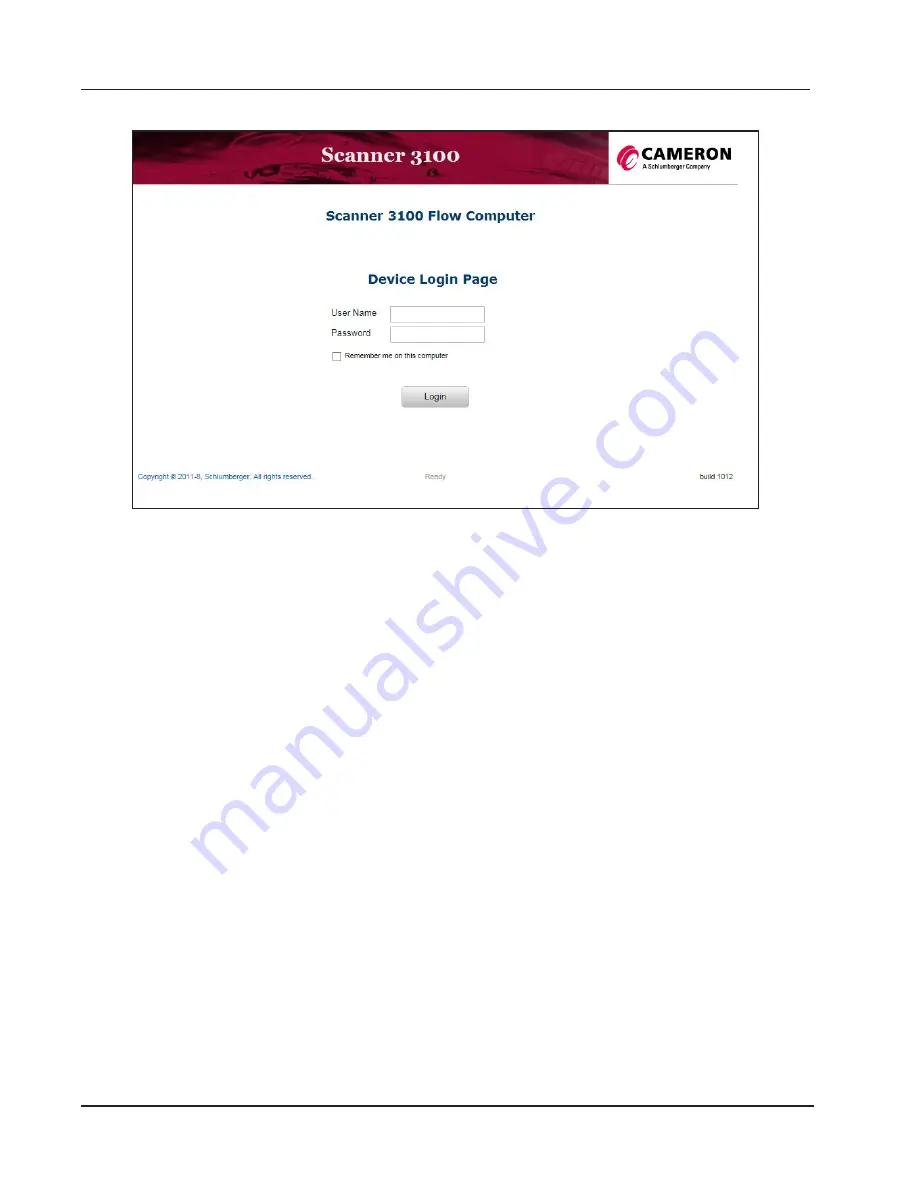
The Scanner 3100 home page will appear as shown in 

Figure 16

.

Figure 16 - Scanner 3100 Login Screen

6. 

Log into the Scanner 3100 using the following default credentials: 


User Name – 

admin

 and Password – 

Scanner


Note: User names and passwords are case sensitive.

7.  Click on the 

Login

 button and now you are successfully connected to the Ethernet for the first time using 

the Scanner 3100 as the LAN Server.

Now the Scanner 3100 has been successfully setup to connect to the Ethernet directly over a unmanaged 

network (stand-alone), you now have the option to either: 

Configure the Scanner 3100 as a Wireless Access 

Point

 (

page 11

)

, or 

Configure the Scanner 3100 as a Wireless Client (

page 15

)

However, if you want to further configure the Ethernet settings on the Scanner 3100 go to 

Section 4 - CON-

FIGURING AN ETHERNET NETWORK

 (

page 19

).

Содержание Scanner 3100

Страница 1: ...Scanner 3100 Wi Fi Advanced Networking Guide Manual No 50349155 Rev 2...

Страница 2: ......

Страница 3: ...he instrument or connected equipment IMPORTANT Indicates actions or procedures which may affect instrument operation or may lead to an instrument response which is not planned Note Indicates additiona...

Страница 4: ...et Access 8 Section 3 CONFIGURING A WIRELESS NETWORK 11 Configure the Scanner 3100 as a Wireless Access Point 11 Configure the Scanner 3100 as a Wireless Client 15 Section 4 CONFIGURING AN ETHERNET NE...

Страница 5: ...the Scanner 3100 can also act as a router creating and managing its own local network of wired devices This feature allows you to operate the Scanner 3100 as a stand alone network and directly connec...

Страница 6: ...ss Client As a wireless client the Scanner 3100 connects to an existing wireless network as shown in Figure 2 thereby allowing the Scanner 3100 to be available on a customer s existing Wi Fi network t...

Страница 7: ...ure the Scanner 3100 as a DHCP Server page 23 will step you through this configuration Figure 4 Ethernet DHCP Server Quick Start Flow Chart Figure 5 summarizes the workflows for the first time configu...

Страница 8: ...ernet As a Client DHCP Server Client Access Point Configure the Scanner 3100 as an Ethernet Client page 19 Configure the Scan ner 3100 as a DHCP Server page 23 Configure the Scanner 3100 as a Wireless...

Страница 9: ...r 3100 Connect to a Wi Fi Access Point page 28 Connect to a Wi Fi Client Stat page 29 Connect to a Wi Fi Client DHCP page 29 Connect to a LAN Client DHCP page 30 Connect to a LAN Client Stat page 31 C...

Страница 10: ...Alone mode The instructions below will tell you how and when to activate these modes Stand Alone Ethernet Access Mode Keypad Combination Without Advanced Networking Option Installed With Advanced Netw...

Страница 11: ...rting Network message will appear on the device and the restart will take 90 seconds 2 To confirm if the Scanner 3100 is configured as a LAN Client DHCP cover the left side of the Scanner 3100 LCD and...

Страница 12: ...to Section 4 CON FIGURING AN ETHERNET NETWORK page 19 Connecting directly to the Scanner 3100 without a managed network Stand Alone Ethernet Access Follow the steps in this section if you are connect...

Страница 13: ...of the window will show the LAN Server Figure 13 LAN Server 3 Plug in the Scanner 3100 directly into the device laptop with an Ethernet cable 4 On the Scanner 3100 faceplate top left corner of LCD a...

Страница 14: ...on and now you are successfully connected to the Ethernet for the first time using the Scanner 3100 as the LAN Server Now the Scanner 3100 has been successfully setup to connect to the Ethernet direct...

Страница 15: ...a Wireless Access Point or a Wireless Client Configure the Scanner 3100 as a Wireless Access Point 1 When the Device Status screen appears select Administration Network from the main toolbar above the...

Страница 16: ...s Point as the service mode as shown on Figure 20 a Select the Radio Band from the dropdown list If you are unsure what the band is choose 802 11n b Select the Channel from the dropdown list or select...

Страница 17: ...ld provided 7 Under the IP Configuration Access Point heading as shown in Figure 22 Figure 21 Wi Fi Security Parameters Access Point section on Modify Wi Fi Configuration screen a Enter the Host Name...

Страница 18: ...Sessions dropdown field and select Yes or No When the Wi Fi Port is enabled in Access Point service mode Client Access Sessions can be used to limit access by Wi Fi clients by disabling the wireless...

Страница 19: ...will write the changes and reset the wireless configuration settings All networks will be shut down and restarted after 90 seconds Configure the Scanner 3100 as a Wireless Client 1 When the Device Sta...

Страница 20: ...he Wireless Transmit Power dropdown list Figure 30 Wi Fi Configuration section on the Modify Wi Fi Configuration screen Figure 31 Change Wi Fi Service Mode dialog 5 Under the Wireless Client Configura...

Страница 21: ...Figure 36 a Select an Encryption Type that matches the target access point s encryption type from the dropdown list If the ac cess point was selected using the View Available Wi Fi Networks feature t...

Страница 22: ...S Server into the Secondary DNS Server field This section will only appear when Static IP Parameters is selected as the Client Address Type from Wireless Client Configuration section 8 Click the Save...

Страница 23: ...u can now configure your Scanner 3100 with the Ethernet connection Configure the Scanner 3100 as an Ethernet Client This section describes how to configure the Scanner 3100 as an Ethernet Client which...

Страница 24: ...t Ethernet Client from the Change Ethernet Port Mode dialog and click the OK button as shown in Figure 40 Figure 40 Change Ethernet Port Mode dialog 2 Click the Ethernet button located on the left sid...

Страница 25: ...d Secondary DNS Server into the provided fields as shown in Figure 42 Figure 42 Static IP Configuration Ethernet Client section on the Modify Ethernet Configuration screen 8 Click the Save button on t...

Страница 26: ...0 cover the left side of the Scanner 3100 LCD and after 3 seconds a window will appear as shown in Figure 44 The lower section of the window will show LAN Client STAT 13 Open the Web Browser and log b...

Страница 27: ...ted Configure the Scanner 3100 as a DHCP Server This section will describe how to configure the Scanner 3100 as a DHCP server on a wired network and issue dynamic IP address to other network clients 1...

Страница 28: ...bar The Ethernet Configuration screen will appear as shown in Figure 48 Figure 48 View Ethernet Configuration screen 3 Click Modify to change the Ethernet settings 4 Select DHCP Server from the Change...

Страница 29: ...s field This is the maximum number of clients your Scanner managed network can have at one time The minimum and maximum number of clients is 1 and 10 c Enter a value into the Lease Time field This is...

Страница 30: ...Server 12 Open the Web Browser and log back into the network Figure 53 LAN Server Figure 54 Web browser entry of IP Address a Type in the IP address from the top left hand corner of the Scanner 3100 L...

Страница 31: ...tion options are able to connect to the Scanner 3100 using your personal Ethernet enabled devices laptop PC Discovering a Scanner 3100 Network Configuration This section will describe the process to l...

Страница 32: ...anner on this network Wi Fi Network Configuration Description of Network Configuration Wi Fi Access Point Wi Fi Access Point Enabled The Scanner 3100 is a Wi Fi Access Point that will assign IP addres...

Страница 33: ...l As shown in the example on Figure 59 the Scanner 3100 Wi Fi Client DHCP IP address is 192 008 100 004 Connect to a Wi Fi Client Stat Figure 60 shows the configuration window on a Scanner 3100 which...

Страница 34: ...onnect to the same managed network to reach the Scanner 3100 LAN Server LAN DHCP Server Enabled The Scanner 3100 is a LAN DHCP server that will assign IP addresses to connecting devices User Ethernet...

Страница 35: ...will be listed on the window after the LAN Client STAT label As shown in the example on Figure 63 the Scanner 3100 LAN Client Stat IP address is 192 168 000 041 Connect to a LAN Server Figure 64 show...

Страница 36: ...exclusive remedy in any case of action whether in contract tort breach of warranty or otherwise arising out of the sale or use of any products software supplies or materials is expressly limited to t...

Страница 37: ...Manual No 3100 01 01...

Отзывы: