15
OPERATION / BEDIENUNG / UTILISATION / OPERACIÓN / OBSŁUGA / UTILIZZO
EN
NOTE
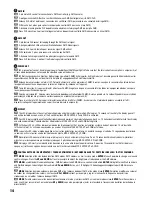
A few seconds after the spot has been correctly connected to the mains, it is ready for use and starts with the mode that was previously selected.
STANDALONE OPERATION
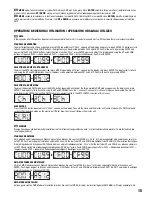
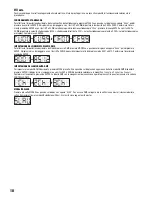
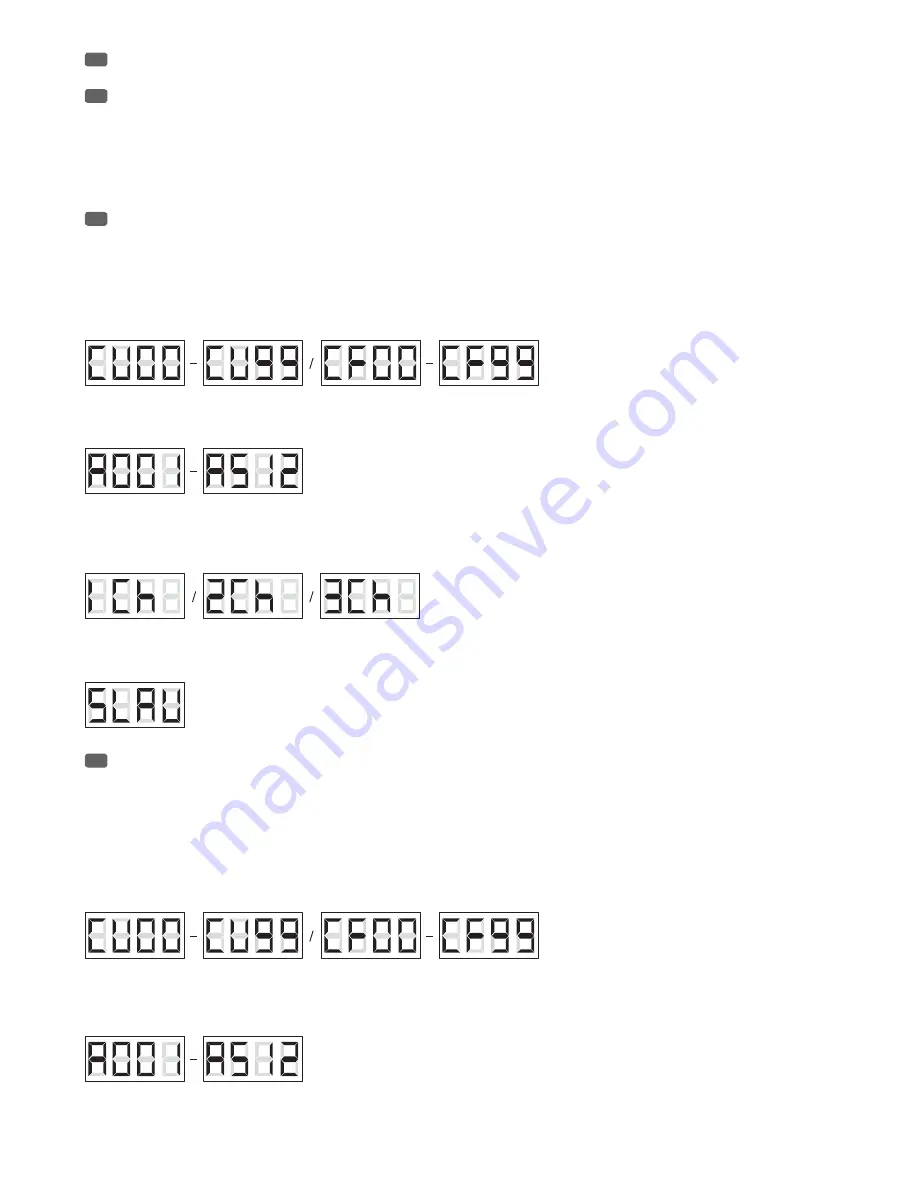
To adjust brightness and strobe as desired, press MODE repeatedly until “CUxx” appears on the display and press twice on ENTER. The display starts
to flash and using the UP and DOWN buttons, the brightness can be adjusted between CU00 and CU99. Confirm the entry by pressing ENTER and
now using the UP and DOWN buttons, select the strobe function “CFxx”, press ENTER again and adjust the strobe speed using the UP and DOWN
buttons as required (CF00 = strobe disabled, CF01 = slowest and CF99 = fastest strobe speed). Confirm with ENTER.
SELECTING THE DMX START ADDRESS
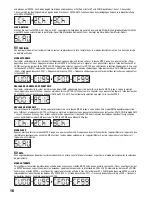
To adjust the DMX start address as desired, press MODE repeatedly until “Axxx” appears on the display and press ENTER. The display starts to flash
and using the UP and DOWN buttons, the start address can be adjusted between A001 and A512. Confirm the entry by pressing ENTER.
SELECTING THE DMX MODE
To adjust the desired DMX mode, press the MODE button repeatedly until one of the three available DMX modes appears on the display and press
ENTER. The display starts to flash and using the UP and DOWN buttons, the 1-channel, 2-channel or 3-channel mode can be selected. Confirm the
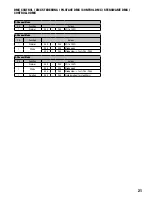
entry by pressing ENTER. You will find DMX channel assignment tables in the DMX CONTROL section of this manual.
SLAVE MODE
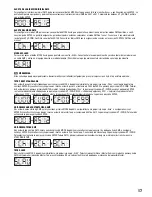
Press the MODE button repeatedly until “SLAV” appears on the display. Connect the slave and the master unit (same model) with a DMX cable and
activate the standalone mode on the master unit (CUxx). Now the slave unit follows the master unit.
DE
HINWEIS
Wenige Sekunden nachdem der Scheinwerfer korrekt am Stromnetz angeschlossen wird, ist er betriebsbereit und wechselt in die Betriebsart, die
zuvor angewählt war.
STANDALONE BETRIEB
Um Helligkeit und Stroboskop nach Wunsch einzustellen, drücken Sie so oft auf MODE, bis „CUxx“ im Display angezeigt wird und drücken zwei mal
auf ENTER. Das Display beginnt zu blinken und Sie können mit Hilfe der Taster UP und DOWN die Helligkeit von CU00 bis CU99 einstellen. Bestätigen
Sie die Eingabe durch Drücken auf ENTER und wählen nun die Stroboskopfunktion „CFxx“ mit Hilfe der Taster UP und DOWN aus, drücken abermals
auf ENTER und stellen die Stroboskopgeschwindigkeit mit Hilfe der Taster UP und DOWN wunschgemäß ein (CF00 = Stroboskop deaktiviert, CF01 =
langsamste und CF99 = schnellste Stroboskopgeschwindigkeit). Bestätigen Sie mit ENTER.
DMX-STARTADRESSE EINSTELLEN
Um die DMX-Startadresse nach Wunsch einzustellen, drücken Sie so oft auf MODE, bis „Axxx“ im Display angezeigt wird und drücken nun auf
ENTER. Das Display beginnt zu blinken und Sie können mit Hilfe der Taster UP und DOWN die Startadresse von A001 bis A512 auswählen. Bestätigen
Sie die Eingabe durch Drücken auf ENTER.
DMX-MODUS EINSTELLEN
Um den gewünschten DMX-Modus einzustellen, drücken Sie so oft auf MODE, bis einer der drei verfügbaren DMX-Modi im Display angezeigt wird
PL
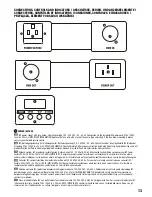
MODE
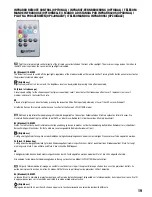
wybór funkcji Standalone, trybów DMX i adresu DMX oraz trybu pracy Slave.
ENTER
umożliwia zmianę wartości i potwierdzanie zmian
wartości. Użyć przycisków
UP i DOWN
, aby np. ustawić jasność, prędkość efektu stroboskopowego lub zmienić adres DMX.
IT
MODE
consente di selezionare la funzione standalone, la modalità DMX, l’indirizzo DMX e la modalità slave.
ENTER
permette di modificare un
valore e di confermarne le modifiche. Premere i tasti
UP e DOWN
, ad esempio, per modificare la luminosità, la velocità stroboscopica o l’indirizzo
DMX.


