background image

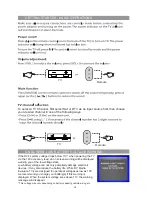
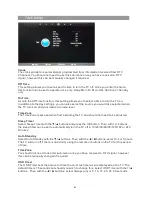
TIME MENU 

21

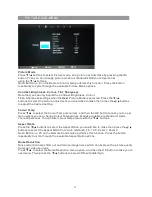
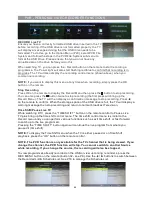
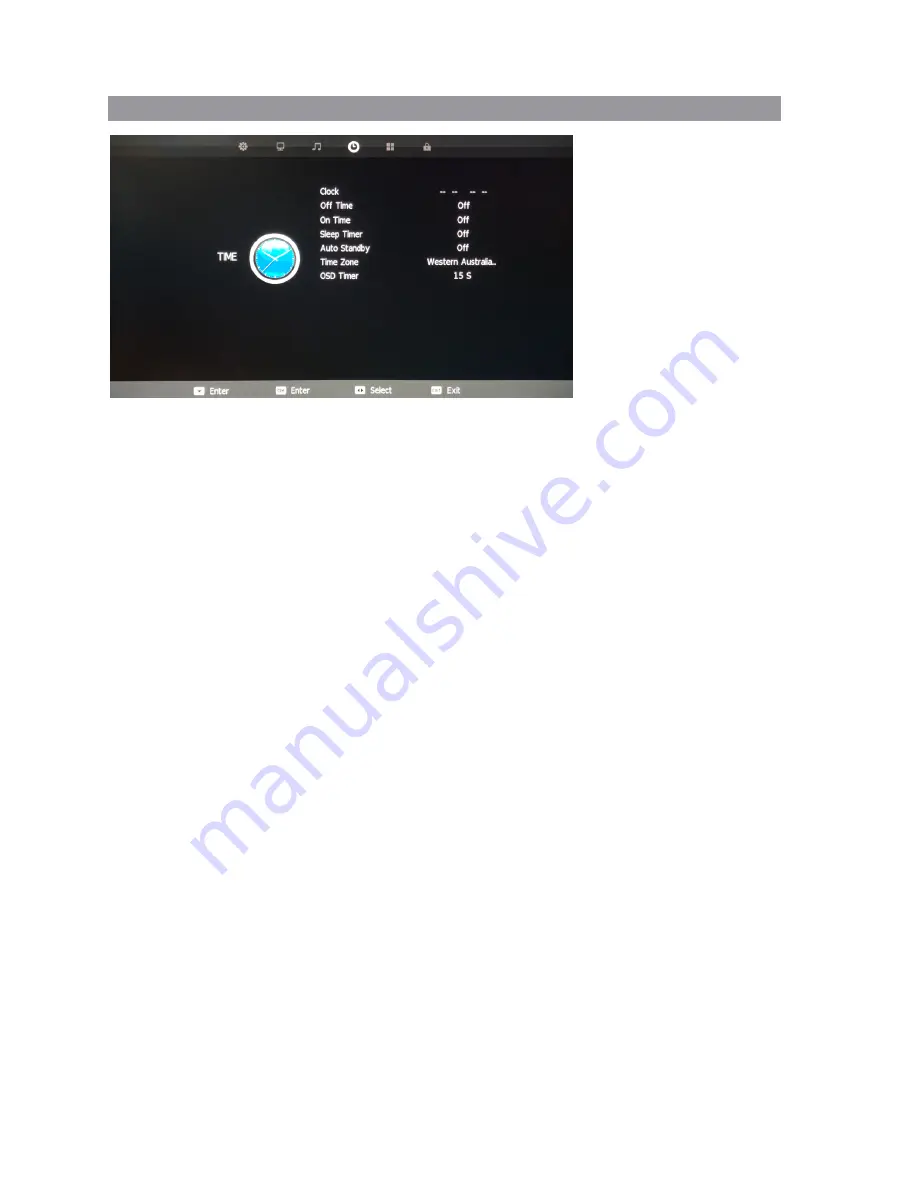
Clock 

The clock and date is automatically programmed from information received from DTV 
Channels. You should not need to use this sub-menu once you have received a  DTV 
signal, however this can be manually changed if required.

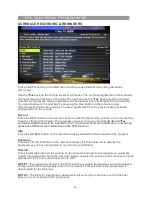
Off Time

This setting allows you to set a specific time to turn the TV off. Once you enter the menu, 
this function can be set to operate once only, Daily, Mon-Fri, Mon-Sat, Sat-Sun or Sunday 
only.

On Time

As with the Off Time function, this setting allows you to select a time to turn the TV on. 
In addition to the day settings, you can also select the source you would like selected when 
the TV turns on and your desired volume level.

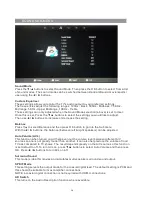
Time Zone

The Time Zone is also set when first installing the TV and should not need to be adjusted.

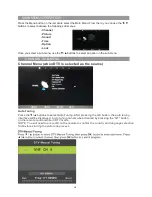
Sleep Timer 

Select Sleep Timer with the ▼/▲ buttons and press the OK button. Then with 

/

 buttons, 

the sleep timer can be set to automatically turn the TV off in 10/20/30/60/90/120/180 or 240 
minutes.

Auto Standby 

Select Auto Standby with the ▼/▲ buttons. Then with the 

buttons, select 3,4 or 5 hours. 

◄ / ►

The TV will turn off if there is no activity using the remote or buttons onthe TV for this period 
of time.

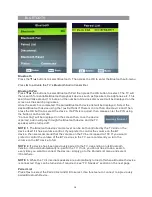
Time Zone

You should not need to use this sub-menu once you have received a  DTV signal, however 
this can be manually changed if required.

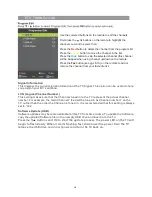
OSD Timer

The OSD Timer sets the amount of time the on-screen menus are displayed on the TV. The
default time is 15 seconds but should you wish to change this, select OSD Timer with the 

/▲ 

buttons.. Then with the 

buttons, select Always (on) or 5, 10, 15, 20, 25, 30 seconds.

◄ / ► 

Содержание RV Media Evolution 044694

Страница 1: ...158G A5...

Страница 2: ...EVOLUTION 044694 32 SMART TV 12 24V FULL HD LED TV PVR SMART TV with BLUETOOTH...

Страница 3: ......

Страница 4: ...8 21 23 26 27 27 28 Lock Menu 24 10 Installing Batteries in the remote Cleaning and Maintenance Troubleshooting 34 35 37 Specifications Important Safety Instructions PVR Personal Video Recorder 25 Get...

Страница 5: ...l cables so that no one steps on or trips over them Do not run the cord near heat producing appliances such as radiators stoves or irons The excessive heat could melt the insulation and expose live wi...

Страница 6: ...this happens unplug the TV and have it serviced by appropriately qualified personnel Do not change or modify the TV set in any way Only use the attachments accessories specified Do not cover the vent...

Страница 7: ...old Away from areas with extremes of temperature below 0 C or exceeding 40 C or moisture Away from moisture drips or splashes Protected from excessive dust Do not install this equipment in a confined...

Страница 8: ...Backlit Remote Control 32 Full HD TV WHAT S IN THE BOX TV Stand Feet 240V Power adaptor...

Страница 9: ...OSD menu is active this button functions as down control for the menu 7 MENU This button activates the OSD menu If a sub menu is active pressing this button will return selection to the previous menu...

Страница 10: ...selected source 11 Mini A V In Composite Video Audio in A V 3 AUDIO output Audio output for external devices such as Head Units ampli ers etc 1 POWER DC12 24V or plugpack input 9 Headphone Jack Headp...

Страница 11: ...REMOTE CONTROL FUNCTIONS 38 42 40 39 44 43 8...

Страница 12: ...42 43 44 38 Play and Pause control for the Media Player and DVD Stops playback of the Media Player and DVD Fast Rewind control for the Media Player and DVD Fast Forward control for the Media Player a...

Страница 13: ...ision The remote has a range of up to seven meters from the TV at an angle of up to 170 degrees depending on the the RV s interior layout Batteries should not be exposed to excessive heat such as dire...

Страница 14: ...rooms Garage PC Monitor Security systems etc 12 24V operation 240V Mains Operation Y The TV can also operate on 240V This is done via an 240V adaptor our TV is supplied with a 12V style accessory lead...

Страница 15: ...damage electronic devices it may also reduce the battery life While RV Media Evolution TV s are designed to operate at voltages as low as 10V we recommend you charge your battery s if this warning is...

Страница 16: ...n 2 Country Australia Please select a di erent country if applicable Selection 3 Environment On There is no need to adjust this setting Tuning Setup Menu Selection 1 Tune Type DTV This does not need t...

Страница 17: ...st be inserted in the TV to record For more information on recording please see P25 for more information on the PVR function Info Press the GREEN button on the remote to display detailed information a...

Страница 18: ...emote control while in DTV mode NOTE You will need to press OK on the remote to confirm the country and language selection first before starting the Auto tune process Press the Menu button on the remo...

Страница 19: ...s option can be useful to help you position your RV s antenna LCN Logical Channel Number This setting makes sure that the Channels tuned in to the TV represent the actual channel number For example th...

Страница 20: ...to select the Colour Temp menu item and then the OK button to take you to next menu where you can change Colour Temperature Modes available are standard warm cool and personal You can alter colour tem...

Страница 21: ...Sub menu With the buttons the balance between left right speakers can be adjusted Auto Volume AVL This function when turned on will help even out the volume level between different A V sources so one...

Страница 22: ...is paired audio will play through the Bluetooth device and the TV speaker will be turned off NOTE 1 The Bluetooth device volume level can be both controlled by the TV and on the device itself if it ha...

Страница 23: ...e buttons to select Bluetooth Reset and OK to select This will clear the Paired List so you will need to go back to the Bluetooth Pair sub menu to search for the Bluetooth device you wist to pair TV S...

Страница 24: ...e Time Zone is also set when first installing the TV and should not need to be adjusted Sleep Timer Select Sleep Timer with the buttons and press the OK button Then with buttons the sleep timer can be...

Страница 25: ...vious menu Hearing Impaired Select Hearing Impaired where supported with buttons and then press the OK button PVR File System To check the status of the USB drive format a drive or change the maximum...

Страница 26: ...Auto Power On Device List Device Menu 23 Press the buttons to turn CEC Control on of off The default setting is On Press the buttons to turn Audio Receiver communication on or off Press the buttons t...

Страница 27: ...Set Password with the buttons Then press the OK button to enter the old password default is 0000 and then set a new password by entering it twice Block Program TV only TV must be selected as the sourc...

Страница 28: ...to stop recording Press on the remote to confirm When the storage space of the USB drive is full the TV will display a warning message then stop recording and return to normal broadcast Television Ti...

Страница 29: ...USB device on a Windows PC right click on it s drive letter and select Format If the File System is shown as anything other than FAT32 the select FAT32 from the drop down box check Quick Format and c...

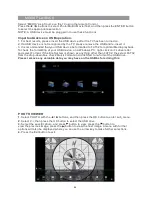
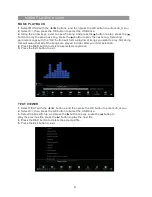
Страница 30: ...ngs you want to play Not doing this will mean that all of the songs are played in order after your first selection 4 Press the RED button to delete a selected song track 5 Press the Exit button to exi...

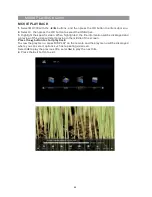
Страница 31: ...ile information will be displayed and a preview of the video will start playing in the middle of the screen Press the button to start playback To view the play menu press DISPLAY on the remote and the...

Страница 32: ...he button on the remote Apps Apps are available for download from the Google Play store Note you need a Google Play account to download the apps To search for and download apps click on the Google Pla...

Страница 33: ...to the RJ45 port at the back of the TV For WiFi after you select it you will then be provided with a list of available WiFi networks Using the arrow keys on the remote and OK button select your prefe...

Страница 34: ...complete the setup to move on to the calibration screen You should not need to make any adjustments on this screen but if you want to change the Smart TV screen s size cycle options 1 4 using the arro...

Страница 35: ...nu select the icon then the OK button on the remote control then select an app to add to the menu A Tick will appear on the top right hand corner of the App icon to indicate that it is selected You ca...

Страница 36: ...ins to run slowly select Factory Settings to restore the Smart TV to it s original settings Note if you select this option any apps you have installed or les you save on the Smart TV s internal memory...

Страница 37: ...CLEANING MAINTENANCE 34...

Страница 38: ...TROUBLESHOOTING 35...

Страница 39: ...TROUBLESHOOTING Cont d 36...

Страница 40: ...out RCA Smart TV Specifications Operating System Flash Memory DDR3 RAM Processor USB Playback Formats Movie Music Photo General Specifications Dimensions excl Stand feet Dimensions incl Stand feet Net...

Страница 41: ...ve its products Speci cations may be subject to change without notice Warranty This product is backed up with a 2 Year Nationwide Warranty Warranty Help line New Zealand 09 257 2419 Australia 1300 654...

Страница 42: ......

Страница 43: ......

Отзывы: