Pa
ge
17
- M
an
ua
l c
od
e
FA00425-EN
- v
er
.
1
- 0
4/
20
16 - © C
am
e S
.p
.A - T
he c
on
te
nt
s o
f t
hi
s m
an
ua
l a
re s
ub
je
ct t
o c
ha
ng
e a
t a
ny t
im
e w
ith
ou
t p
rio
r n
ot
ic
e.
Pa
ge
16
- M
an
ua
l c
od
e
FA00425-EN
- v
er
.
1
- 0
4/
20
16 - © C
am
e S
.p
.A - T
he c
on
te
nt
s o
f t
hi
s m
an
ua
l a
re s
ub
je
ct t
o c
ha
ng
e a
t a
ny t
im
e w
ith
ou
t p
rio
r n
ot
ic
e.
Step 3. Check the connection status
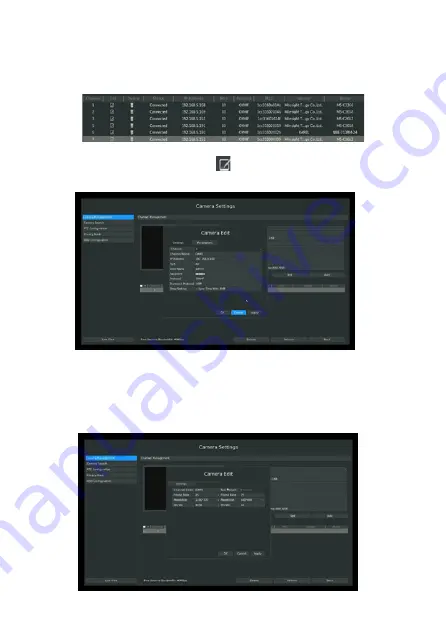
After adding the IP channels, click [Refresh]; the [status] will be displayed as [connected].
Otherwise, you need to check whether the network is connected or if the user name and
password are correct.
Step 4. Configure the IP channel
1. After you have added the channel, click
or double-click the channel to re-enter the
information regarding the channel, address and password etc.
N.B.
By default, the user name and password are the default ones, the management port is 80
and the transport protocol is UDP.
1. Select the attributes page [Parameters] to regain access to the parameters of this channel.
Click [Save] to save the configuration.


